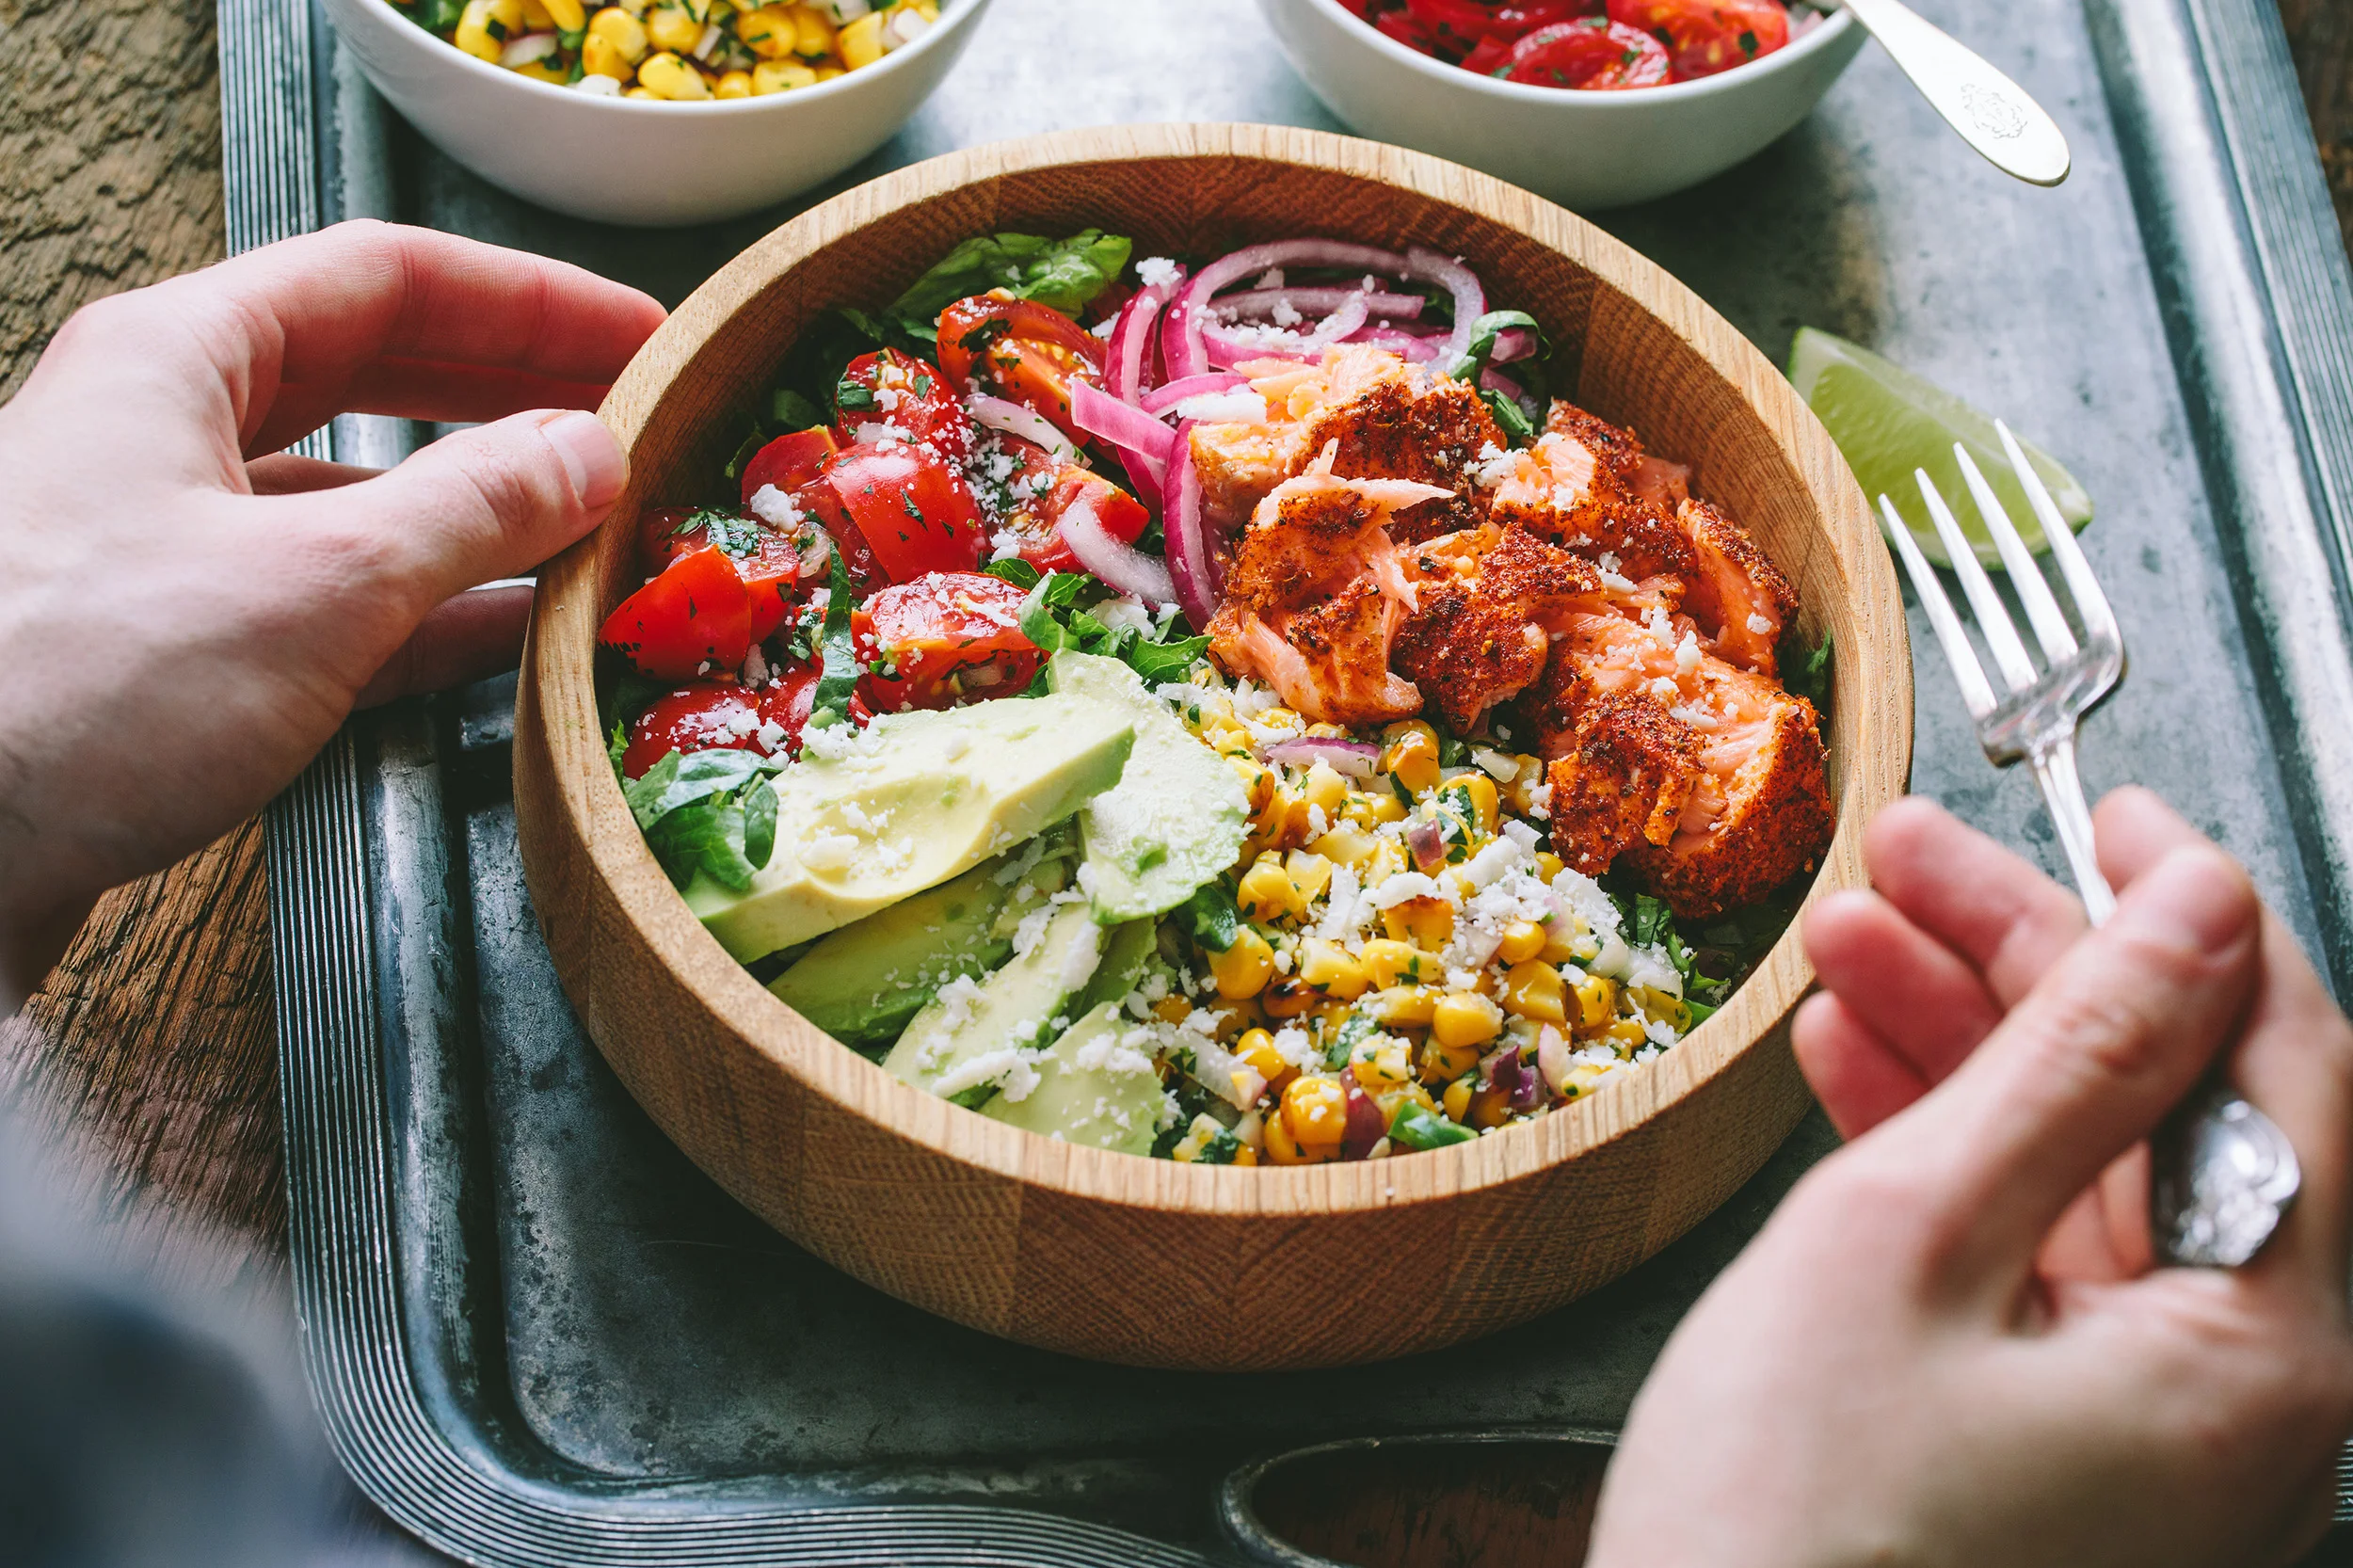
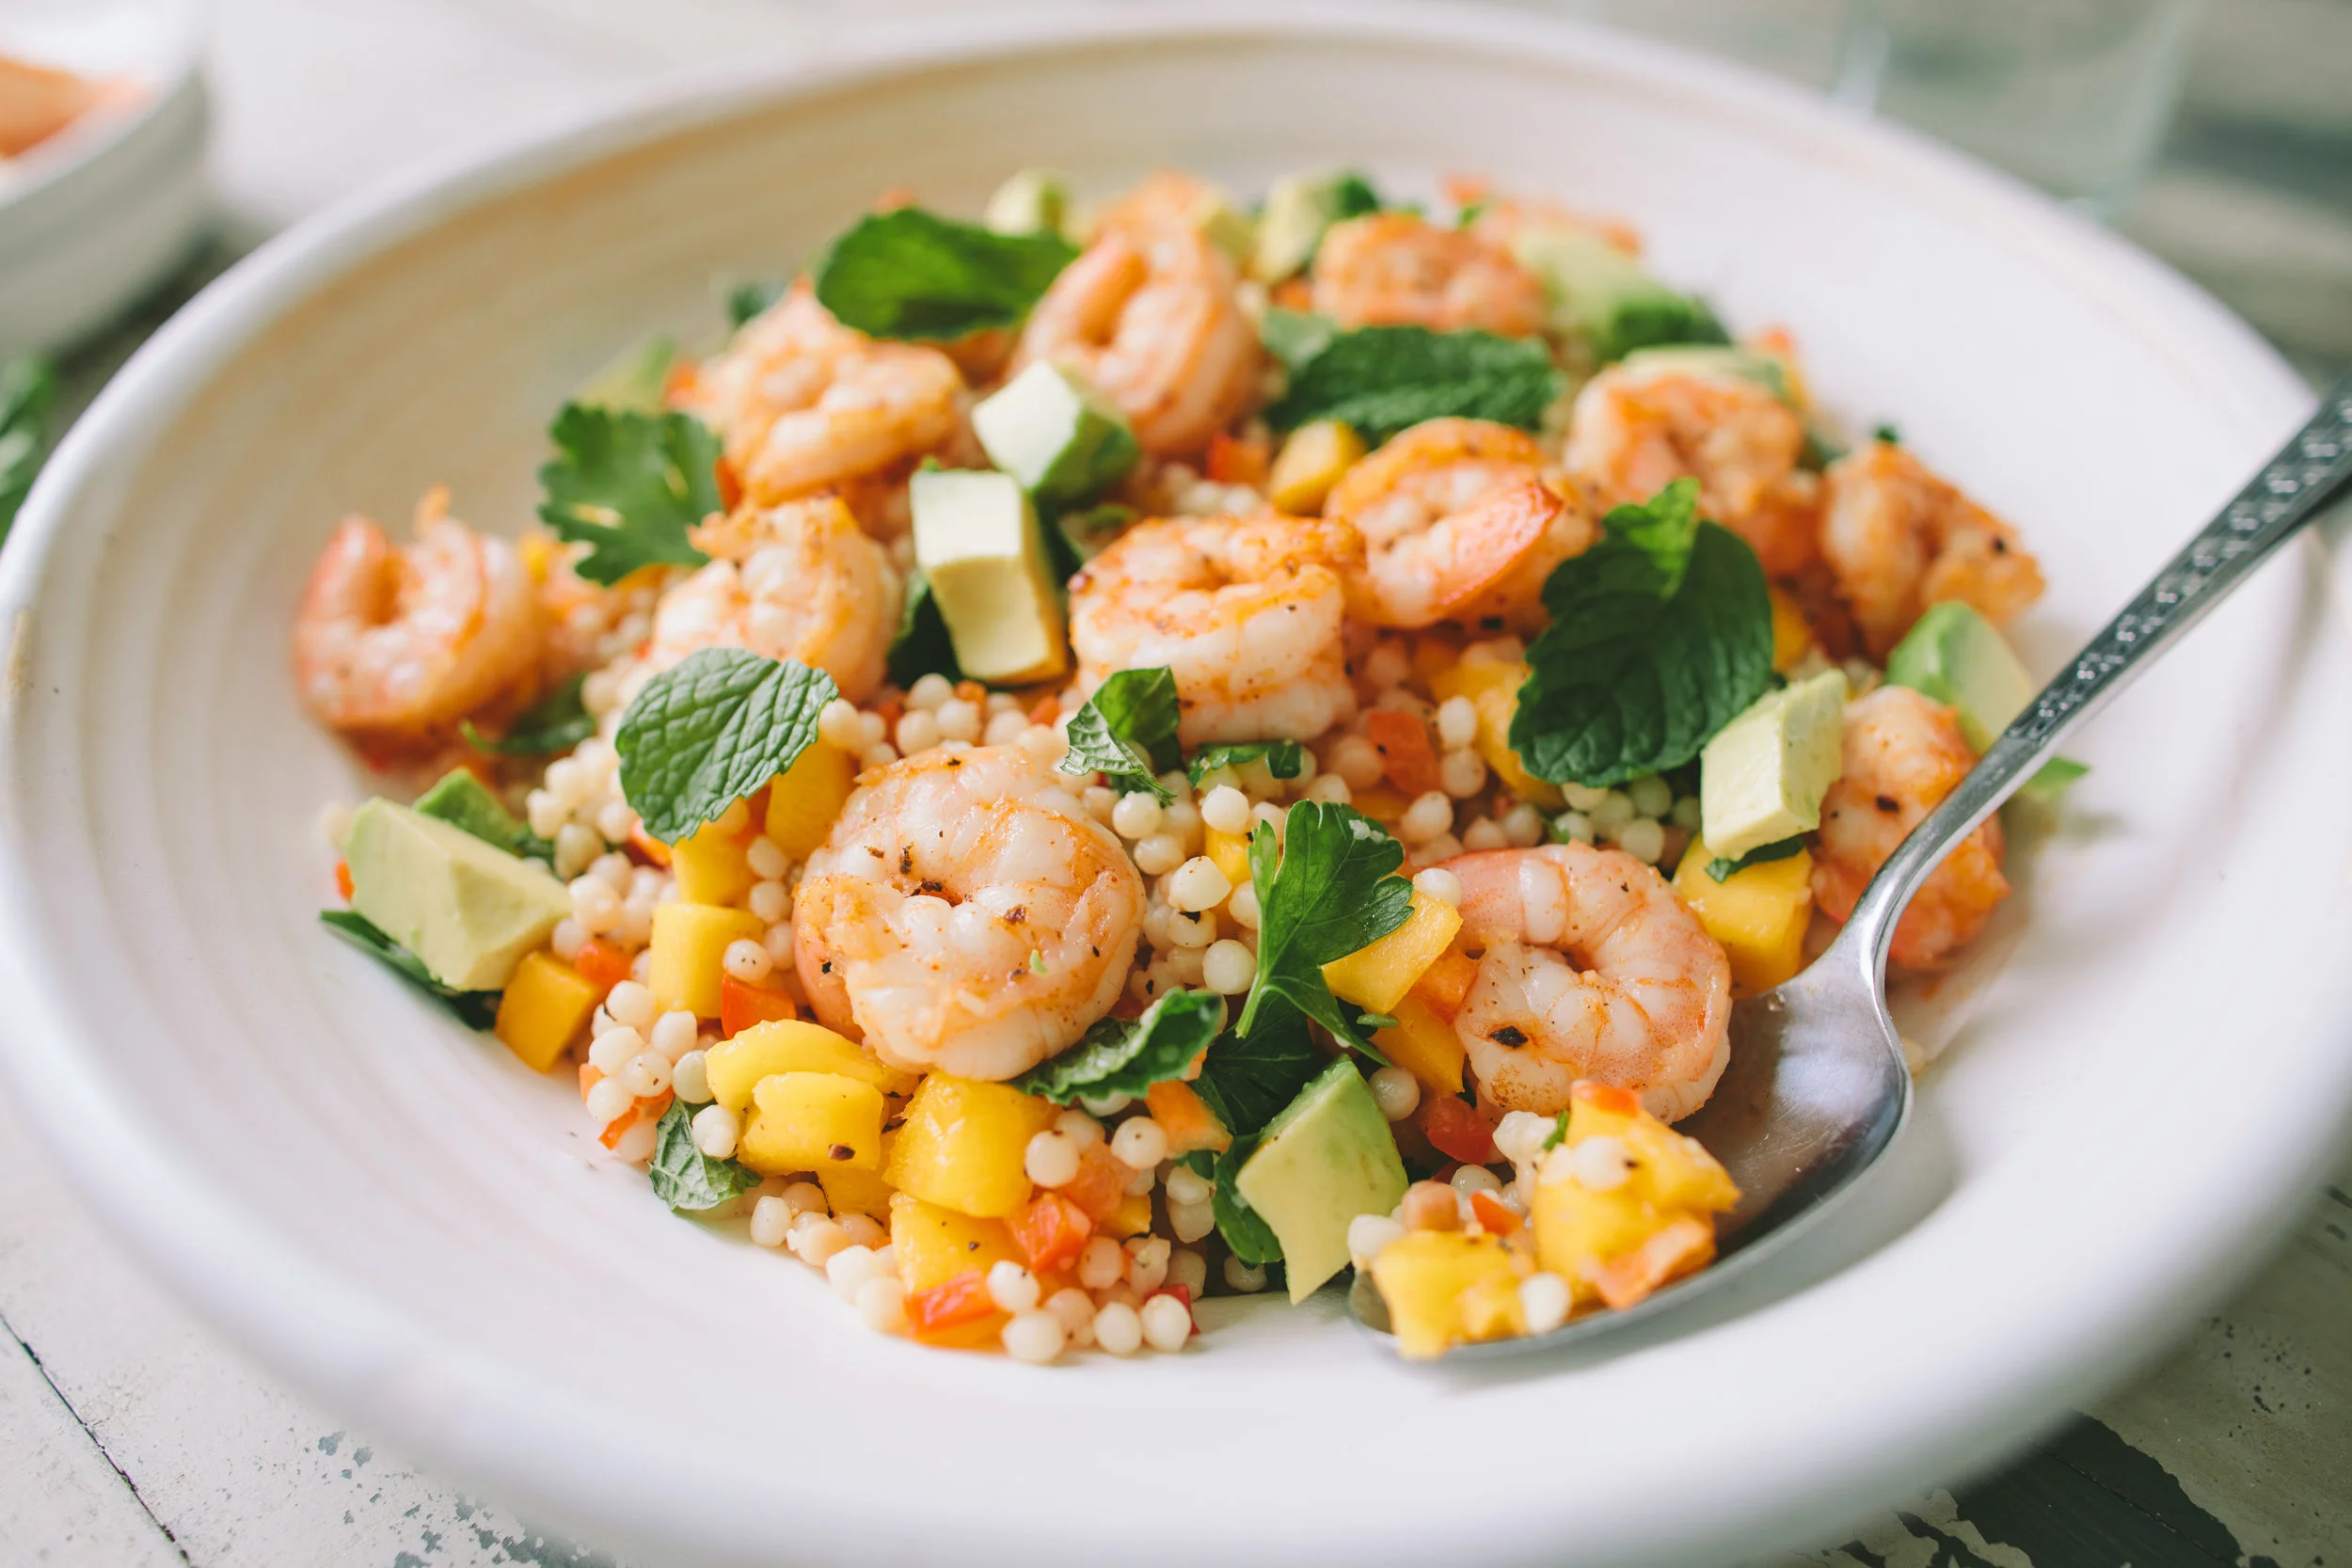
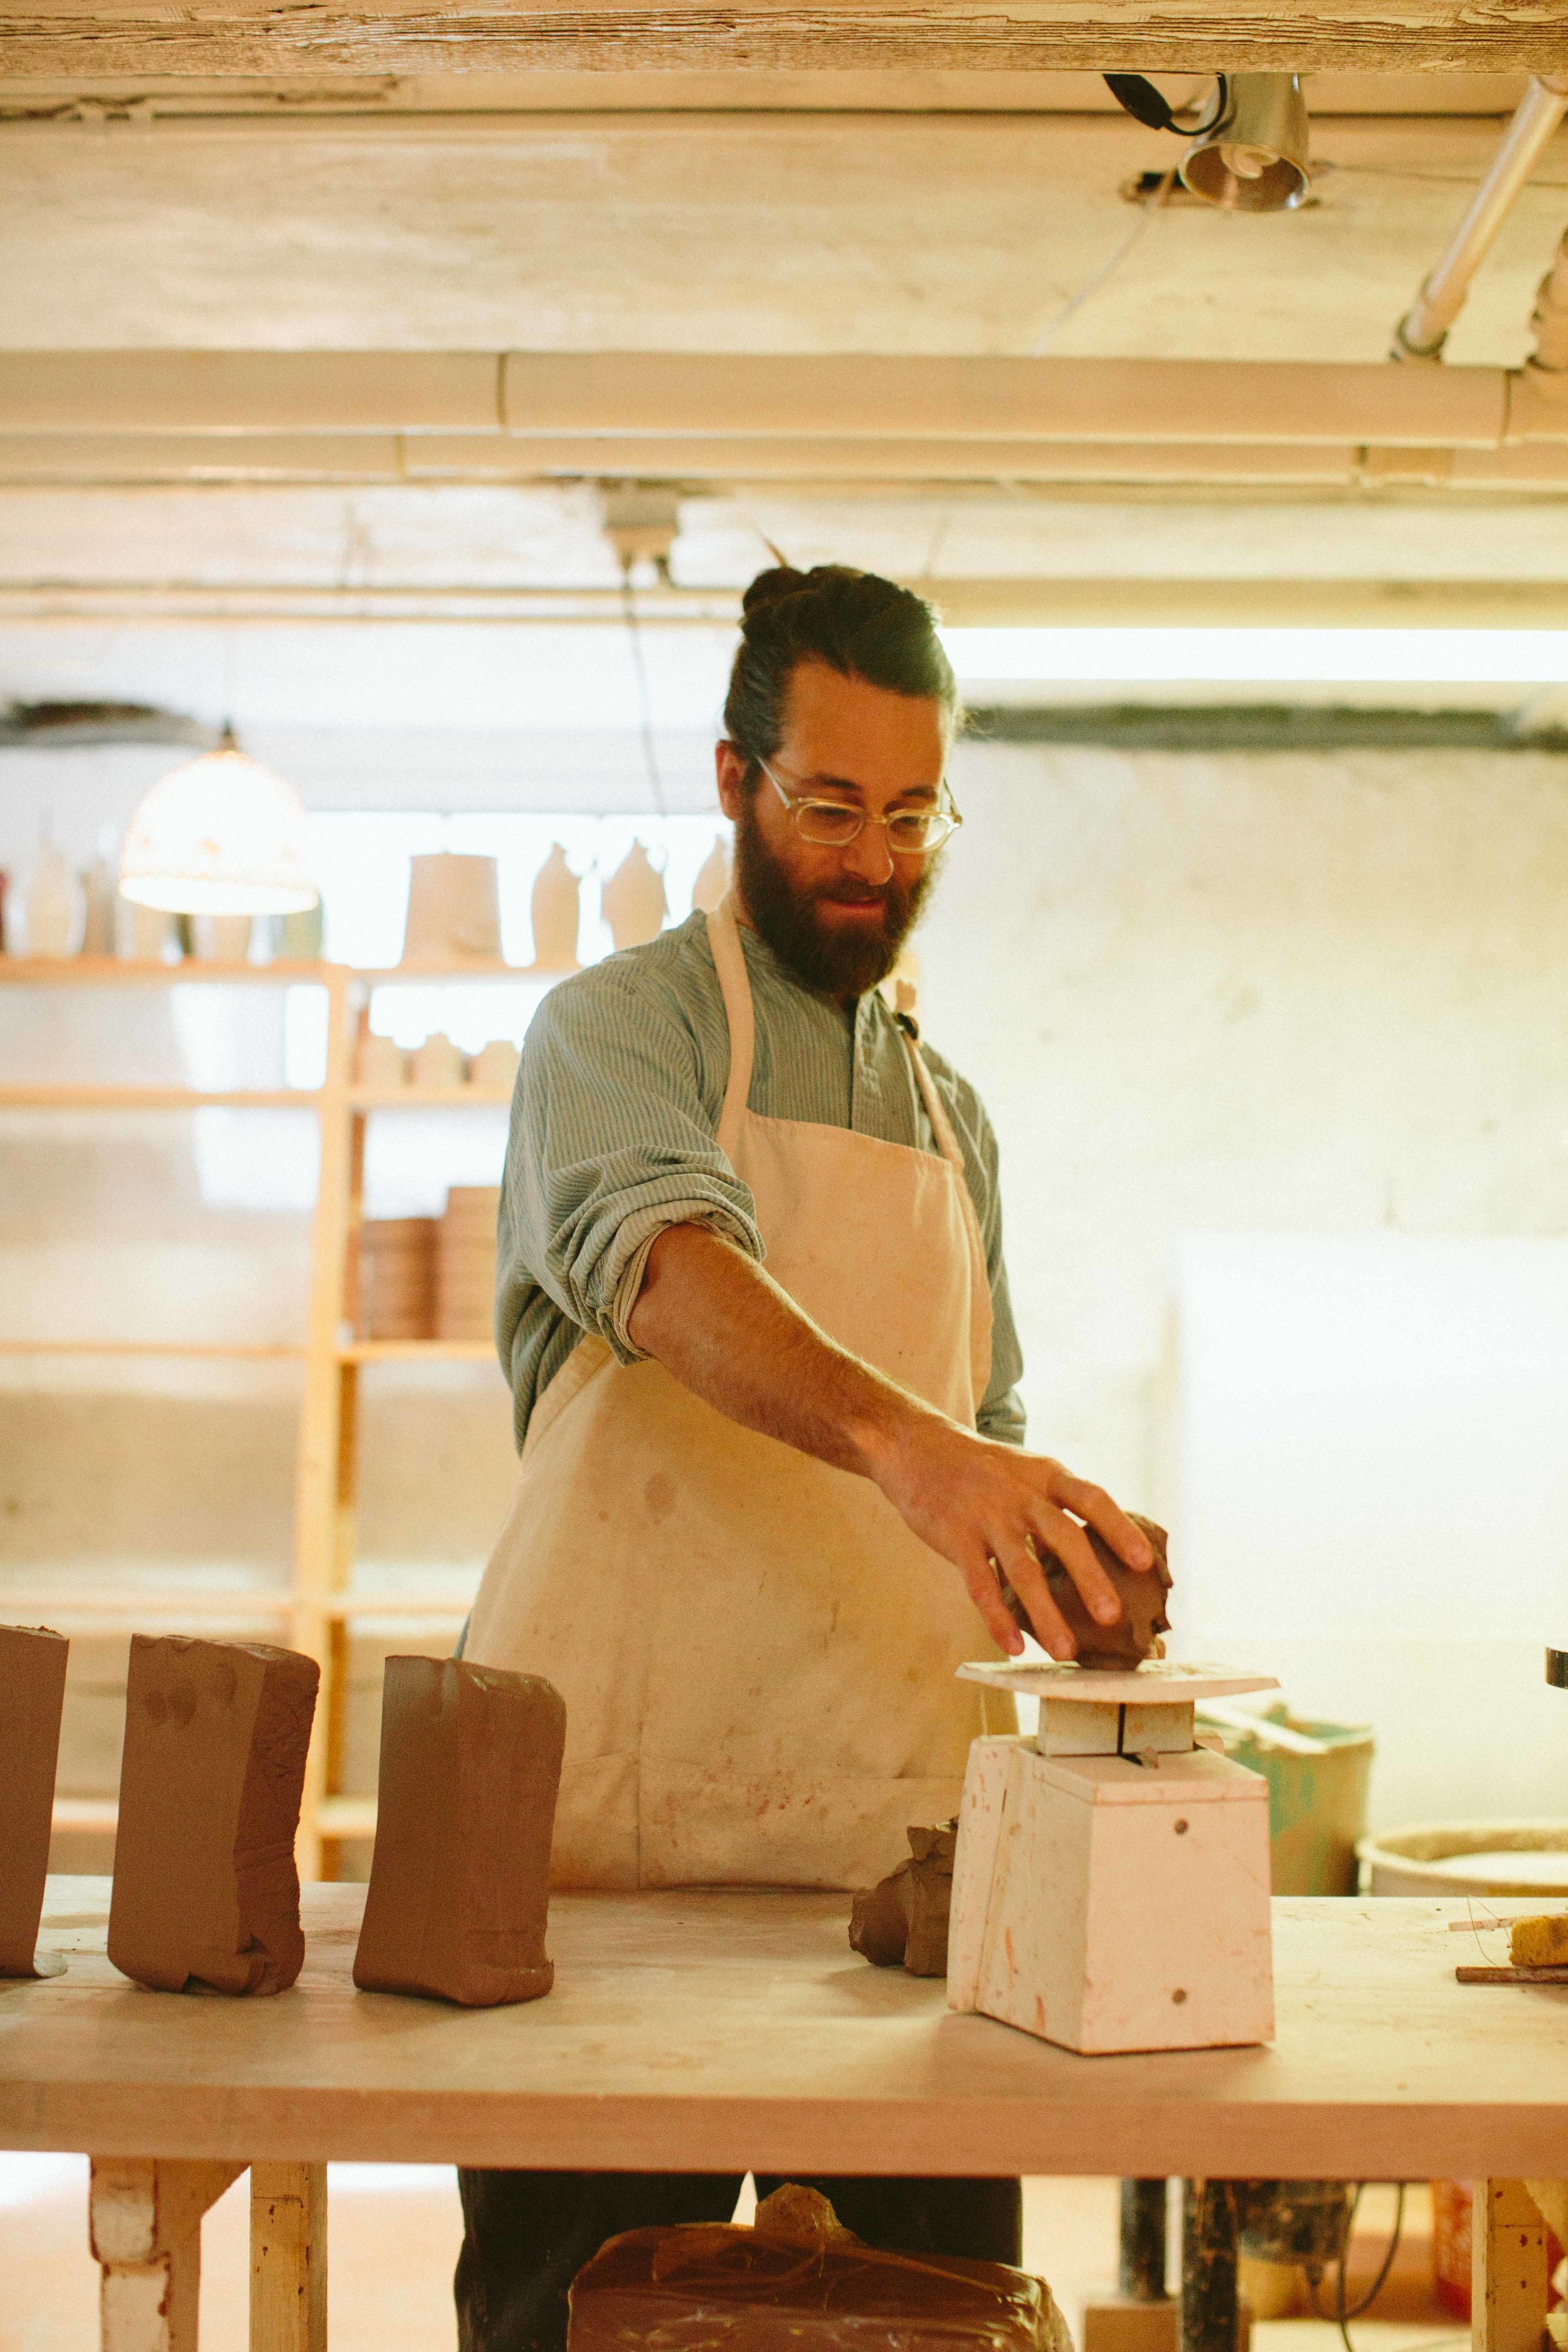
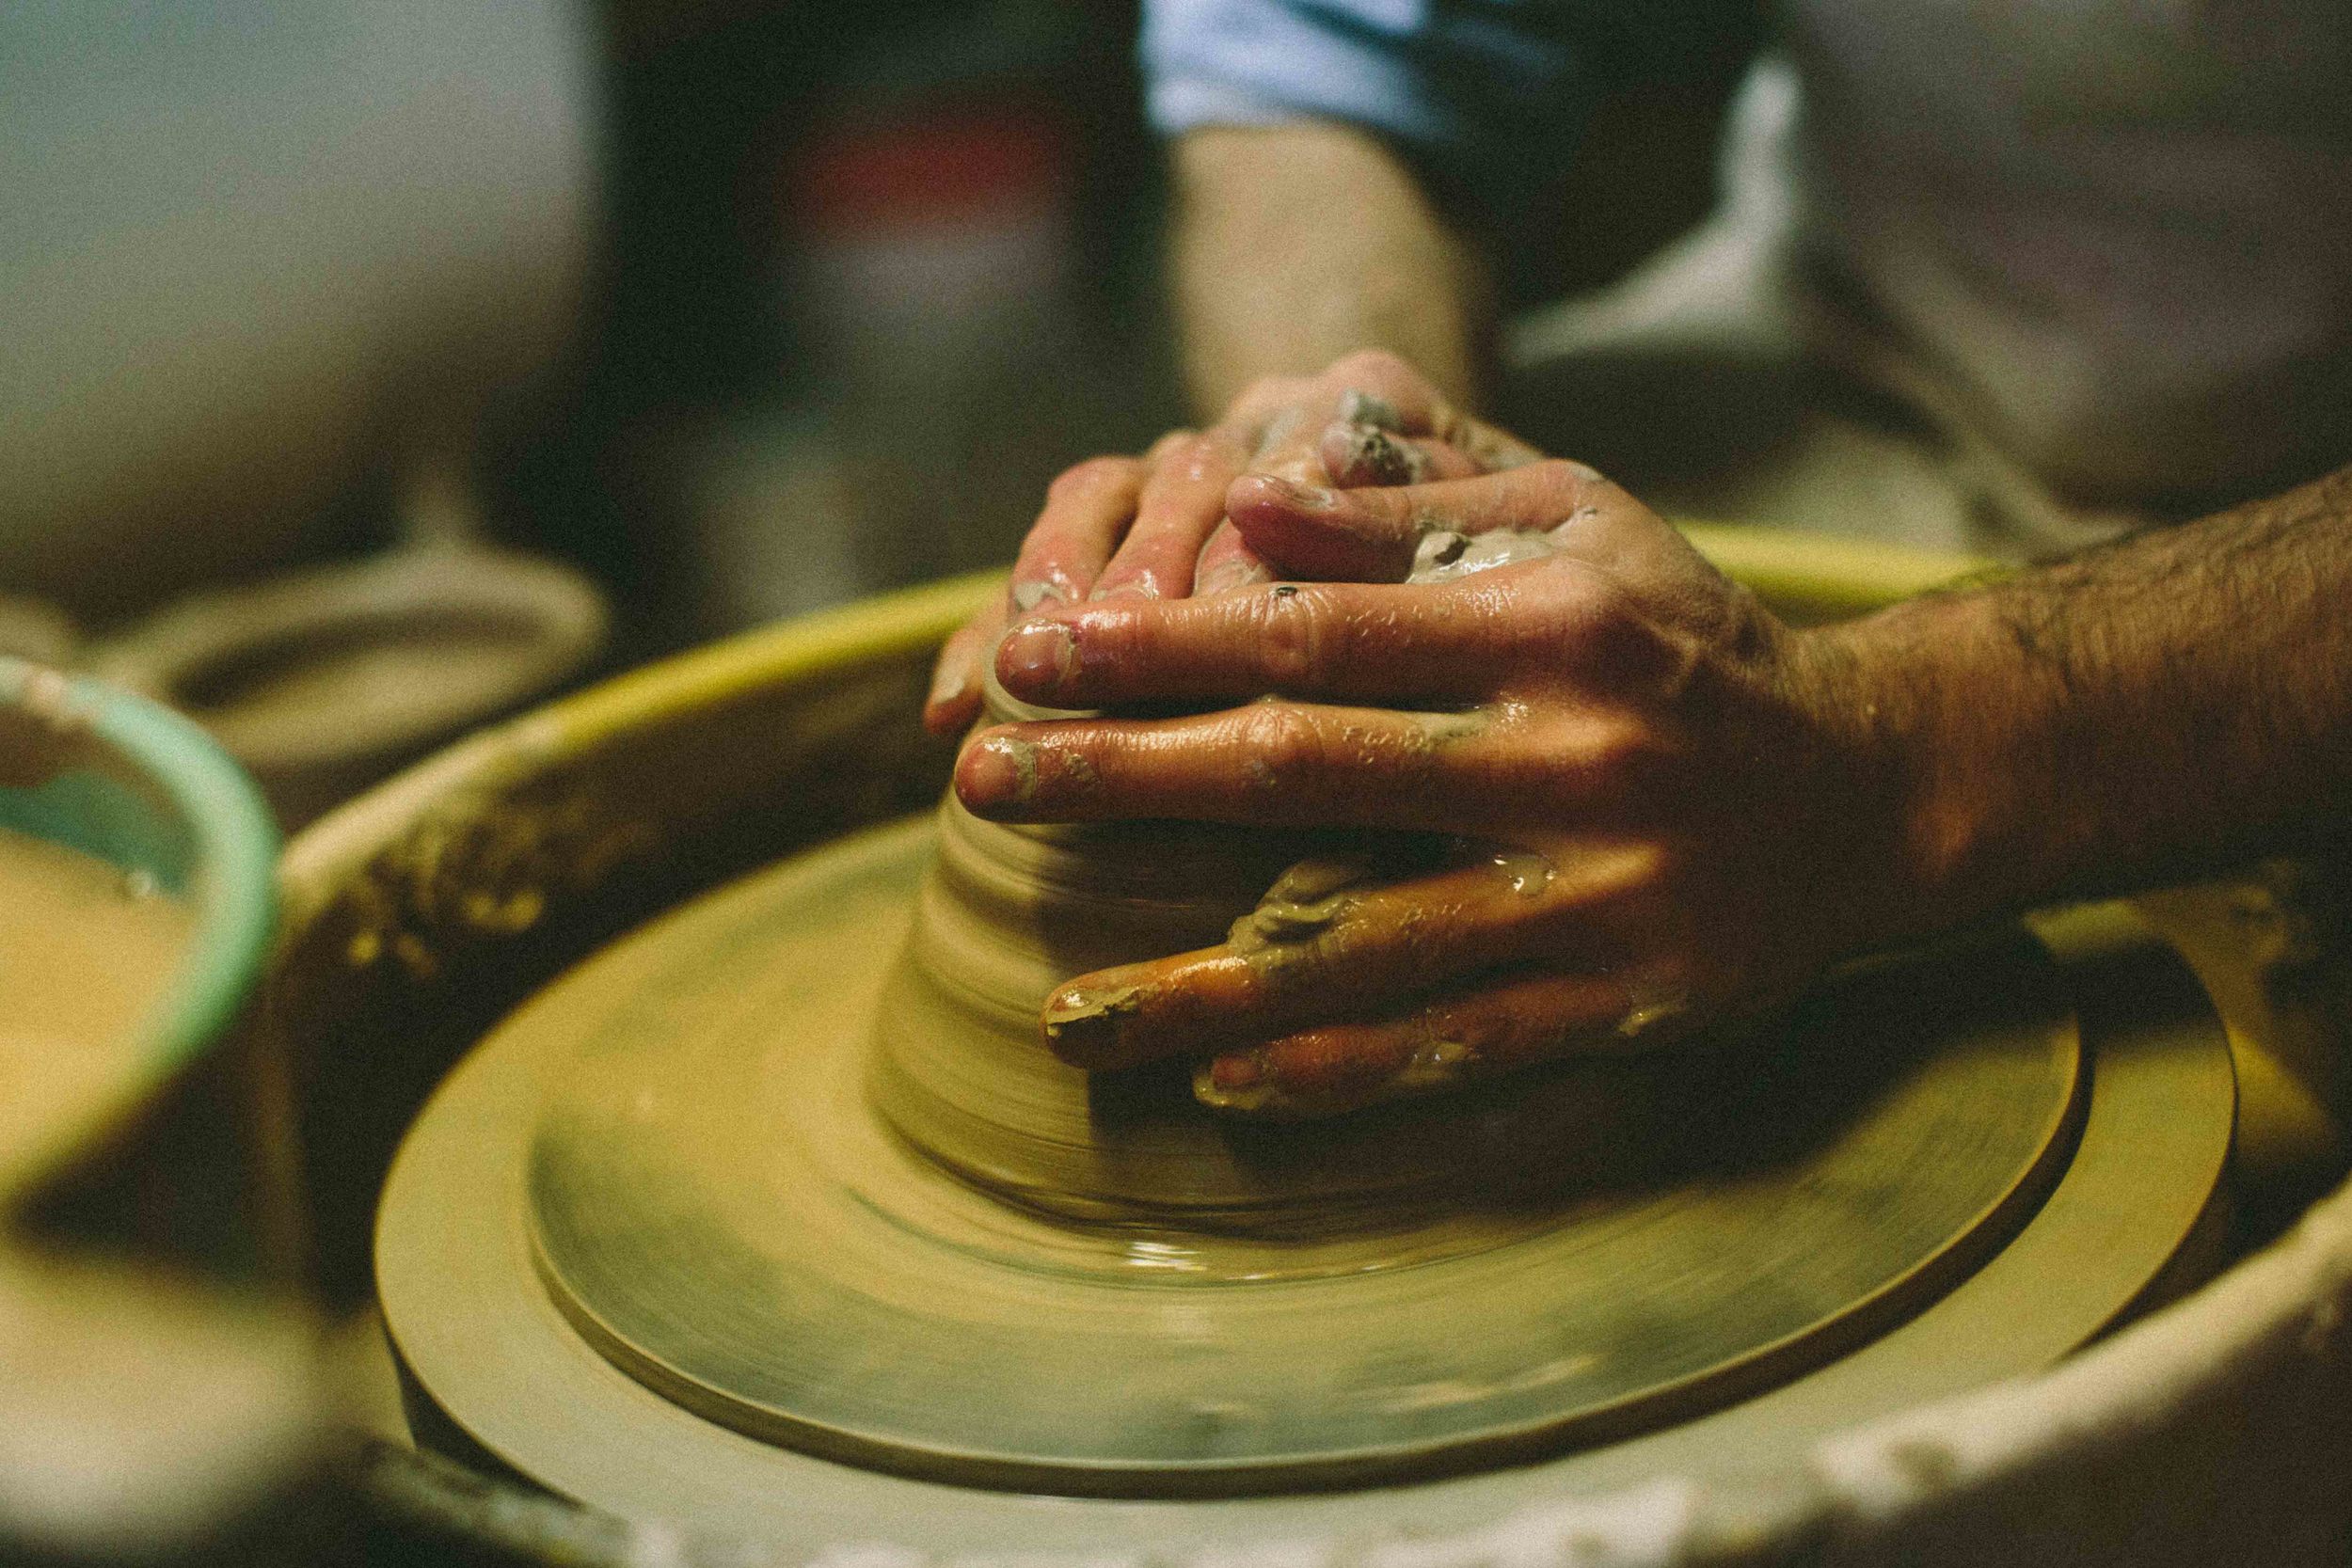
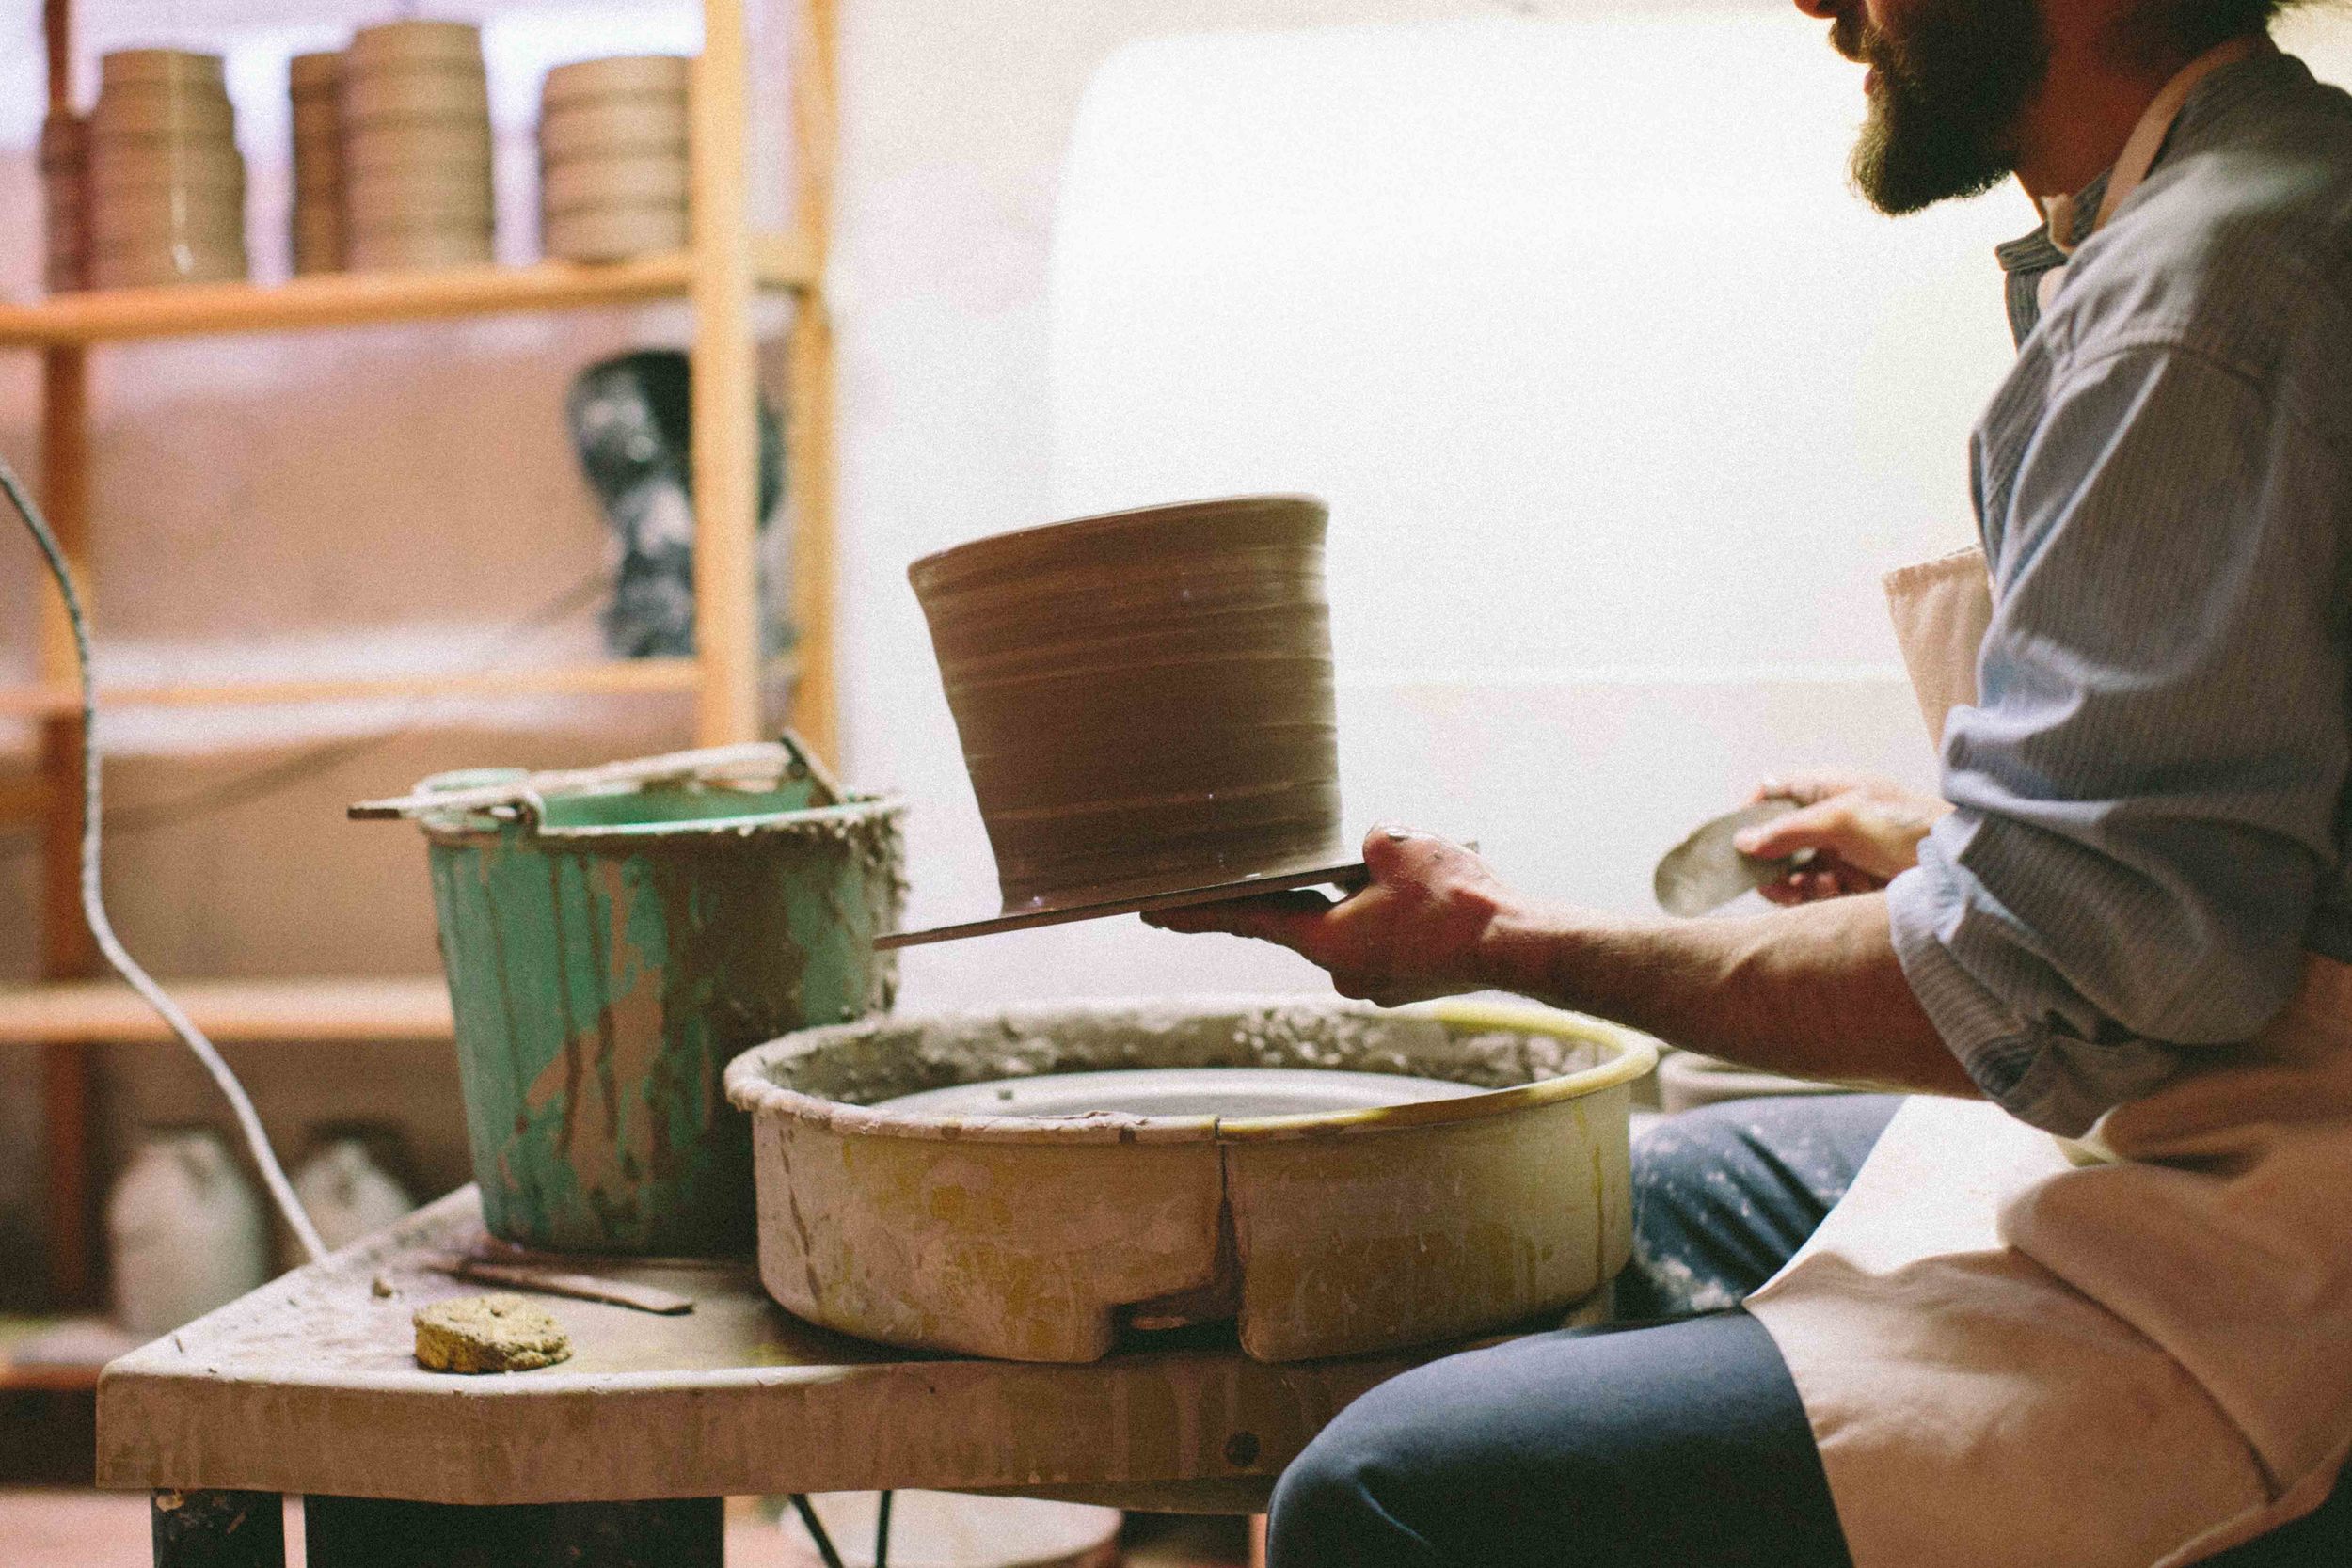
The first time I became familiar with Jeremy's pottery was at a photo shoot a few years ago. He wasn't in attendance but the dish I was photographing was served in one of his bowls. As the chef placed the dish on the table, I was taken aback by how beautiful the presentation was. The food popped in its surroundings, a testament to just how wonderful his pottery is. I sat down with him a few weeks ago to get more insight into his process. And, as I was leaving, he gave me a stack of plates and bowls to bring home, which I've featured below along with three recipes (two vegetarian dishes and a gnocchi with smoked salmon).
Q. What led you to pottery?
A. I have been making pots for over 20 years but it has been a circuitous route to finding my way to full-time studio potter. Before working in clay, I spent over 10 years in the public health world – working on HIV prevention as a peace corps volunteer, working in Ecuador for a few yrs on health education, and then in Washington, DC working on HIV & public policy. I learned many lessons as an activist, educator & community organizer that really inform my current work, but it has taken a moment to realize how.
Working in other countries on difficult health issues has really taught me to be entrepreneurial – to search for new solutions and constantly move forward. And these experiences helped me take a big risk 6 years back – to leave the public health world (and a consistent paycheck) to start my small biz as a full time potter.
Q. Where do you make all of your pieces?
A. In my small studio in Jamaica Plain, a community I love!
Q. Who do you make pottery for?
A. I’m actually not always sure who my pottery is for. I’m constantly being contacted by new folks that have an interesting use for my finished clay pieces which is super cool – and I consequently feel like the end-user of my ceramics is constantly being broadened. For example, last month, Kirkland Tap & Trotter pitched me to create a few different sized beer growlers for their bar. And a few years back, Razors Barbershop in Somerville commissioned shaving mugs for their old fashioned straight razor shaves. I have also been crafting beer steins for my neighbors and buds the JP Beer Garden folks that they use at their popup events, and I spent years making hundreds of trophies for local Boston road races. In retrospect, I had no idea that barbers, bartenders, chefs, and so many different types of folks would have creative uses for my work and it has been so exciting as new projects roll in. I am always open to new funky collaborations!
Q. What’s the process like for making pieces for restaurants? Do they give you a specific style that they’re going for or do you present ideas to them?
A. I really see my work with restaurants as a collaboration. I want my work to fit within the vision of the space and complement the food, so I like to work with chefs from the outset, talking about size, shape, color and feeling that the work should convey. I always invite chefs to come down to my studio to see my work and from there we can talk about specifics. In some cases, I will create prototypes that we can try out and plate food on, and then refine and finalize the pieces from there. In other cases, pieces from my Elemental Line of work are perfect. I like to get to know the folks that are making use of my work so that I can make pieces that will complement who they are and what they will put on them. I think this more customized approach limits the clients I can work with but it allows me to build relationships and work closely with folks I like. And this is really what I most like about being a studio potter – that my work allows me to meet folks outside the clay world in my community and build creative & strong connections. Check out some of my restaurant collaborations by searching for the hashtag #ClayChefCollab.
Q. What is your favorite part of the process of creating pottery?
A. I really enjoy all the aspects. I like the dreaming phase at the start of a new project, but I also love the making stage when I am hunkered down at my potters’ wheel for hours cranking out work. And of course it is gratifying and fun to walk into a coffeeshop/friends’ house/restaurant/barbershop and see my work in use!
Q. How have you seen your work change over the years?
A. Wow, it has changed drastically. In the past, I created work that was largely of interest to me. I dreamed up shapes and ideas and made pieces that I wanted to use. Sometimes other folks were interested & sometimes not. But these days, my workload is largely led by the types of clients I have. It depends on who is knocking on my door! I still carve out time to make some pieces for myself but it is much harder these days. For the past few years, I have been shipping monthly orders to Williams Sonoma + creating work for local restaurants, craft shows, and custom clients. It has kept me very busy – especially because it is only me creating all the work – but I always need some time to dream about what is the next project or form that excites me. This is partially what keeps me excited about my craft and moving forward.
Q. Anything else you’d like to share?
A. Last fall, I needed to make something different & new because I was being crushed by fall orders and holiday sales prep, so I started making clay spoons. They are small and quick to make and all different shapes. I had no idea what I would do with them or how they’d be used, but folks were interested SO I just started gifting them to friends. I have given away dozens by now and like to think they are my alternative business card. And folks have put them to use in really creative ways! They’ve sent me photos and I’ve posted some online using the hashtag #spooningboston. Check them out and if you are interested in a spoon, hit me up!
Follow Jeremy on Social Media Sites: WebsiteFacebookInstagram Email: jeremy@oguskyceramics.com
Roasted Eggplant with Fire Roasted Tomatoes, Onion and Cannellini Beans
Servings 4, as a side Ingredients 1 small eggplant, sliced into ½ inch rounds Olive oil Salt 1 small onion, thinly lengthwise 1 garlic clove, thinly 1 can fire-roasted tomatoes 1 14 oz can cannellini beans, rinsed and drained Parsley
Directions Preheat oven to 375 degrees. Line a baking sheet with aluminum foil. Place sliced eggplant on prepared baking sheet. Brush with olive oil. Season with salt. Bake for 15 min. Flip eggplant and bake for another 15 minutes.
While it’s baking, heat olive oil in a pan over medium heat. Add onion, season with salt, and sauté for 3 minutes. Add 1 can of tomatoes, leaving as much liquid in the can as possible. Add ¼ of the cannellini beans and cook for another 5 minutes.
Transfer eggplant to a shallow bowl and spoon tomato and bean mixture on top. Garnish with chopped parsley.
Sautéed Radishes with Mashed Parsnips
Servings 4, as a side
Ingredients1 bunch radishes (6-8 large ones), with greens 1/2 lb parsnips (or 5 smaller), peeled and cut into even sized pieces 1 garlic clove, minced Salt Black pepper Olive oil
Directions Place parsnips in a pot with water. Bring to a boil, cover, and reduce heat to a simmer. Cook for 20 minutes, or until tender.
Meanwhile, rinse the radish and radish greens thoroughly and then dry them. Quarter the radishes lengthwise and coarsely chop the greens.
Set a sauté pan over medium-high heat. Add olive oil. Add radish. Cook until golden brown on each side, about 8 minutes. Season with salt and pepper. Add greens and minced garlic and cook until greens have wilted. Taste for seasoning and, if necessary, add more salt.
Using a slotted spoon, transfer the cooked parsnips to a mixing bowl and mash them with a fork (it’s ok if there are some lumps in it). Season with salt.
Spoon parsnip mixture into a shallow serving bowl and top with cooked radish and greens.
Creamy Mushroom and Smoked Salmon Gnocchi
Ingredients 3 tbsps. butter 1 small yellow onion, thinly sliced lengthwise 8 oz shiitake mushrooms, stems removed and sliced 1 cup heavy cream 4 oz smoked salmon, coarsely chopped 1 tbsp fresh thyme, chopped 1-16 oz package of potato gnocchi Salt Black pepper 1/4 cup bread crumbs
Directions Heat 2 tablespoons butter in a skillet over medium heat. Add onion and cook for 3 minutes. Add shiitake mushrooms, season with 1 teaspoon of salt, and sauté for an additional 2 minutes. Add cream and ¾ tablespoon of thyme. Add smoked salmon. Taste for seasoning and add salt and black pepper.
Bring a large pot of salted water to a boil. Cook gnocchi for 3-4 minutes. Using a slotted spoon, transfer to the pan with the sauce and toss until gnocchi is coated.
In a small pan, heat 1 tablespoon of butter over medium-high heat. Once the butter has melted, stir in the bread crumbs and continue stirring until they have browned.
Transfer gnocchi onto plates or bowls and sprinkle bread crumbs and additional thyme on top.


