Appetizer

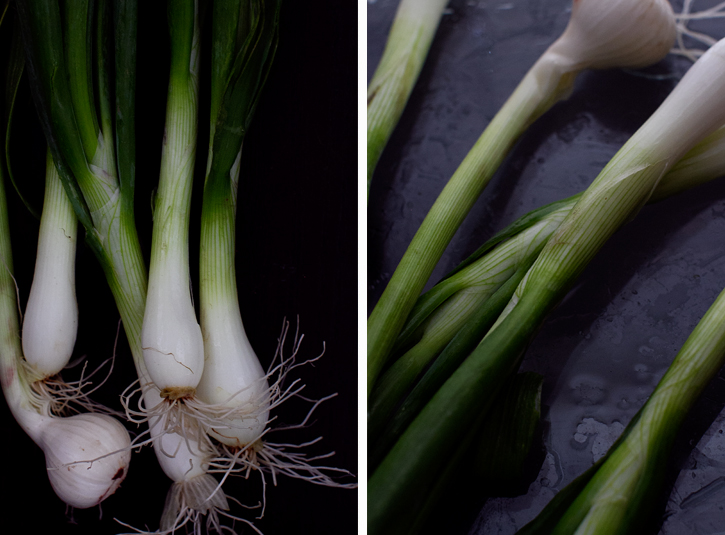
Spring Garlic Pancakes

Spring Garlic Pancakes

This is the week of milestones.  Yes, it was Father's Day yesterday. But it was also Eric's birthday (the big 32... I like to remind him that I'll forever be his younger man).  In addition to this, we attended (and I photographed) our dear friends' wedding.  Despite a week of rain, things lightened up Friday afternoon, just in time for their rehearsal dinner, and stayed bright and sunny for the next 36 hours.  The weather reminded me of our own wedding, which occurred four years ago this week.  It's hard to believe that time has flown by like this.  I couldn't be happier with the life we've created with each other.  Full of laughter and love (and no shortage of delicious food and drinks).  We don't have a lot planned in the way of celebrations, but I can guarantee a lobster dinner and a bottle of champagne will grace our table.

Spring Garlic Pancakes

Spring Garlic Pancakes

Yield: Makes 4 pancakes

Tools Whisk

Ingredients 2 cups all-purpose flour 1 cup warm water Vegetable oil or peanut oil 1 cup chopped spring garlic Salt

Ingredients for the Dipping Sauce 1/4 cup light soy sauce 1 tablespoon seasoned rice vinegar 1/2 teaspoon sesame oil 1 teaspoon sugar 1/2 teaspoon minced ginger 1 garlic clove, minced

Instructions

  1. Make the dipping sauce by whisking together all the ingredients in a bowl.  Set aside.
  2. To make the pancakes, add the flour to a large mixing bowl and slowly stir in the warm water to form the dough.  Transfer to a floured board and knead three or four times.
  3. Using a knife, cut the dough ball into four even pieces.
  4. Take one ball of dough and, using a rolling pin, begin to roll into a circle.  Sprinkle the spring garlic over the dough and fold it into itself three or four times, until there is spring garlic evenly placed throughout the dough ball.  Roll out again into a circle about 8 inches in diameter.  Repeat with remaining dough.
  5. Heat a large skillet to medium-high heat.  While it's heating, brush the pancakes on each side with oil.  Sprinkle each side with a pinch of salt.
  6. Fry in the pan for 2-3 minutes, or until it turns golden brown.  Flip the pancake and cook for another 2-3 minutes, being careful not to burn it.
  7. Repeat with remaining pancakes.  Transfer to cutting board and cut into wedges.
  8. Serve with dipping sauce.
Shrimp Shu Mai

Shrimp Shu Mai from A Thought For Food #recipe #seafood

I dabbed heaping spoonfuls of gingery shrimp mixture in the center of wonton wrappers and clumsily attempted to fold them into little dumplings.  Not a single one met my expectations.  Eric watched as I struggled and provided silent emotional support. Often, he stays out of my way when I'm cooking, afraid that I might jump down his throat if he makes the smallest comment. I definitely get territorial and oddly sensitive when I'm in the kitchen. It's my personal space and I'm usually not in the mood to have someone around to tell me I'm doing something wrong (which I almost always am).

It'd been my plan to make shu mai for quite some time.  Growing up, I was a voracious eater, never turning down food, even if it was something a bit out of the ordinary.  But my connection to cooking stems from a single moment from my childhood.  It was over summer break and my sister was away at camp, leaving me with my parents for a full month.  They filled each day with trips to the pool, art projects, and film festivals (one year we watched all of the James Bond films). One afternoon, they suggested that we make a recipe from a Chinese cookbook tucked on the shelf.  We all agreed on shrimp shu mai and went to the store for the ingredients.  Back at home, I peeled (heads and all) and deveined each one, a process that for a 9 year old took a lot longer than it should have.  We chopped the scallion, herbs, garlic, and ginger by hand.   A wok was placed on the stove, a bit of water added to the bottom, and was then covered with a bamboo steamer.  A feast followed, the result of all the hard work.

It's been almost 20 years since I last made shu mai, and I thought it was about time to try it again. The process was almost exactly how I had remembered.  Except this time, I was joined by my husband.  I didn't want to push him aside, I wanted this to be something we experienced together.  We stood there and made a few.  I looked up at him and realized, at that moment, a new memory had been created.  

Shrimp Shu Mai from A Thought For Food #recipe #seafood

Shrimp Shu Mai

Ingredients

1/2 lb fresh, uncooked white shrimp, peeled and deveined

1 garlic clove, minced

1 tbsp ginger, peeled and minced

3 scallions, green parts only, chopped

1/2 cup cilantro (or parsley if you're not a cilantro fan), chopped

---

2 tbsps soy sauce

1/2 tbsp distilled white vinegar

Directions

1. Place half the shrimp in the food processor and pulse until it becomes a thick paste.

2. Add the remaining shrimp in the food processor, along with the garlic, ginger, scallions, and cilantro, and pulse five times to chop the shrimp, but make sure the remaining shrimp does not turn into a paste.

3. Place the wonton wrapper on a work surface.  Using your finger, slightly moisten the edges of the wrapper with water.  Spoon a heaping teaspoon into the center of the wrapper.  Squeeze the edges of the wrapper up and around the shrimp mixture, making sure to leave some of the mixture exposed on top.

4. Set a steamer basket in a large pot (one that contains a top) over an inch of water.  Bring the water to a boil and then reduce heat to a simmer.

5. Gently place the shu mai in the steamer in a single layer.  Cover the pot and cook for 5-7 minutes, or until the mixture turns pinkish.

6. Meanwhile, mix together the soy sauce and rice vinegar in a mixing bowl.  Red chili peppers can be added as well if desired.

7. Transfer shu mai to a serving platter and eat immediately (they're never as good when they get cool).  Serve with the dipping sauce.

8. Cook the remaining dumplings and enjoy!

Marinated Eggplant with Mint and Capers

MarinatedEggplant2

MarinatedEggplantDuo

At the beginning of the year, when I sat down to think about the direction I wanted to take this site, I decided on a few things.  One, I didn't want to stress about it anymore. I've cut back on the number of posts.  I think this will allow me to focus on creating quality content rather than trying to bang out material for the sake of putting it up here.  And I think it will allow me to focus on the other things in my life, like relationships and exercise (still working on that one) and getting out a bit more to enjoy all the culture this city has to offer.

The second thing I decided was that I wanted to get back to the roots of why I started A Thought For Food.  As a home cook, I created this site as a way to share recipes that I have come to love... and to hopefully inspire a few people along the way to try dishes they wouldn't have normally made.  I always want these recipes, whether my own creations or from the vast collection coming from my always growing magazine collection, to be accessible to the masses. For me, there's nothing better than a meal that's not only flavorful, but uncomplicated.

This marinated eggplant is one of those dishes that I can't get enough of.  I've been making it for years, which is why I'm kind of surprised it's taken me this long to put it up.  I recently prepared it for our annual winter BBQ, where we served up lamb kabobs and falafel, along with an assortment of middle-eastern inspired sides. The briny capers help to balance the richness of the eggplant, and the mint adds a brightness that almost makes you forget about the snow laden streets.

IMG_3880

Marinated Eggplant with Mint and Capers

Slightly adapted from Gourmet Magazine via Epicurious

Yields: 8 appetizer portions

Ingredients

2 pounds thin Italian or Asian eggplants, cut into 1/4-inch-thick rounds

10 tablespoons extra-virgin olive oil, divided

4 tablespoons red-wine vinegar

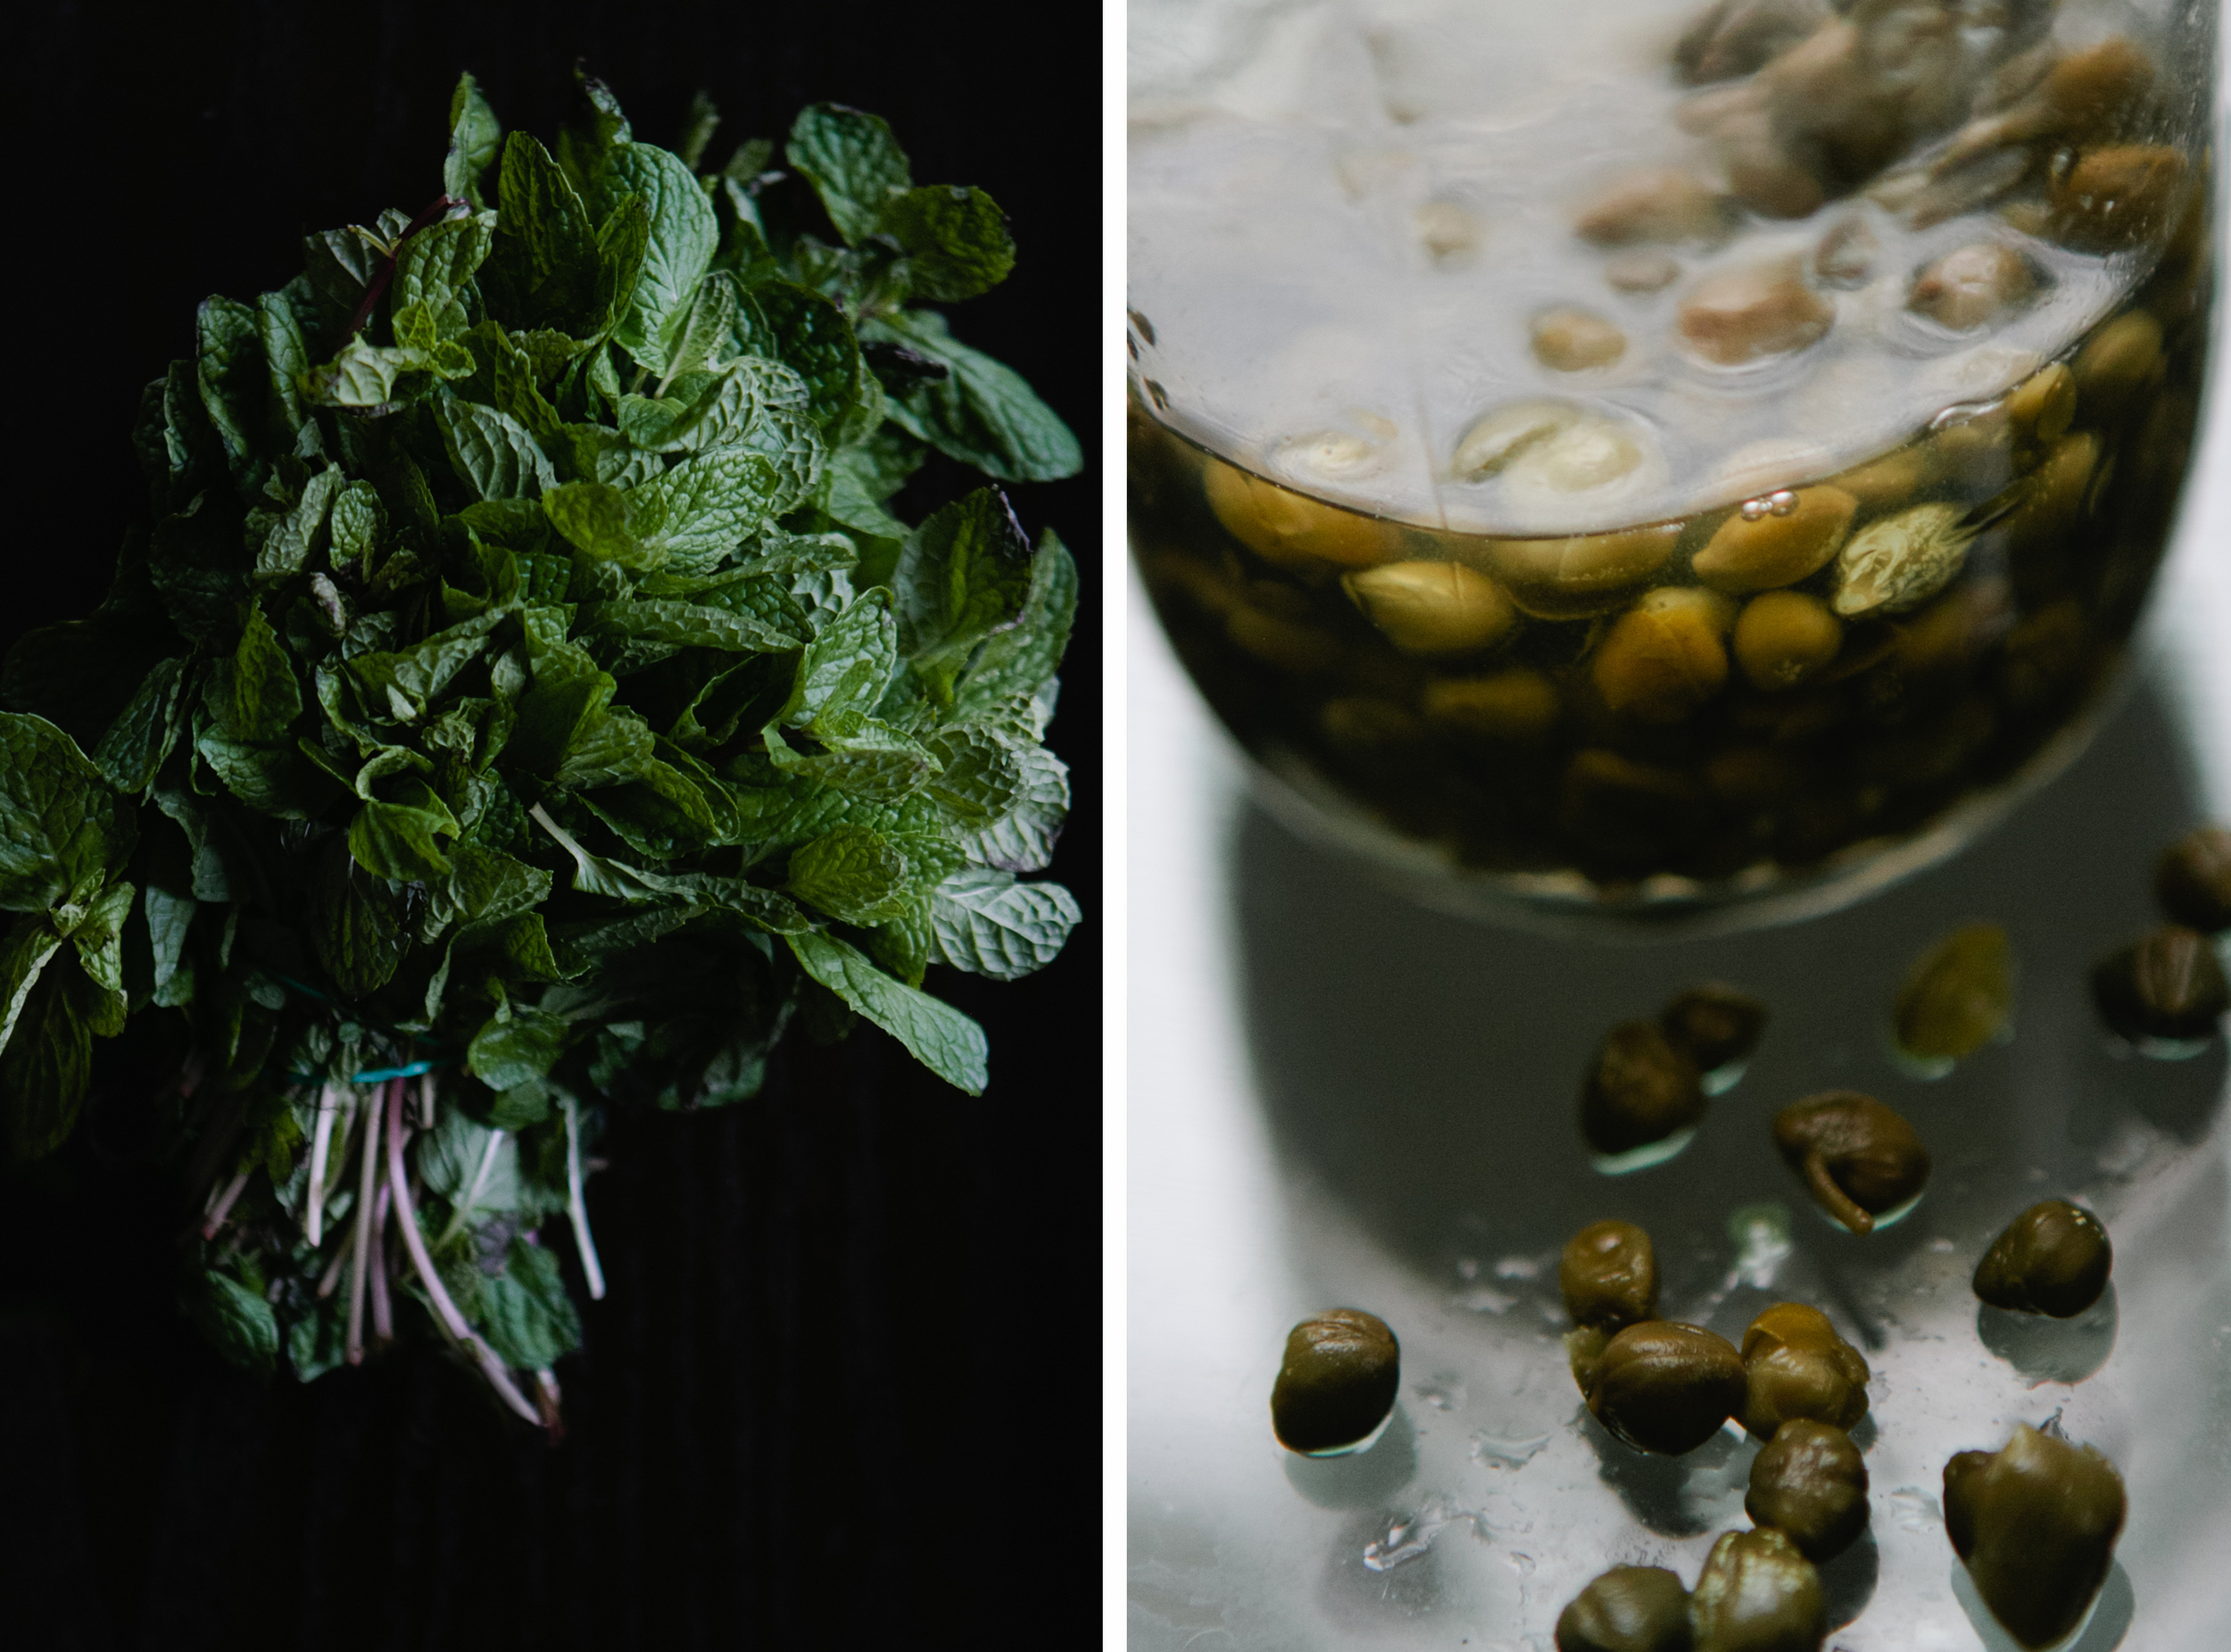
1/2 cup chopped mint

4 tablespoons small capers, rinsed

Directions

1. Preheat broiler.

2. Line a baking sheet with parchment paper.  Arrange eggplant in a single layer.

3. Brush both sides of the eggplant slices with 4 tablespoons of the olive oil.  Broil about 4 inches from the heat, turning once, until golden, 8 to 12 minutes total.

4. Stir together vinegar, mint, capers, 1/2 teaspoon salt, 1 teaspoon pepper, and remaining oil and toss with warm eggplant. Marinate at least 20 minutes.

*Can be made 1 day ahead and refrigerated. Bring to room temperature before serving.