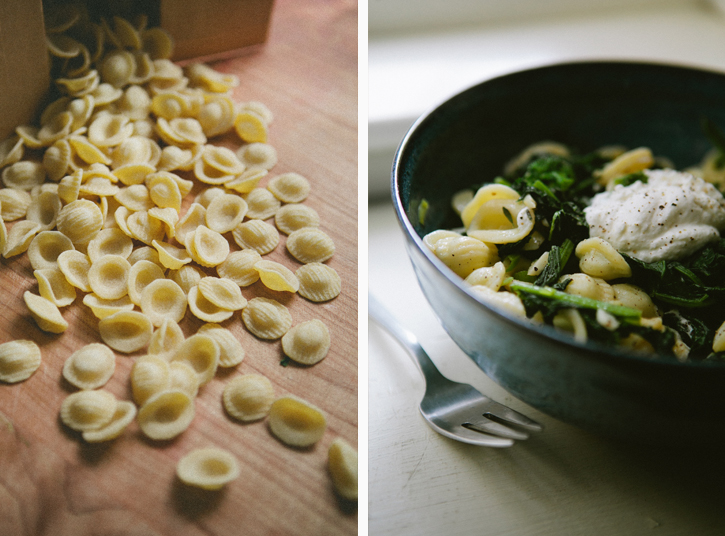
Pasta with Broccoli Rabe and Lemon Ricotta

Eric and I have started the process of looking for a house again after putting things on hold for a bit when I transitioned into freelancing. We’ve lived in the same apartment since we got together.  I moved in after eight months of dating and this place has been good to us.  It has everything we need and is conveniently located within walking distance to Downtown Boston.  But because it’s a rental, we haven’t done much to give it any flare. The walls are white, the furniture a mishmash of things from college and hand me downs from our parents.  Then there’s the furniture we've acquired via Craigslist, which we haven’t replaced because, why would we when we don’t know where we’ll be living?  We’ve been saying that for years.I think we’re both ready to start a home together… one that’s decorated the way we want. One that has a yard for a garden and, ideally, a fireplace.  At least we have a vision, so I hope it won't be an arduous process.


Pasta with Broccoli Rabe and Lemon Ricotta

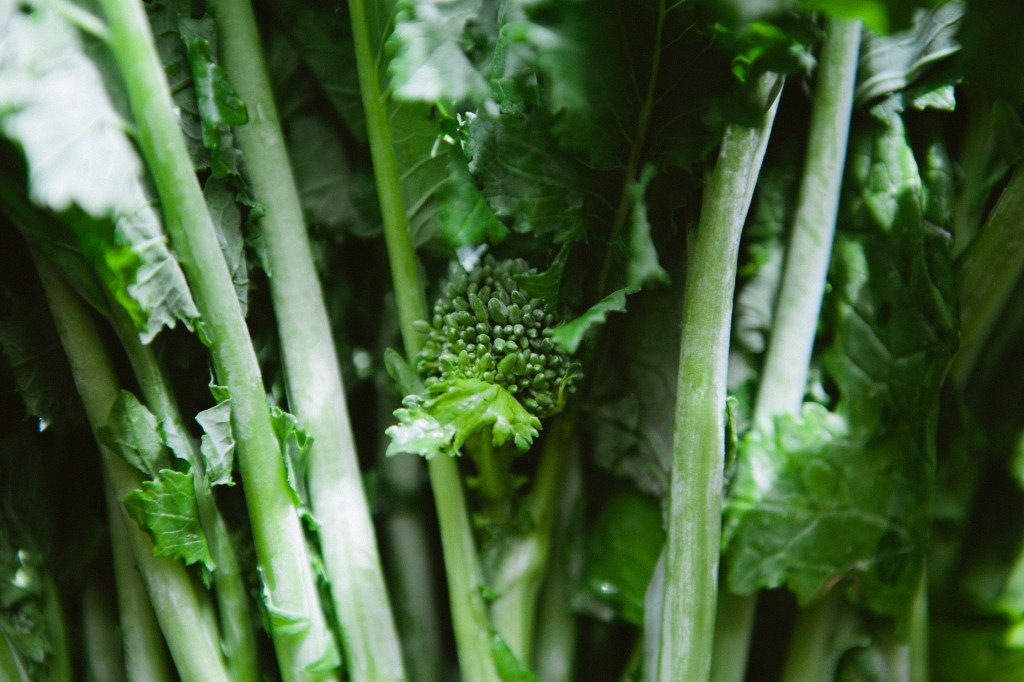
Ingredients 1 lb pasta (the type is your choice, I used orecchiette) 1 lb broccoli rabe, rinsed and cut into 1 inch pieces 4 cloves garlic, minced Extra virgin olive oil Salt Black pepper 1 1/2 cups Ricotta cheese Zest of half a lemon 1 teaspoon fresh thyme

Instructions

1. Bring two large pots of salted water to a boil.  In one pot, boil the chopped broccoli rabe for 3 minutes and drain as much liquid as you can. In the other pot, cook the pasta as directed, until al dente. Drain in a colander.

2. In a large skillet, heat 1 tablespoon of olive oil over medium heat.  Add the broccoli rabe and the garlic.  Toss it around in the oil for about 30 seconds and, if needed, season with more salt. Add the pasta to the pan.

3. In a bowl, whisk together the ricotta and lemon zest until the ricotta becomes smooth.

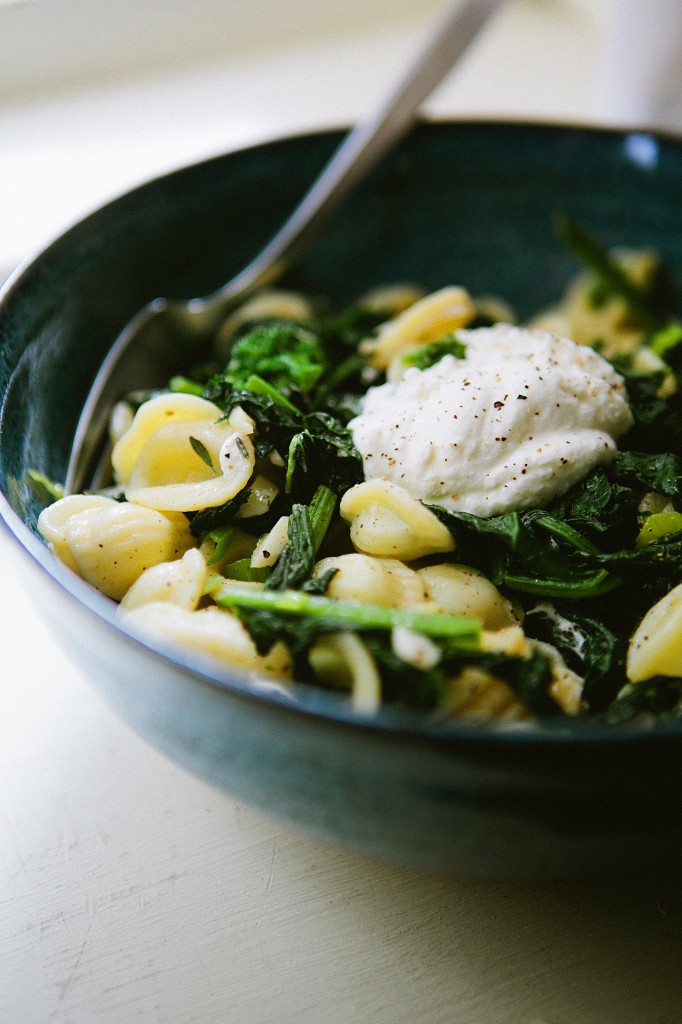
4. Portion out the pasta into bowls, add a dollop of ricotta  and sprinkle with fresh thyme, some additional salt and coarsely ground black pepper.


Pomegranate "Manhattan" + A Tour of Treaty Oak Distilling Co.

Eric and I aren’t ones to bring back souvenirs from our travels.  We eat our way through a city and return home with memories and a few extra (happy) pounds.  If we do purchase something, it tends to be booze.  From our honeymoon in France, we came back with a couple bottles of wine (oh, yeah, and a container of foie gras) and this is how it usually pans out when we go away.  Like food, drinking local vino or beer or spirits tells you a bit about the culture and it's nice to be able to relive that months (or even years) after a trip.

On our second day in Austin, we stopped at a liquor store to pick up some gin to have in the apartment we were staying at for the week. We scoured the shelves for something produced in the area, and that’s when we came across a bottle with a nifty label proudly proclaiming it as a “Texas-style gin.”  Ok, we’ll give it a try. Another stop for tonic and citrus and we were on our way home to test it out.

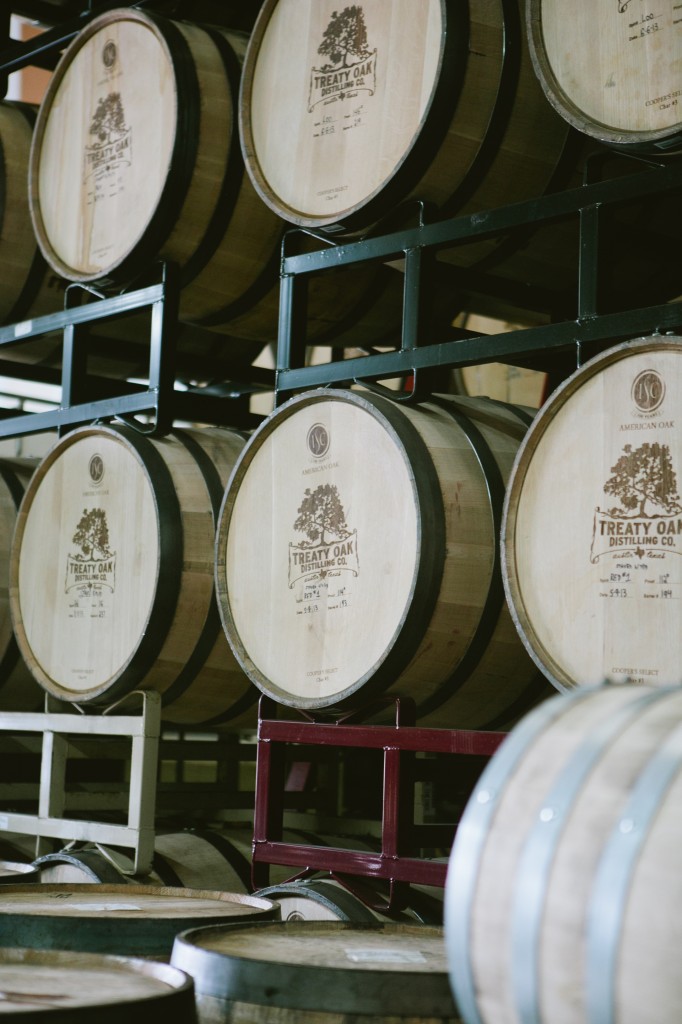
The Treaty Oak Distilling Co. is owned and operated by Daniel Barnes (along with his knowledgable and very friendly staff).  Walking in, we weren't quite sure what we'd find, but the guys there beamed when they saw us and were excited to give some out-of-towners a tour of their operations.  The day ended with them lining up bottles on a counter and one of them gestured and said "Ok... help yourselves." If we must, we will!  And we did.

The highlights are their gins… we had already become quite fond of their Waterloo gin, their take on a traditional London dry gin, which is infused with local juniper, lavender, zest from oranges, lemons and grapefruits, rosemary, anise, coriander, licorice root, ginger root and pecans.  The real knockout, however, is their newly released Waterloo Antique barrel-aged gin.  This is a whiskey lovers gin, not just because of its color, but the smooth, caramel notes that it embodies. We’ve been drinking it straight or swapping out for the whiskey in a Manhattan.  I wanted to get a bit playful and thought it might be fun to include a little pomegranate juice into the mix.  Sometimes my experiments are less than stellar. This, however, worked beautifully. Sweet, smooth, boozy. What's not to like?

Pomegranate "Manhattan"

Yield 1 drink

Tools Bar spoon

Ingredients 2 oz barrel aged gin (alternatively, whiskey can be used) 1 oz pomegranate juice 1/2 oz sweet vermouth 1/4 oz fresh lemon juice 1-2 dashes Angostura bitters

1 tablespoon fresh pomegranate seeds

Instructions

1. In a glass with a few ice cubes, add the barrel aged gin, pomegranate juice, sweet vermouth, lemon juice, and bitters.

2. Stir for 10 seconds and strain into another glass.

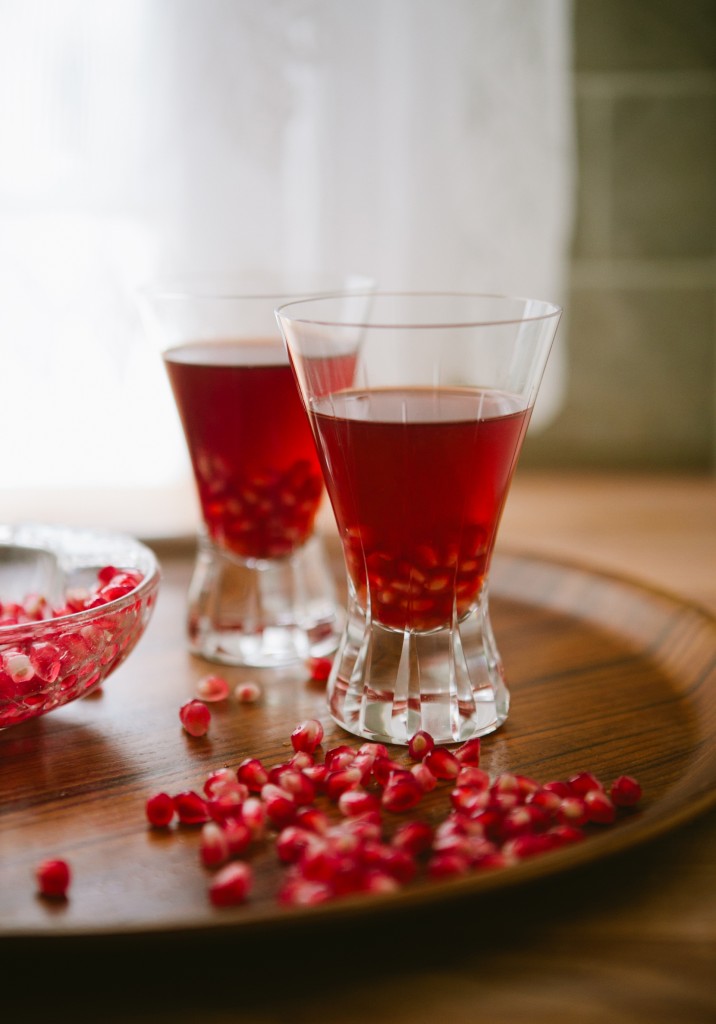
3. Add the pomegranate seeds and enjoy!


Smoked Salmon with Apple Yogurt and Chive

When we were getting ready to leave for our Texas trip, Eric and I joked that we should pack stretchy pants. Looking back, we probably should have. If you've been following any of our travels throughout Austin on Twitter or Instagram or his Tumblr site, you may have seen some pictures of what we've deemed our "foodcation". We're pretty proud of ourselves... we've managed to hit all of the places on our list (and some food trucks along the way). Go us! But, yeah, we're getting back into a serious gym routine when we return.

There's a lot more planned these next four days as we head off to Dallas. There are some distilleries we want to check on our drive up and a few restaurants to stop at along the way. There's talk of going to the State Fair, where you can get just about anything deep fried (hamburgers, Oreos, butter... or so I've heard).  And we might just go to a shooting range on our last day. Seems like the thing to do in Texas.

Before we left, I whipped up this little appetizer, which won raves from the husband.  As we get closer to Thanksgiving, I've been trying out recipes that I'd like to serve. Thinking this one might make it on the menu.

[print_this]

Smoked Salmon with Apple Yogurt and Chive

Yield 4 servings

Tools Small mason jars or bowls

Ingredients 1/2 lb hot smoked salmon fillet, cut into four pieces (alternatively, you can use sliced smoked salmon) 1/2 cup full fat Greek yogurt 2 teaspoons chopped fresh dill 1/2 teaspoon ginger, minced into paste Kosher salt Black pepper, coarsely ground 1 honeycrisp apple, cored and cut into 1/4 inch pieces 1 tablespoon, chopped chives

Instructions

1. In a bowl, mix together the Greek yogurt, dill, and ginger.  Season with 1/2 teaspoon Kosher salt. 2. Spoon 2 tablespoons of Greek yogurt mixture into each jar or bowl. Sprinkle chopped apple on top. 3. Add the smoked salmon and sprinkle chopped chive over it.  Season with coarsely ground black pepper.

[/print_this]

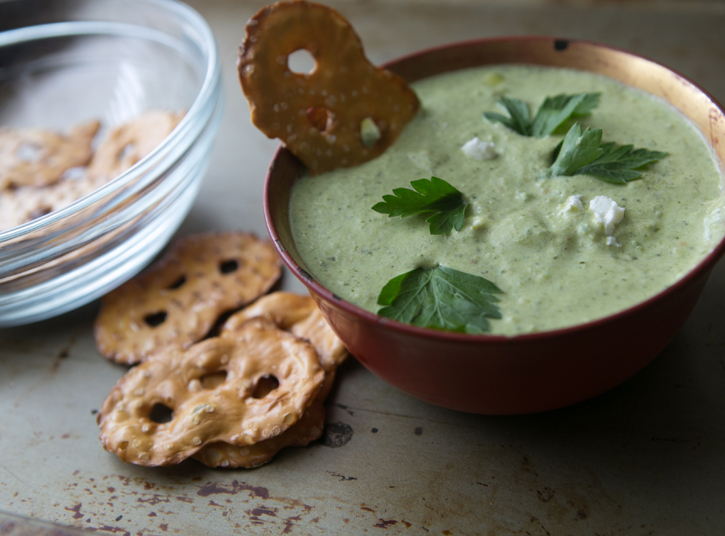
Creamy Tomatillo Dip

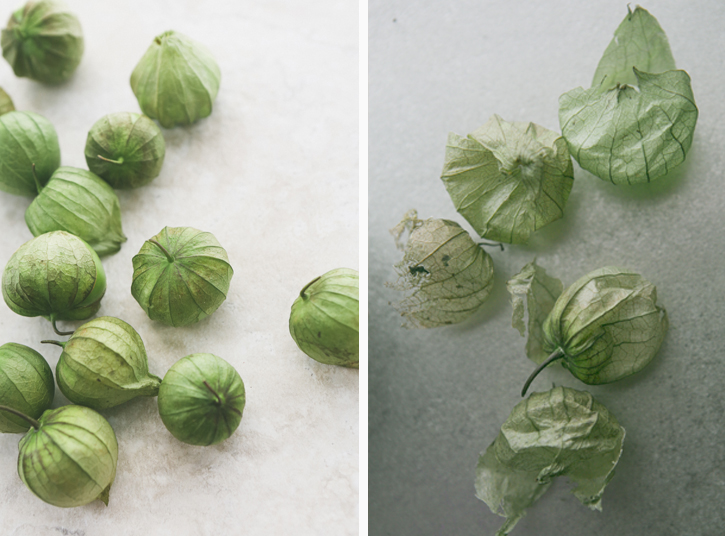
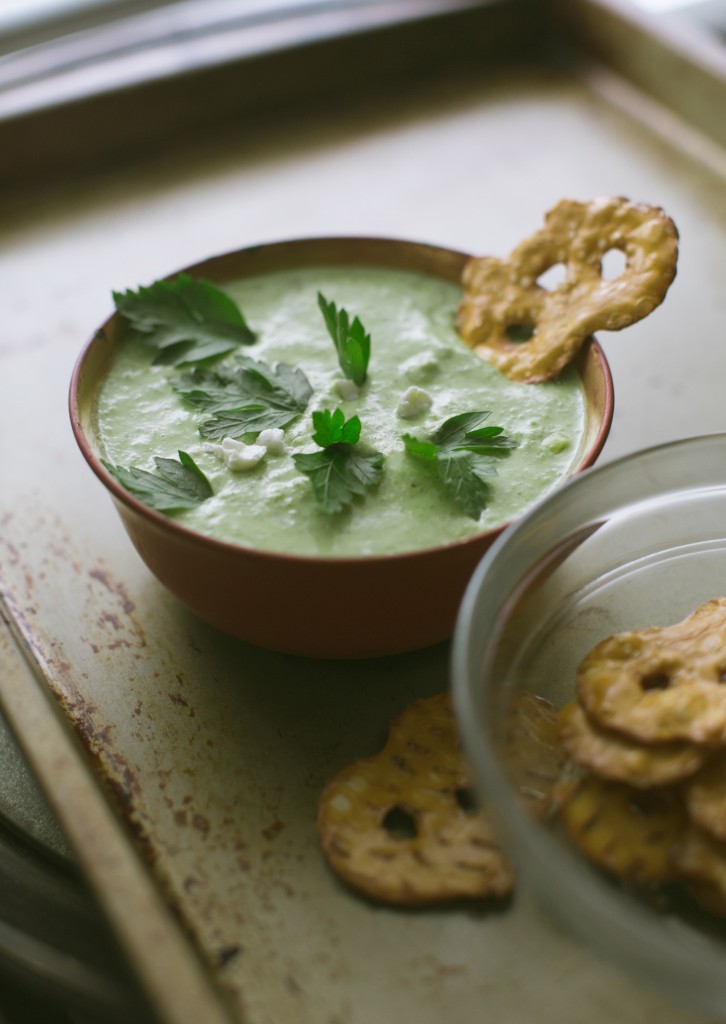
It's funny that just a few days ago, as we prepared for our trip to Texas, our CSA sent us a bag of tomatillo just to get us in the mood. I have a lot of love for these little guys. First off, aren't those husks just so cool? And then there's the flavor. Ever since I first cooked with them, I've been struck by their tartness. Where most dishes need acid to give it a boost, tomatillos have enough that additional lemon or lime juice is unnecessary.

The last time I played around with tomatillos, I turned them into a pesto and tossed them with pasta. Of course, my mind went in a similar direction this time, but to spruce things up, I made a creamy (and spicy) dip. Roasting allows them to blister, adding a bit of smokiness to the dip.

I may or may not post next week (who the heck knows?!?!) as we'll be touring (aka eating and drinking) our way through Austin and Dallas.  We're super excited to spend some time with friends and family. I'm ready for a taco and a margarita! That's what they eat there, right?

Creamy Tomatillo Dip

Tools Baking pan Immersion blender (or a regular blender)

Ingredients 8 oz tomatillos, husks removed 2 serrano peppers, seeds removed 3 garlic cloves, peeled 2 tablespoons olive oil Kosher salt 1/4 cup fresh cilantro 4 oz goat cheese

Tortilla chips, crackers or pretzels, for dipping

Instructions

1. Preheat the oven to 375 degrees.  Line a baking pan with aluminum foil.

2. Toss tomatillos, peppers, and garlic cloves in olive oil and 1 teaspoon of Kosher salt.  Transfer tomatillos and peppers to the prepared baking pan. Roast for 20 minutes, or until the skin of the tomatillos and peppers become blistered. Remove from oven and let cool for a few minutes.

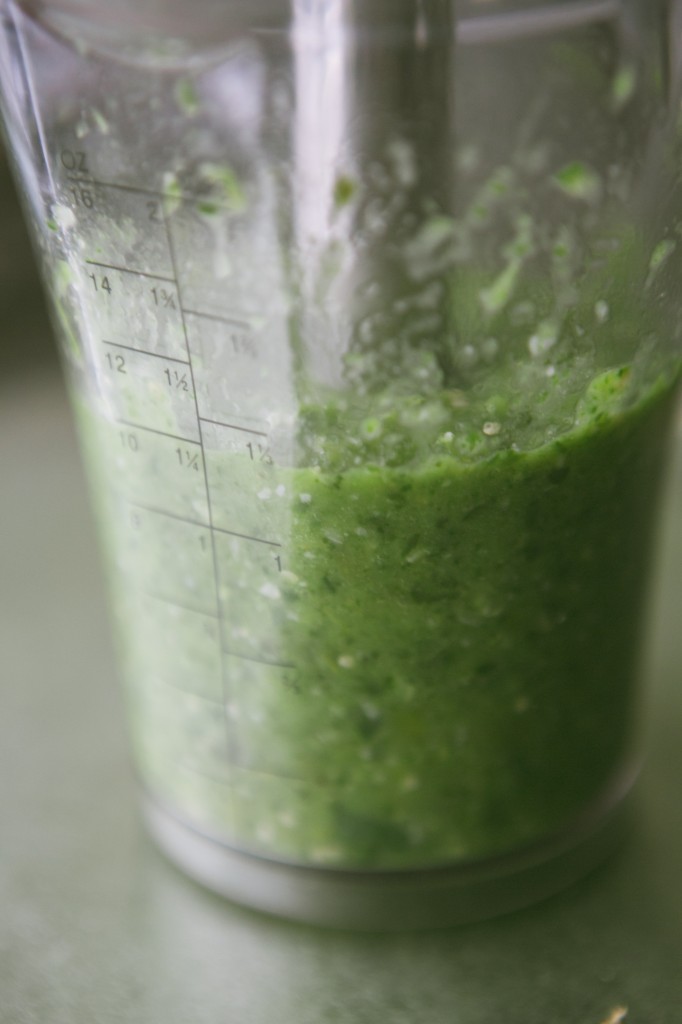
3. Transfer these ingredients to a large bowl (or use the large measuring cup that comes with most immersion blenders) and puree with an immersion blender. Alternatively, you can use a regular blender to do this.  Add cilantro and goat cheese and blend to incorporate.

4. Check for seasoning and, if necessary, add additional salt.  Serve with tortilla chips or crackers.

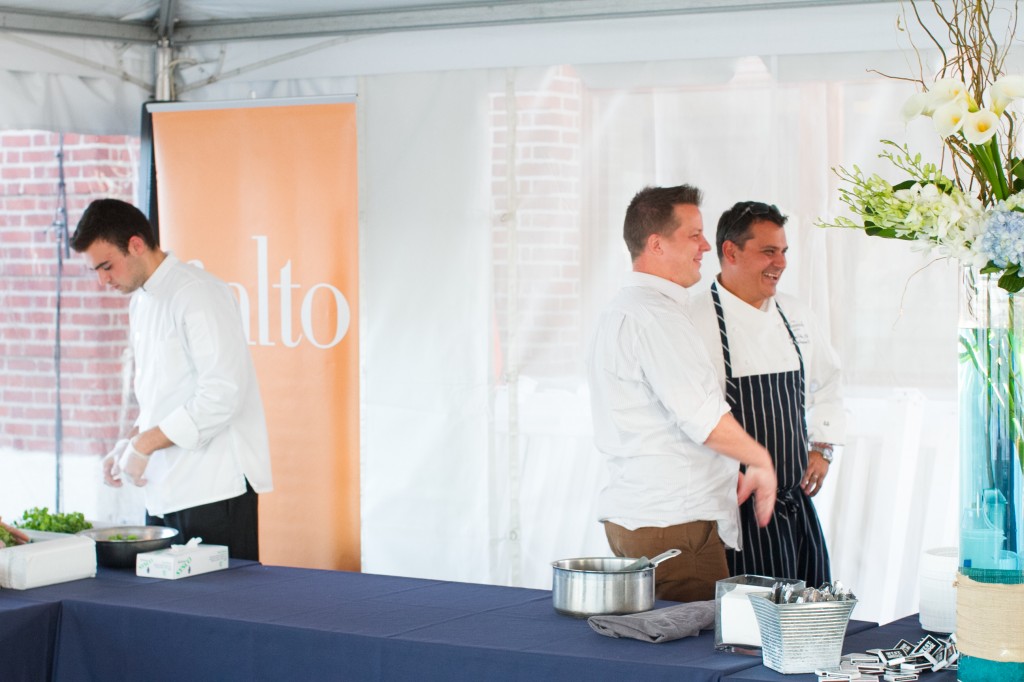
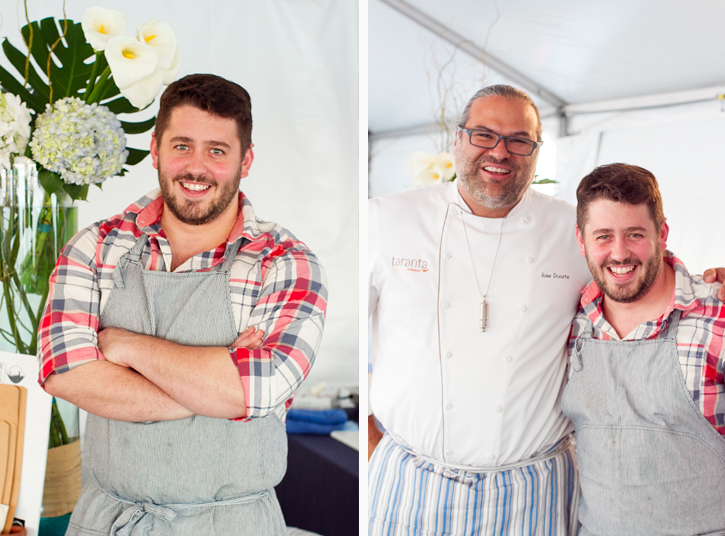
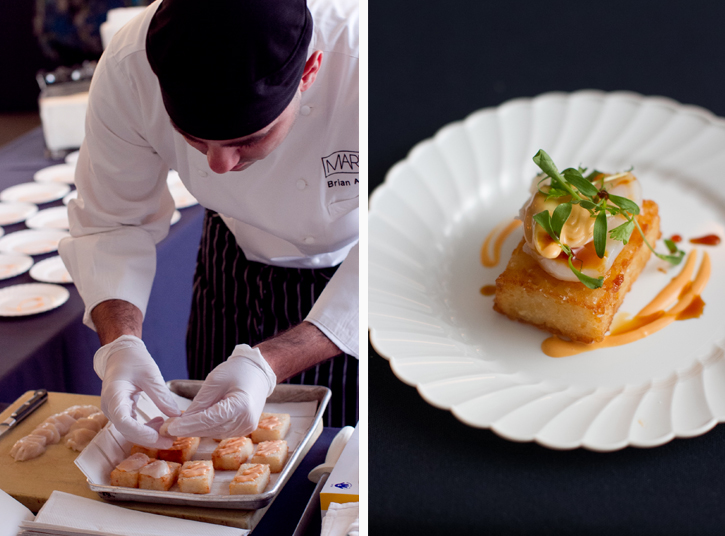
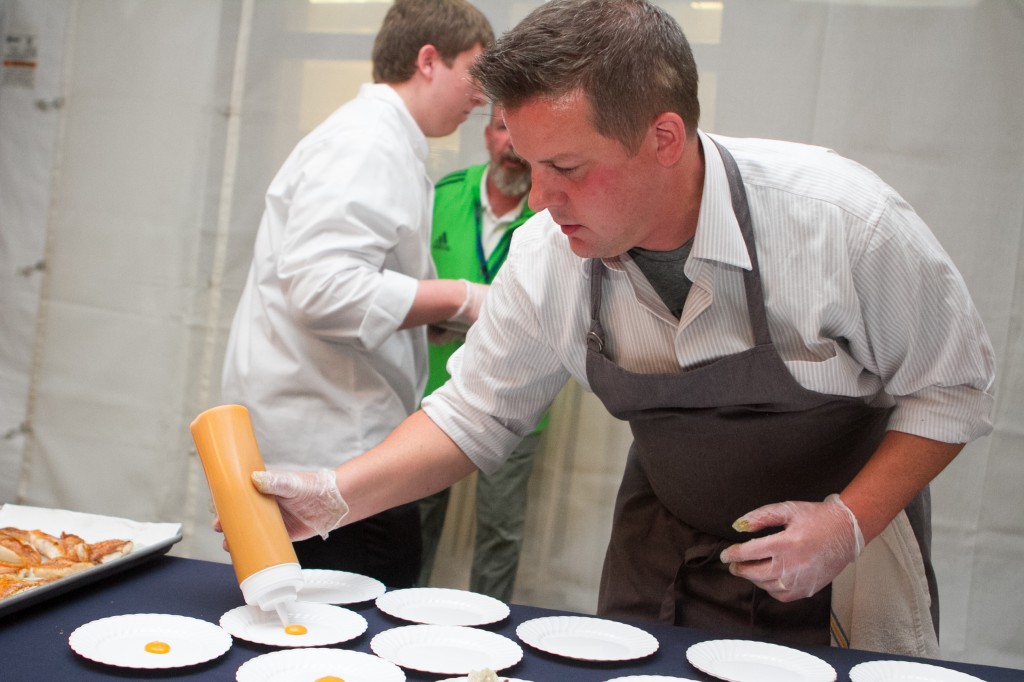
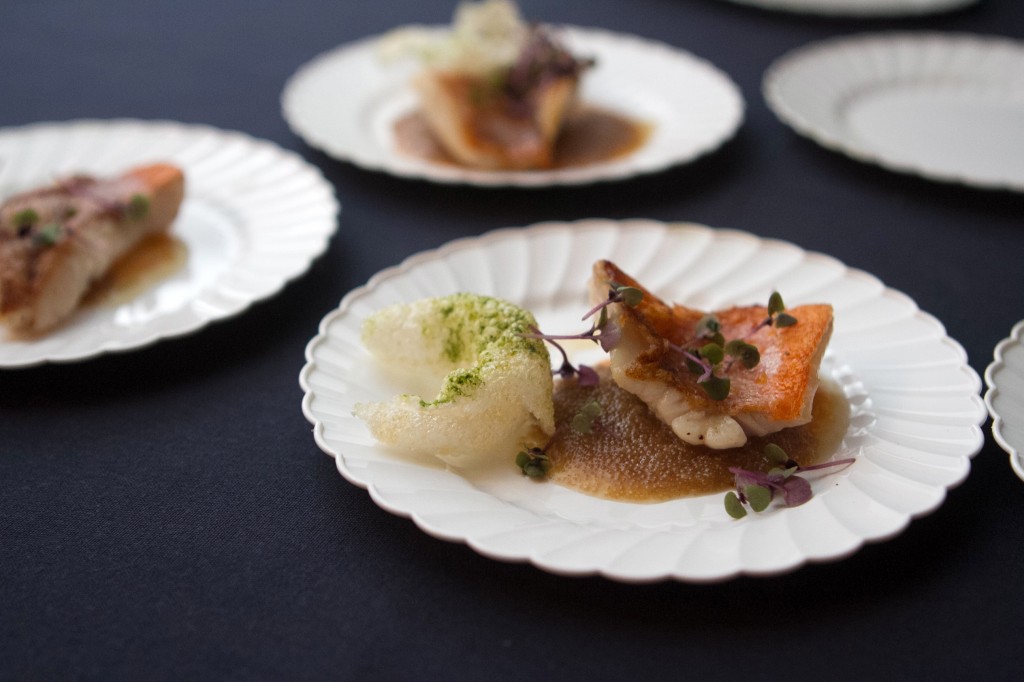
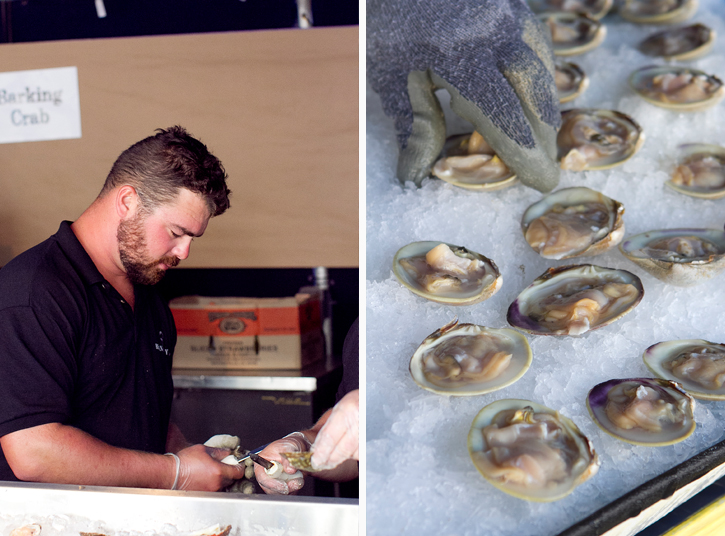
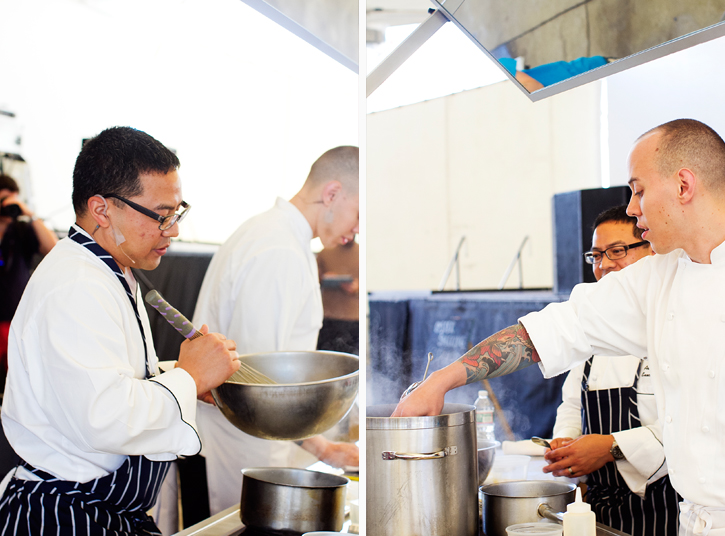
Silent Sunday: The Food + Chefs of the Boston Seafood Gala + Festival

What: The Boston Seafood Seafood Gala (September 27th, 2013) and Boston Seafood Festival (September 28th, 2013)

Chefs (in order of appearance): Will Gilson (Puritan and Co.), Jose Duarte (Tarranta), Mark Allen (Towne Restaurant), Brian Anderson (Market), Becca Arnold and Louis DiBiccari (Tavern Road), Matthew Gaudet (West Bridge), Awri Odense & Graham Lockwood (Fairmont Battery Wharf Hotel/Aragosta Bar + Bistro), Mark Allen (Towne Restaurant)

Pistachio and Sour Cream Coffee Cake

A
I don't bake many cakes.  I'm always happy to eat them, but the thought of frosting a triple-tiered cake stresses me out.  It's probably for the best that we don't have these treats around the house, as will power has never been one of my strengths.  There are no calories in a sliver or in a finger swipe of icing, right?
A
Breakfast breads are the cakes I so fondly remember from my childhood... banana bread or a sour cream coffee cake were made often, prepared for Sunday brunch or a quick afternoon snack.  I don't make them quite as frequently as my mom does, but I do get the urge from time to time.  They don't last long, either.  I'll cut the majority for Eric to take to work, give a few pieces to friends, and save the rest for us to enjoy for a few days.
A
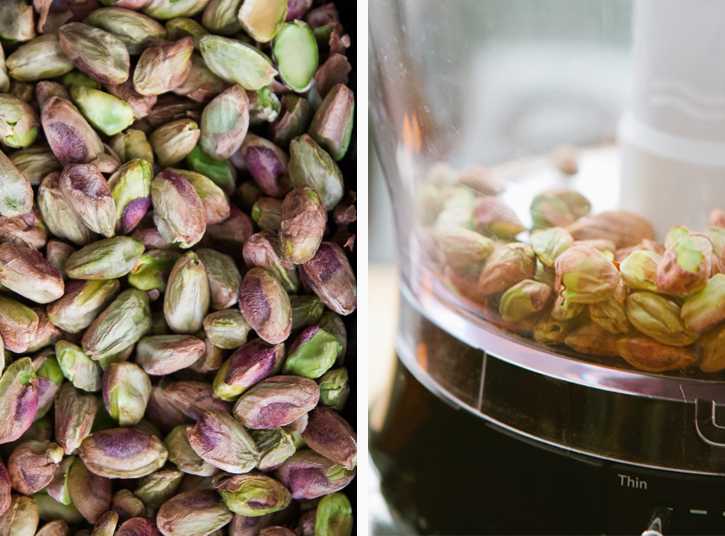
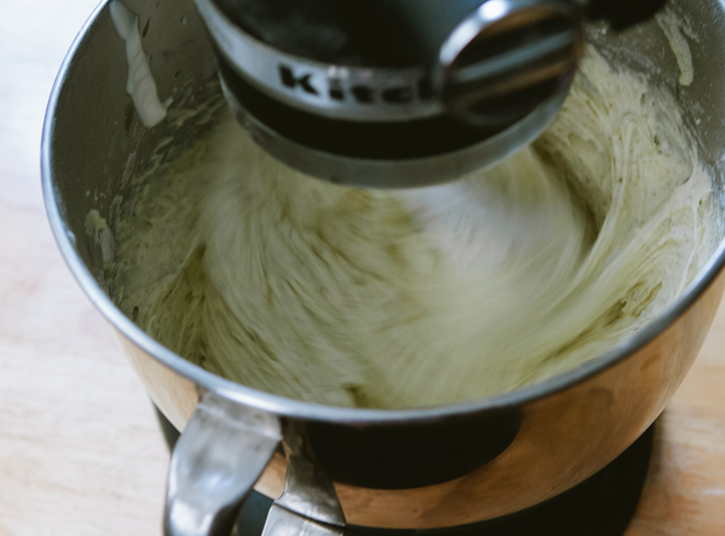
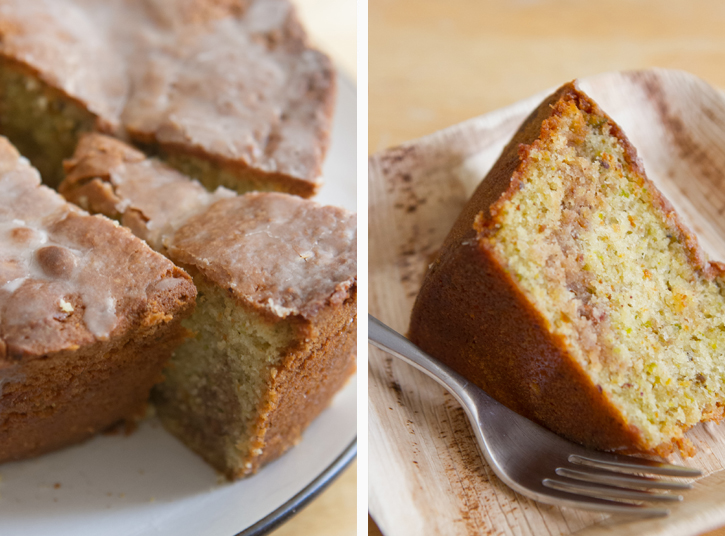
When asked to create a recipe for the KitchenAid blog, The Kitchenthusiast, I knew a coffee cake was in order. Baking a cake with pistachios has been on my list for a long time (years, in fact), so I used it as an opportunity to play around with what I believed would be the perfect pairing: pistachios and sour cream coffee cake.  And this guy (and his taste-tester husband) were not at all disappointed.
A
A
Disclaimer: While I was compensated for this post, all opinions here are my own.

Fig and Balsamic Ice Cream

I've had some unsuccessful attempts at making ice cream. I blame myself for the majority of these failures (if one can refer to them as such... can something that has cream and sugar in it be bad?).  My mistake has always been that I've made ice cream in the middle of summer. Now, that might make perfect sense to you folks, but when you keep your apartment at 76 degrees on a balmy day, well, things aren't likely to freeze very easily. I think my ice cream maker was having issues too. So, between those two things, the stuff wasn't turning out the way I'd hoped.

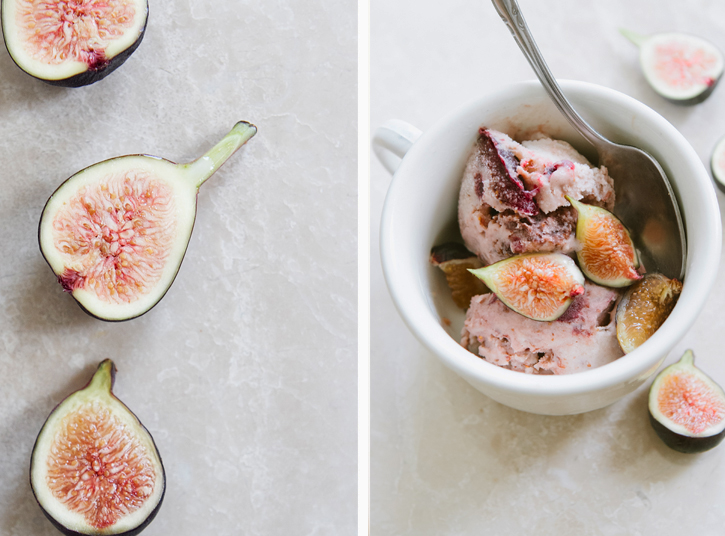
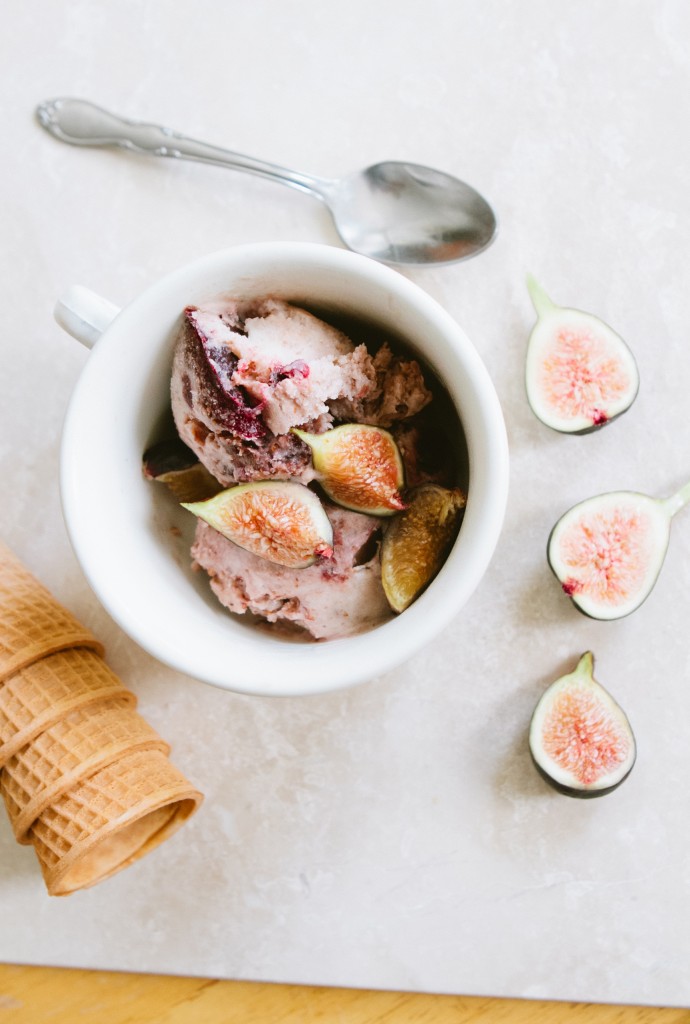
Anyway, I decided recently that I'm not giving up. Nope. In fact, I want to start making ice cream on a regular basis. Maybe not every week, but once or twice a month (I think it might be time to get back into that gym routine).  I may not post every success on here, but given how good this turned out, I thought it'd be wrong to keep it to myself. Despite my obsession with Jeni's Ice Cream and her beautiful book (which, shockingly, has sat on my book shelf, virtually untouched for two years.  Well, let me tell you, that book has now found a permanent place in our kitchen.


Fig and Balsamic Ice Cream

(ice cream base from Jeni's Splendid Ice Creams at Home by Jeni Britton Bauer)

Ingredients

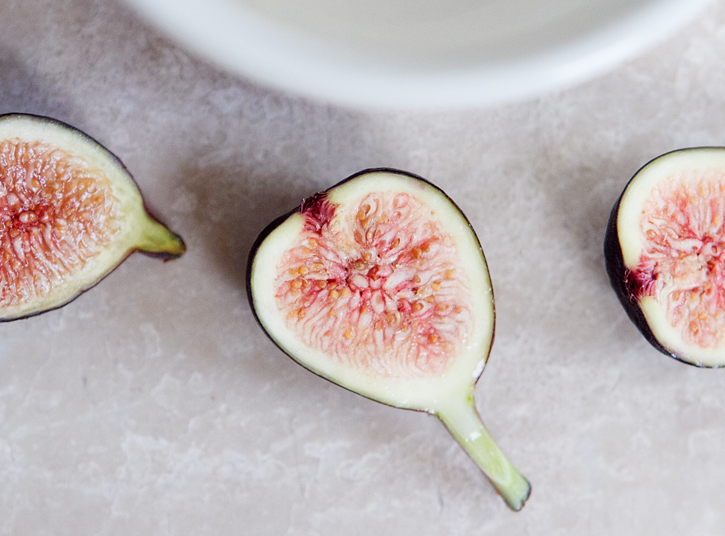
For the Fig-Balsamic Sauce 1 cup figs, stems removed and fruit quartered 1/2 cup granulated sugar 3/4 cup balsamic vinegar

For the Ice Cream 2 cups whole milk 4 teaspoons cornstarch 3 tablespoons cream cheese, softened 1/4 teaspoon kosher salt 1 1/4 cup heavy cream 2/3 cup sugar 2 tablespoons light corn syrup

Instructions

1. To prepare the fig and balsamic sauce, add all the ingredients to a medium saucepan and set over medium heat. When it comes to a boil, reduce heat to a simmer. Once the figs begin to soften, use a wooden spoon to break up the pieces.  When the sauce begins to thicken, remove from heat and let cool while you make the ice cream base.

2. To make the ice cream, start by stirring together the milk and cornstarch in a small bowl.  Set this slurry aside.  In a separate bowl, whisk together the cream cheese and salt.

3. Prepare a large bowl of ice and water.

4. Combine the rest of the milk, as well as the cream, sugar, and corn syrup in a 4-quart saucepan.  Bring to a boil over medium-high heat and cook for 4 minutes. Remove from heat and gradually whisk in the corn starch slurry.  Bring back to a boil over and cook, stirring with a rubber spatula, until slightly thickened, about 1 minute.  Remove from the heat.

5. At this point, slowly whisk the hot milk mixture into the cream cheese mixture until smooth. Carefully pour into a 1-gallon Ziploc freezer bag and submerge the sealed bag in the ice bath.  Let stand, adding more ice as necessary, until cold, about 30 minutes.

6.Pour mixture into an ice cream maker and process according to manufacturer's instructions. Once the base is finished, add the ice cream to a storage container, alternating between the base and the fig and balsamic sauce.  Press a sheet of parchment directly on the surface of the ice cream and seal with an airtight lid. Freeze in the coldest part of your freezer until firm, at least 4 hours.

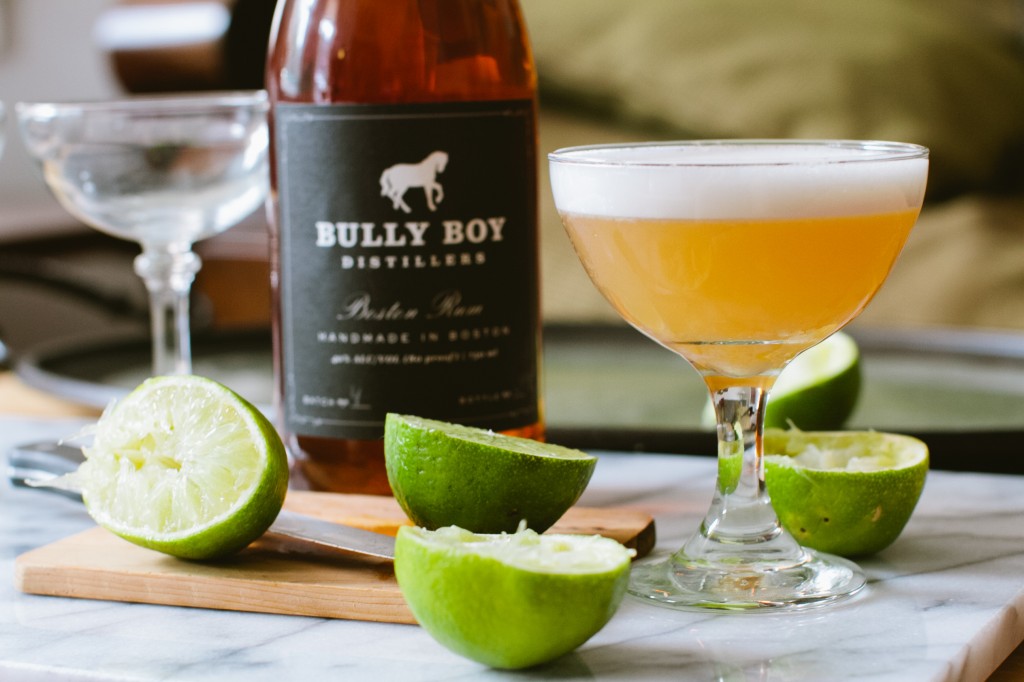
Bully Boy Distillers and The Cedric Street Cocktail

A few months ago, I had the pleasure of meeting Will and Dave Willis, brothers and owners of Bully Boy Distillery in Roxbury, at the launch party for their Boston Rum.  We chatted about scheduling a time to do a piece for The Boys Club, but didn't get around to it until the other week.  The Willis Brothers were generous enough to give me a private tour and sat down to chat with me a bit more about the creation of their very successful business.

Click here to check out the interview and my recipe for The Cedric Street Cocktail, made with their Boston Rum.

Spiced Double Chocolate Cookies

I woke up Saturday morning with Eric sleeping soundly next to me and Maki curled up at the end of the bed.  It took me a moment to realize what was so strange about this: it had been 2 months since I'd been home on a weekend.  Maybe all that travel is why this summer has flown by.  I took this as an opportunity to relax a bit, which meant baking cookies, followed by a day of eating and drinking and time spent outdoors with friends (eating and drinking, of course).  It was exactly what I needed.  A chance to decompress a little.

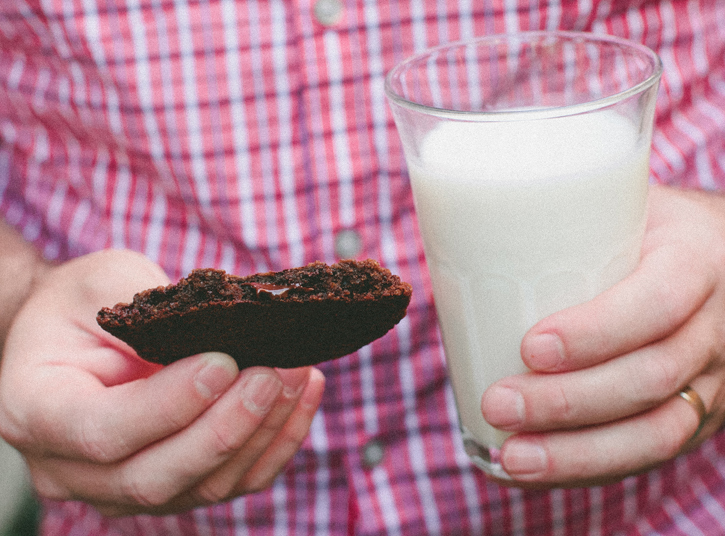
While I sat at the table, dropping heaping tablespoons of dough onto the baking sheet, Eric walked into the room and inspected the cookies that were cooling on the wire rack.  Always eager to be my taste-tester, he snatched one up and took a bite.

These are great!  Where did you get the recipe?

I looked up.

What do you mean?  I created it.  

They're really, good. There's some kick there. Cayenne?  

Yup. And some cinnamon too.

I love that.  Gonna post these on the blog?

Of course.

Awesome.


Spiced Double Chocolate Cookies

Servings 2 dozen cookies

Ingredients

2 1/4 cups all-purpose flour

1/2 teaspoon salt

1 teaspoon baking powder

1 teaspoon baking soda

1/4 cup unsweetened cocoa powder

1 1/2 teaspoons cayenne pepper

2 teaspoons cinnamon

1 cup (2 sticks) unsalted butter, softened

3/4 cup packed light brown sugar

3/4 cup granulated sugar

2 large eggs, at room temperature

1 1/2 teaspoons pure vanilla extract

1 pound bittersweet chocolate, shaved using a chef's knife

Instructions

1. Place the oven rack in the center of the oven.  Preheat the oven to 325°F.

2. In a bowl, stir together the flour, salt, baking powder, baking soda, cocoa powder, cayenne pepper and cinnamon and set aside.

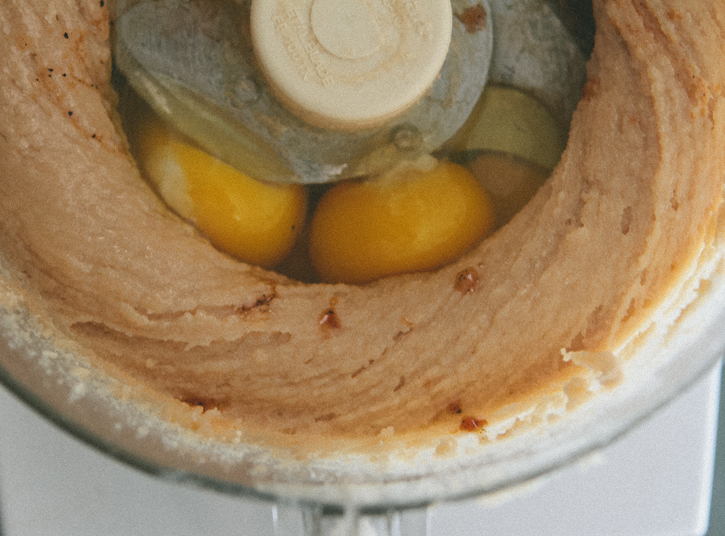
3. In the bowl of a food processor (or this can be done with a stand mixer fitted with a paddle attachment) add the butter and both sugars and pulse until combined. This may require that you stop the machine periodically and, using a spatula, pull the butter/sugar mixture from the sides of the bowl. Add the eggs and vanilla to the bowl and pulse to combine.

4. Carefully add half the dry ingredients to the bowl of the food processor and pulse to combine. Repeat with remaining dry ingredients.

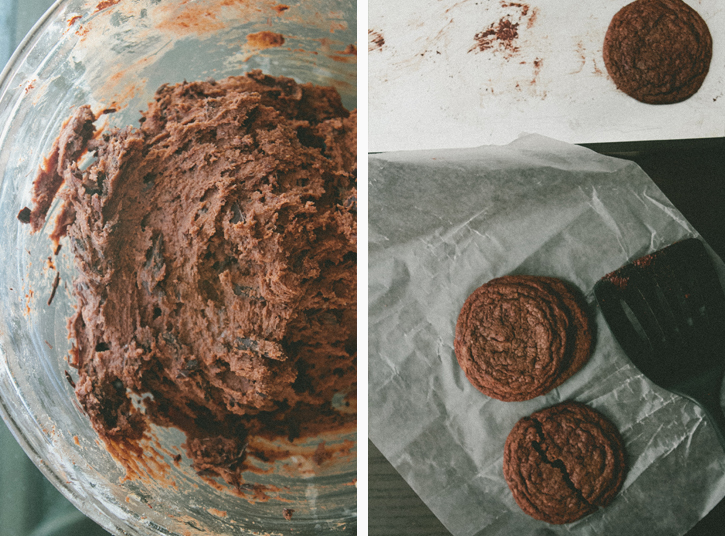
5. Transfer the dough to a mixing bowl and, using a spatula, fold in the chocolate.

6. Scoop heaping spoonfuls of dough into the palms of your hands and roll into two and a half inch balls.  Place dough balls onto a non-stick baking sheet (or one lined with parchment paper) and space them about 2 inches apart.  Bake for about 15 minutes, or until lightly browned around the edges.

7. Remove from the oven and let sit on the tray for 3 minutes before transferring to a wire rack.  Let cool completely before serving.

Why I Love Taking Pictures With My Phone (+ Some Tips/Tricks)

The first time I brought a camera into a restaurant was over two years ago.  This was before I'd purchased my first smart phone, and I lugged around my hefty camera and lenses wherever I went.  Despite the challenges of carrying a camera everywhere, this was my creative outlet and I loved capturing my favorite restaurants and landmarks.

Ever since I started working professionally as a food photographer, I do like to take a break from my camera from time to time.  Sometimes you just need a little space.  I rarely bring it along when we go out to eat or are traveling anymore.  On a recent trip to Vegas, I only took my camera out once, opting to use my phone to take all my pictures.

As a photographer, there's something very liberating about shooting with a smart phone.  First off, you can be discrete about taking pictures.  It's easier to capture the environment of a restaurant when you're not whipping out a massive lens.  Both patrons and servers get weird when they see a camera pointed at them (and I don't blame them for that... it's a bit intrusive).  A phone, however, can be used to take a picture without anyone noticing.

I also feel like I've grown tremendously as a photographer because of the amount I shoot with my phone.  I'm constantly finding ways to get creative in an environment when the light may not be ideal.  Or I see a dish and think, "Ok, what are all the ways I can shoot this?" and, to my husband's dismay, I play with every option.   It gets me thinking outside the box and that may be the most important thing for us as artists.

Over the last few months, I've started teaching classes on iPhoneography for folks who are interested in amping up their food photos.  I wanted to share a few points from that class with you today:

1. Remember that taking pictures with your phone is the same as using a DSLR... consider the key elements of photography: subject, composition, and lighting. Some dishes or ingredients aren’t always going to be bright and colorful, but there should be something about what you’re photographing that’s going to be interesting to the viewer.  Use the other elements (composition and lighting) to elevate the subject or create a mood.

2. Action can be the subject.

3. Texture does a lot to make a smart phone image interesting.  This can be as simple as shooting the dish on a rustic table (think aged wood) or textured background.  I've gone as far as to put my food on the sidewalk, using the bricks as my surface.

4. Use natural light... and never use the flash! I see it all the time. I'm at a restaurant and someone takes a picture and they light up the room with their phone's flash.  My suggestion, and this goes for all restaurant photography (even with a DSLR), is to only shoot during the day (or during day light).  It's incredibly difficult to take a shot of food with your phone in a dimly lit room.  Even if the dish is beautiful and the composition of the shot is perfect, the picture is going to come out super grainy.

5. Shoot from above.  Because the iPhone doesn't have the same depth of field capabilities as a DSLR, shooting from the side doesn't always work as well as one would like.  The best way to capture a dish (or a whole table of plates) is to get the shot from above.  If you do shoot from the side, keep your shot simple and with minimal props, because everything in the shot will remain in focus.

6. Taking pictures is fun!  If your friends are joining you at a restaurant, let them in on the experience.  You can even let them be your model.  They'll like that. And then let them eat.  They'll like that more.

To see some more of my iPhone shots, head on over to Instagram.  And to see my husband's pictures of me taking pictures of food, check out his Tumblr page, Waiting For It: Married to a Food Photographer.

The above pictures were taken at the following places (listed in order of appearance):

Whole Foods (Andover, MA) Barbuto (New York, NY) West Bridge (Cambridge, MA) Four Seas Ice Cream (Centerville, MA) Mei Mei Street Kitchen (Boston, MA) Lyric (Yarmouth Port, Cape Cod, MA) Island Creek Oyster Bar (Boston, MA)
 

Pimm's and Tonic

As Eric and I packed for our weeklong trip to the Cape, we both felt it was necessary to box up some of our liquor cabinet.  What a shame it would be if we wanted to make a drink with vermouth in it, only to find we had none! Our traveling bar was chock-full of bottles of Aperol, St. Germain, Pimm's, and assorted infused syrups and bitters. Over the next seven days, more than a few of those were emptied.  We were very productive.

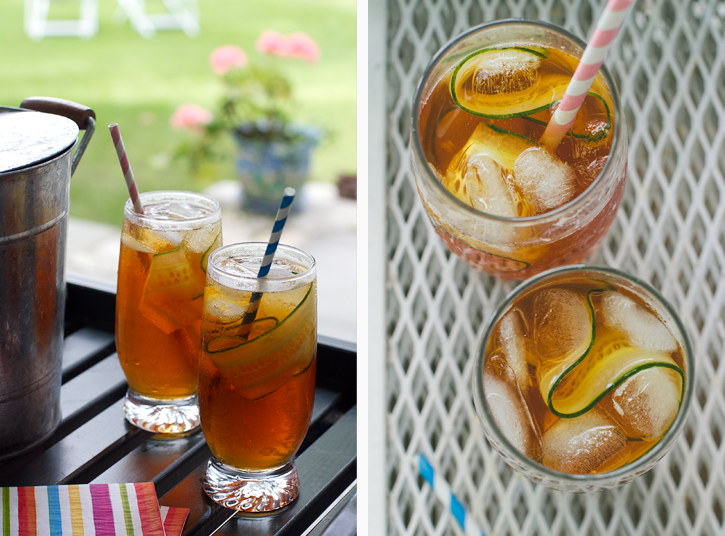
Unlike the traditional Pimm's Cup, which is a simple concoction of Pimm's topped with lemon-lime soda, I decided to use tonic and add a splash of Aperol to kick things up a notch.  A squeeze of lemon and a cucumber garnish turns this into the perfect late summer beverage.  It almost makes you forget how quickly this summer is flying by.

Pimm's and Tonic

Servings 4 drinks

Ingredients 8 oz Pimm's 2 oz Aperol 1 oz lemon juice 1 English cucumber, peeled lengthwise into thin strips. Tonic

Instructions

1. Pour 2 ounces of Pimm's, 1/2 ounce of Aperol, and 1/4 oz lemon juice into each Collins glass.

2. Fill three-quarters of the way with ice.

3. Garnish the glass with cucumber.

4. Add tonic.

5. Give a quick stir with a spoon and serve.

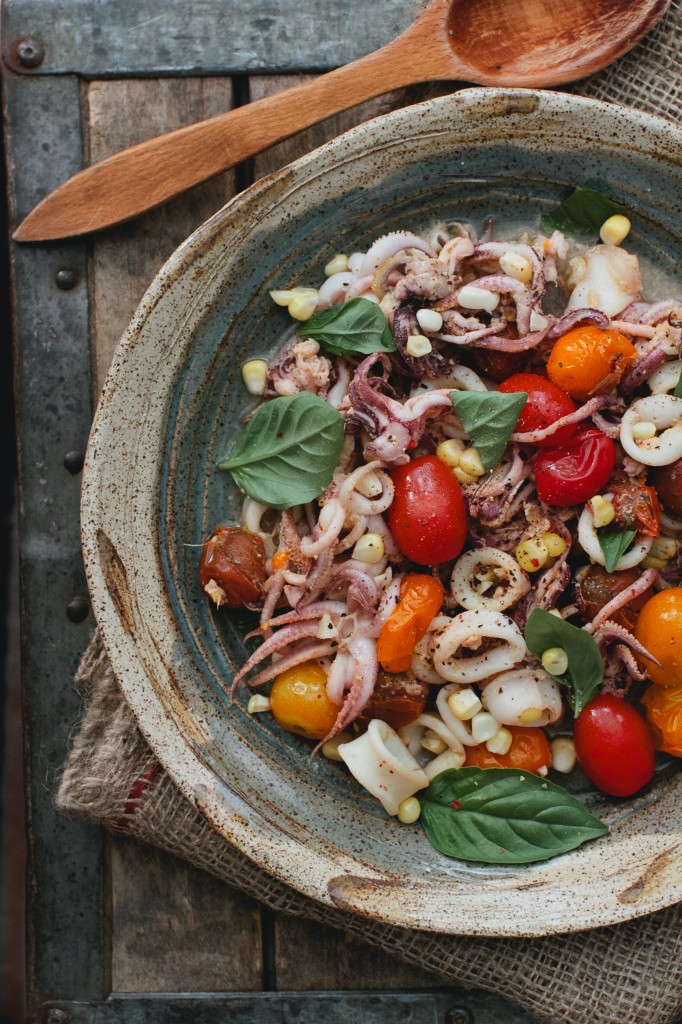
Squid with Burst Cherry Tomatoes

"Clocks slay time... time is dead as long as it is being clicked off by little wheels;

only when the clock stops does time come to life." - William Faulkner

When we arrived to open the Cape house a few months ago, we noticed that the kitchen clock had stopped working.  This wasn't terribly surprising, since it had been around for quite some time.  To fill the empty space, a platter in the shape of a fish was propped up against the wall.  Eric and his brother like to joke about it. "Hey, what time is it?" one asks... to which the other replies "I think it's half past a fish."

It never gets old.

I've grown to really appreciate the absence of the clock.  So much of my day is spent scheduling that to be in a place that doesn't have a visible clock is refreshing. Somehow life slows down in the most miraculous way when you aren't always checking to see what time it is.   Eating when you want to.  Drinking when you want to. Napping when you want to.  It's a wonderful thing.

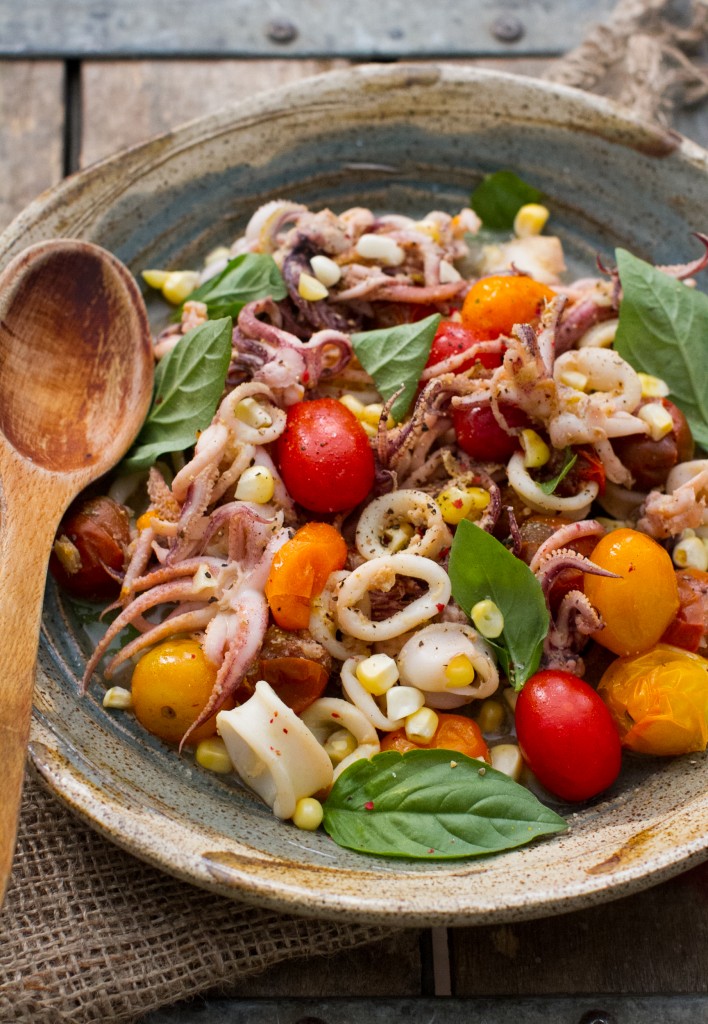
Squid with Burst Cherry Tomatoes

(mildly adapted from Tom Colicchio's recipe in Food and Wine Magazine, August 2013)

Servings 8-10

Ingredients

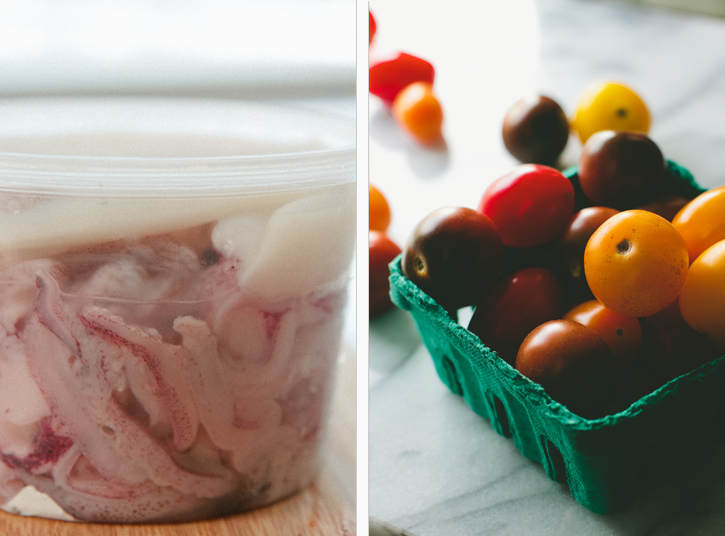
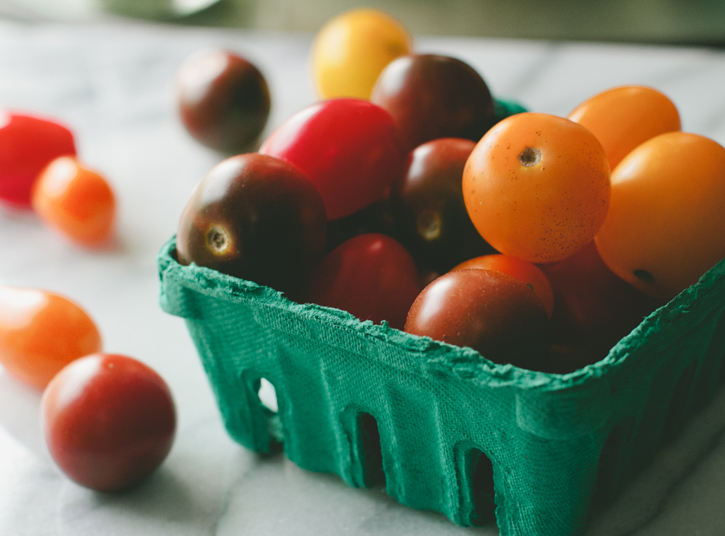
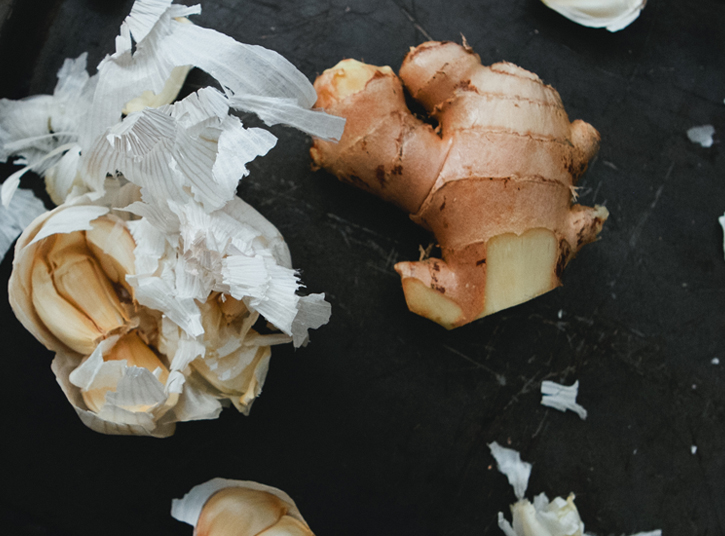
1/3 cup extra-virgin olive oil 2 1/2 pounds mixed cherry tomatoes 2 large garlic cloves, minced 1 1/2 teaspoons minced ginger Kosher salt and freshly ground pepper 1 1/2 pounds small squid, cleaned, bodies cut into 1/3-inch rings and tentacles halved 1 1/2 tablespoons rice wine vinegar 1 cup lightly packed small basil leaves

Instructions

1. Add the oil to a skillet and set over medium heat.  Add tomatoes, garlic, ginger, and a pinch of salt and pepper.  Cook, stirring occasionally, until the tomatoes blister, approximately 4 minutes.

2. Add the squid and cook on low heat for approximately 5 minutes, or until they become opaque.

3. Stir in the rice wine vinegar and basil and season with salt and pepper.

Blueberry, Beet and Feta Salad

The other week I headed out for the farmer's market at Copley Square, my camera tucked in my backpack.  It was one of those days when merely stepping outside resulted in sweat-drenched clothes, but for some psychotic reason I decided to walk there.  The path from my apartment in South Boston to the market takes you through an array of neighborhoods and scenery.  Every time I do this walk, I see a detail of the city that I'd never noticed before.  It could be a mural on the side of a building or a hidden park down a side street.

The shaded kiosks at the market provided enough protection to make it a pleasant trip.  I strolled around for a while, poking into each tent to marvel at the gorgeous produce.  I couldn't help but touch everything.  This is what carrots are supposed to look like!  And aren't these beets stunning?  My fellow patrons look over at me, laughing and nodding in agreement.   There was no way I was going home without a few ingredients.

Is it weird that the thing I enjoy preparing most are salads?  Even as a teenager, there was nothing that excited me more than chopping veggies and whisking together a vinaigrette.  This is how I started to learn how to cook, and I guess it's why it's stuck with me all these years.

The true pleasure in eating salad is that often the ingredients are left unaltered or cooked in a way that lets their natural flavors shine.  This blueberry, beet, and feta salad wasn't exactly what I had in mind when I got started on developing this dish.  Honestly, I'm not sure what my vision was.  I was hoping for something leafy, but when the bowl developed and I saw how striking the colors were and that the flavors and textures were layered, I knew this was something that needed to be shared.

[print_this]

Blueberry, Beet and Feta Salad

Ingredients

1 bunch (6 or 7) small golden beets 1 pint (2 cups) blueberries 1/2 cup feta 3 basil leaves, chiffonade 1 1/2 tablespoons extra virgin olive oil 2 teaspoons lemon juice 3/4 teaspoon lemon zest Salt and pepper, to taste Honey

Instructions

1. Put the beets to a pot of water and bring to a boil.  They are finished cooking when a sharp knife goes into one easily. Run cold water over the beets and let sit until cool enough to handle.  Once they have cooled enough, they can be peeled.

2. Quarter the beets (or cut smaller if the beets are larger) and transfer to a bowl.  Add the blueberries and feta to the bowl.

3. In a separate bowl, whisk together the olive oil, lemon juice, and lemon zest.  Pour over the salad and toss to combine.

4. Season with salt and pepper and sprinkle basil on top. Drizzle a little honey on top and serve.

[/print_this]

Peach and Lavender Sangria Popsicles

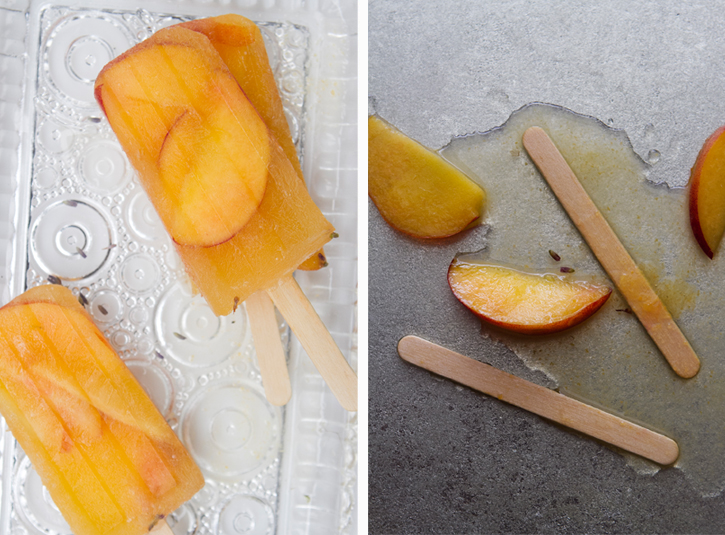
A text came in from my mother the other week with a picture of my niece.  She was holding her first popsicle, which, not surprisingly, she was enjoying tremendously. It brought back such sweet childhood memories.  As a kid, I could eat those one after the next on a blistery summer day and never get tired of them.  Ones with pieces of fruit in them were pure perfection.  I'd plop down in front of the television and lick and chomp and slurp before it melted all over the floor.

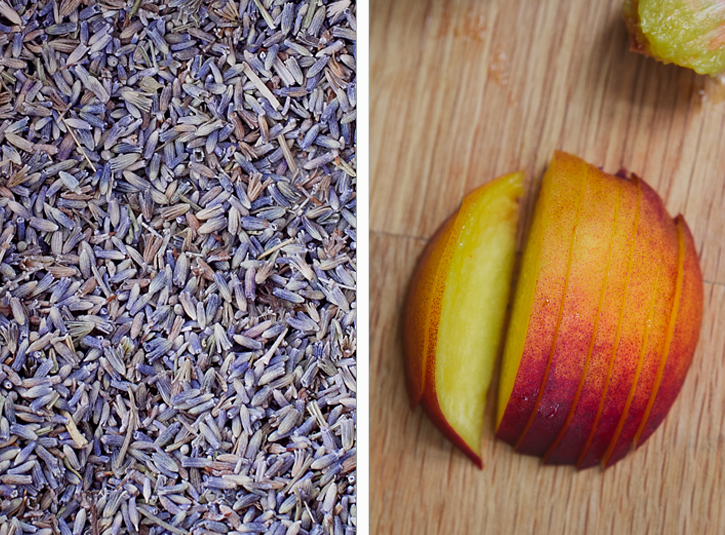
One of the many fun treats that came out of my cookbook shoot from a few weeks ago was a popsicle maker. I'd been holding back on purchasing one, thinking that it was kind of lame and gimmicky. That was until, of course, I actually tried making my own... on a 90 + degree day. And how magnificent that first bite was. Eric and I immediately looked at each other and blurted out with big silly grins on our faces: boozy popsicles.  He suggested making a batch with sangria, which I thought was a fabulous idea. Instead of sweetening it with regular simple syrup, though, I decided to infuse them with some beautiful lavender my friend sent me from their trip to Hawaii.

There were a few points during the heat wave we experienced last week when these came in handy.  At five o'clock (or - ahem - maybe a little earlier than that), we'd get home and rush to the freezer.  Needless to say, I expect a few more batches will be prepared over the next month and a half.

Enjoy and stay cool everyone!

[print_this]

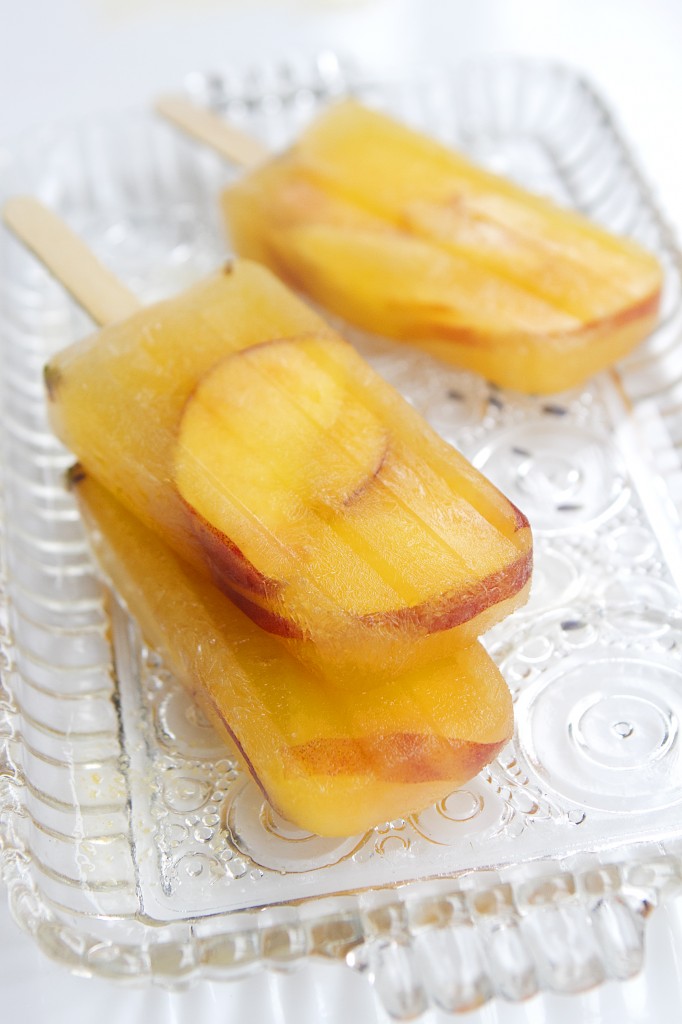
Peach and Lavender Sangria Popsicles

Servings 10-12 ice pops, depending on the size of the mold

Tools Ice pop molds Food processor Whisk Mixing Bowl Pitcher

Ingredients

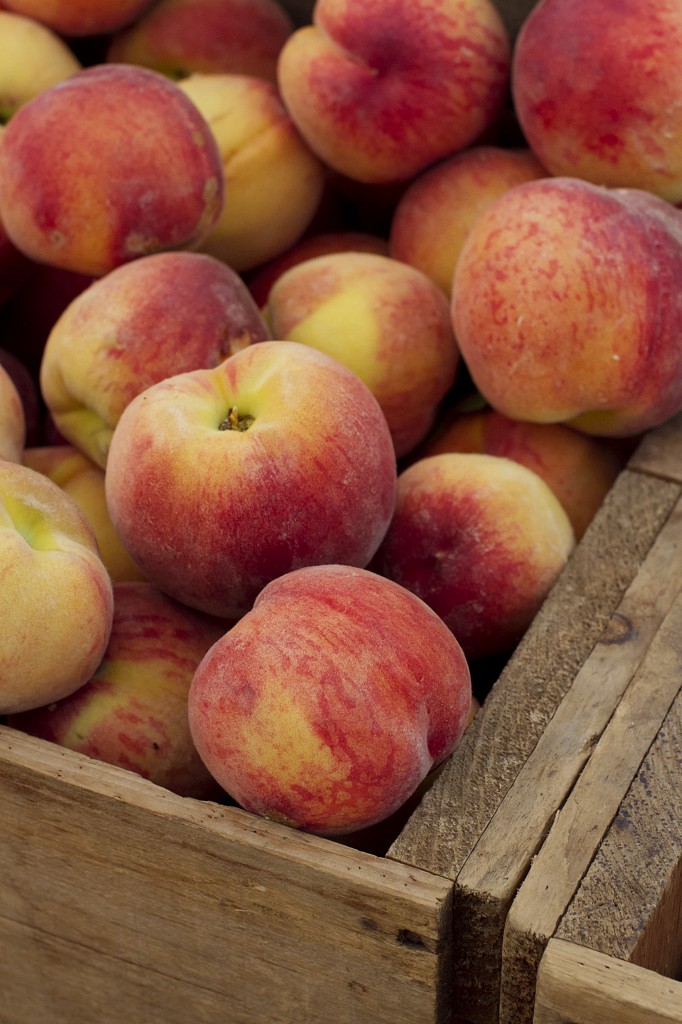
1 cup water 3 tablespoons dry lavender 1 cup sugar 2 ripe peaches 1/4 cup fresh orange juice 1 bottle of dry white wine

Instructions

1. Make the simple syrup by bringing the water and lavender to a boil in a pot.  Whisk in the sugar until fully dissolved.  Reduce the heat to a simmer and let cook for another 5 minutes.  Remove from heat and let steep for another 30 minutes.  Once it has cooled, strain the syrup.

2. While the syrup is cooling, peel one ripe peach and cut it into large pieces.  Place the peach into the bowl of a food processor along with the orange juice.  Puree until blended smooth.

3. Transfer the peach mixture to a pitcher. Add the white wine and 1/2 cup lavender simple syrup.  Stir to combine.

4. Thinly slice the remaining, unpeeled peach.  Place three peach slices inside the cup of each popsicle mold.  Fill each mold with the sangria and put in the freezer until frozen.

[/print_this]

An Evening with Grafton Street + Berkshire Mountain Distillers

Grafton StGrafton St6

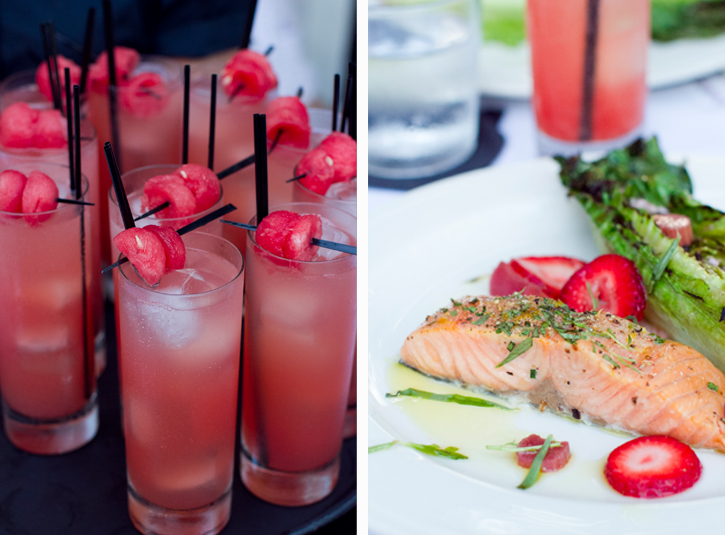
This week, I was invited to a very special dinner at Grafton Street in Harvard Square where their chef, Eric Gregory, and bartender, Morgan Carney, created a menu pairing dishes with cocktails using gin from Berkshire Mountain Distillers.  As a fan of BMD and the folks at Grafton, I was excited to see what they would present.  I was struck by how naturally the cocktails worked with the food, in particular the first drink that incorporated muddled watermelon.  It was a bright, refreshing beverage that worked beautifully with the smoked salmon.  Neither overpowered the other, and that's an impressive feat especially when working with such delicate flavors.  I hope the photos show just how enjoyable the food and cocktails were... it also helped that we were sitting outside on the patio.  The perfect way to spend a summer night.

Grafton St4Grafton St8

Grafton St2Grafton St3Grafton St5

Chef: Eric Gregory

Bartender: Morgan Carney

---

Menu

FIRST COURSE

Hot Smoked Atlantic Salmon

Rhubarb Pickle, Grilled Romaine Heart, Juniper Vinaigrette

Paired With:

Greylock Gin, Aperol, Muddled Watermelon, Fresh Lemon


SECOND COURSE

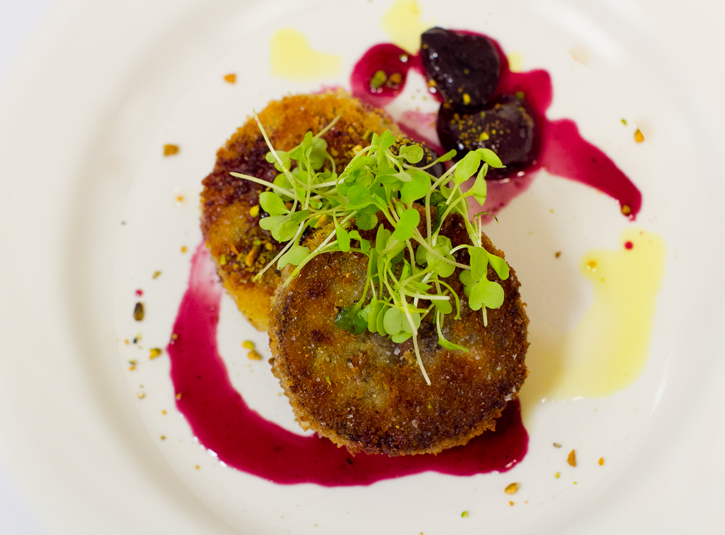
Berkshire Pork Hock Cake

Pistachios, Rosemary, Cherry and Black Pepper Preserves

Paired With:

Ethereal Gin #8, Cherry-Peppercorn Shrub, Cherry Bitters, Fresh Lime


MAIN COURSE

Harissa Rubbed Flank Steak (not pictured here)

Coriander, Watermelon & Cucumber Panzanella

Paired WIth:

Ethereal Gin #9, Lillet Blanc, Sparkling Wine, Muddled Cucumber


DESSERT COURSE:

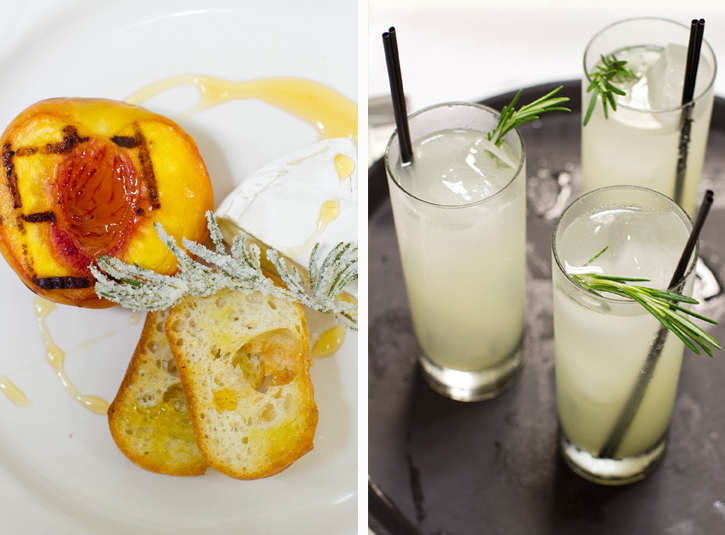
Grilled Peaches & Brie

Spiced Cardamon Honey, Candied Rosemary

Paired With:

Greylock Gin, Sap House Sugar Maple Mead, Orgeat Syrup, Fresh Lime

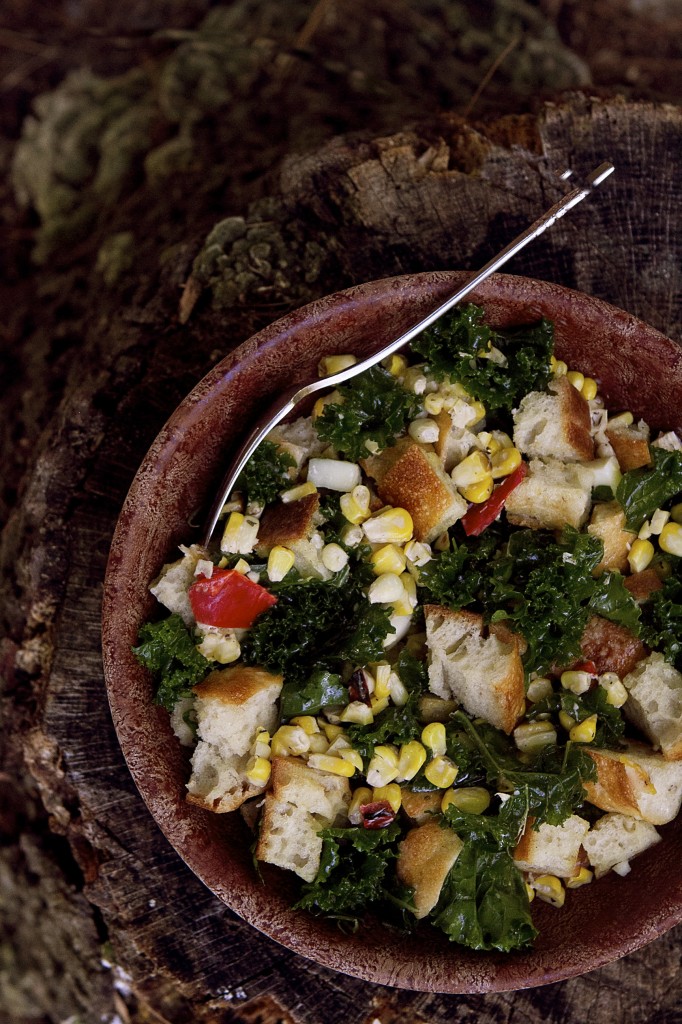
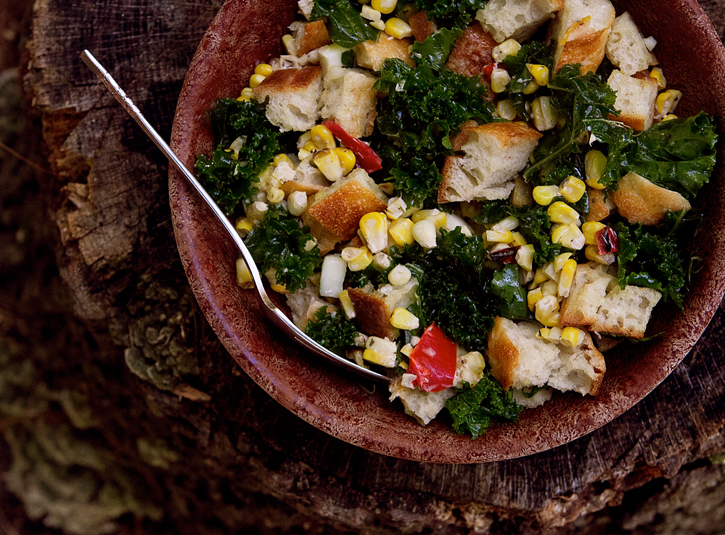
Corn and Kale Panzanella

There was a point a few weeks ago when I just wanted to call a timeout.  What was already a pretty packed July was rapidly getting busier.  The e-mails, the requests, and the invitations kept coming in.  I have trouble saying no. This is especially true when it comes to work, but it occurs with other engagements as well. A dinner? Sure! A trip? Of course!  I want to agree to it all, afraid that declining will result in a missed opportunity.  But I hit a point when I just had to politely inform folks that I was booked for the next month.

Today, however, marks a number of deadlines for me.  I've been working on a few marketing campaigns and a cookbook shoot for the last month and a half and the majority of the work wrapped this past weekend.  I'm taking the day off before I gear up for three full days of work.  Despite the heat and humidity, I'm heading outdoors, picnicking in the Boston Common where a music festival is currently underway.

Before leaving you with today's recipe (or, in this case, a link to a guest post I did), I wanted to direct you all to the summer issue of FoodieCrush Magazine.  If you don't already know about it, stop whatever you're doing and check it out.  It's a beautifully designed publication from my friend Heidi and I'm so honored to have contributed photography for the last couple of issues.  Oh, and it's FREE! Check it out here (and page 42 for the article I contributed to).

Now, onto the guest post! The folks at Better Homes and Gardens asked me to take one of their recipes and give it a twist.  Originally, I had thought that a lightly dressed panzanella with some kale thrown in would do the trick, but I found that it actually wasn't all that interesting.  Shaved corn and some chopped roasted red pepper added the sweetness (not to mention a shock of color) that the dish needed.

Click over to see the original panzanella recipe from Better Homes and Gardens and to check out some of my alterations.

Grilled Bluefish Salad

Isn't it neat how the weather directly effects our eating habits?  A month ago, a dinner of soup or stew or pasta wasn't out of the question.  But now the mere thought of turning the oven on makes me sweat.  Thankfully, I have a talented grill-master of a husband who knows how to cook fish perfectly, so we've taken most of our food preparation outside.

Over the last few weeks, we've been preparing a lot of bluefish.  Caught along the East Coast, bluefish is meatier and more oily than a lot of other seafood from this region.  It's a turn off for some, but I find that grilling it takes care of the "fishiness."  The price of bluefish, which is usually found in local stores for $7 or $8/lb, makes it very appealing as well.  We'll often buy an extra portion or two to make this salad, which we enjoy for lunch throughout the week.  Credit must be given to our friend, Kat, who served a bowl of this when we were together on the Cape last month and had mixed in some minced lemon slices.  It's a wonder I hadn't thought to do the same before, since I'm known for adding lemon zest or juice to almost everything I make.  It provides a surprising amount of zip, which is exactly what I want in summer fare.

Grilled Bluefish Salad

Servings Grilled Bluefish (alone): Serves 4 for dinner Grilled Bluefish Salad: Approximately 8-10 people for lunch

Ingredients

For the grilled bluefish 2 - 1 lb bluefish fillets, bones removed 4 tablespoons olive oil Coarse ground black pepper 2 garlic cloves, sliced 1 tablespoon minced ginger Curry powder 1 lemon, sliced into thin rounds, seeds removed Soy sauce

For the salad 1 tablespoon mayonnaise 1/4 cup chopped cucumber 1 large carrot, peeled and chopped 1/2 shallot, minced 1 teaspoon minced flat-leaf parsley 2 grilled lemon slices, minced

Pita bread, for serving

Instructions

1. Prepare the bluefish for the grill.  Place the fish fillets in a large glass baking dish. Rub each fillet of fish with 1 tablespoon olive oil, curry powder, and black pepper. Spread and gently smoosh (yes, smoosh) garlic slices and ginger into the flesh of the fillet.  Top with lemon slices.  Pour 3 tablespoons of soy sauce over the fillets. Let sit for 30 minutes.

2. While the fish is marinating, prepare the grill.  Pour some canola oil on a paper towel and rub this over the grates of the grill.  Preheat the grill to medium heat.  Once it has preheated, place each fillet, skin side down, on the grill.  Close the cover of the grill and cook for approximately 10-12 minutes until the fish is firm and starts to flake as you lift it.  If necessary, cook for an additional 3 minutes and check again.

3. Transfer the fish to a large platter.  At this point, you can eat some of the fish as a meal and just use leftovers for bluefish salad, or you can make one large batch of bluefish salad.

4. Before you make the bluefish salad, make sure the fillets have cooled. Once they have cooled, remove the skin from the fish.  Don't worry if a little remains.  Transfer to a mixing bowl and flake the fish with a fork.  Add the cucumber, carrot, shallot and minced grilled lemon slices.  Add the mayonnaise and stir to combine. Taste for seasoning and, if necessary, add salt and black pepper.

Apricot and Cherry Crumble

“All men are created equal. Now matter how hard they try, they can never erase those words. That is what America is about.” - Harvey Milk

How far we've come.

Last week, when the Supreme Court announced it's decision to strike down DOMA and to allow same-sex marriages to resume in California, I sat at my computer, stunned.   I wasn't exactly speechless.  In fact, I screamed so loud I'm pretty sure our neighbors heard me. I hadn't expected to be so emotional, but it hit me hard.  As much as we've tried to tell ourselves that our marriage (which took place four years ago on June 20th)... our love... our life... was no different than anyone else's, DOMA was always there to point out that it wasn't real.  At least that's how it felt... and it hurt terribly.

When the decision came in, I knew we had to do something to celebrate.  Maybe lobster and champagne. Something decadent.  I spent the afternoon buying groceries to prepare a nice meal.  By the time Eric got home from work that evening, I had the table decorated with wine glasses, cheese and cut up rounds of baguette. As he entered the kitchen, I rushed over and threw my arms around him.  "We're married... again!" I said. He laughed and gave me a kiss.  "Yay," he replied. "Now let's pop open some vino!"

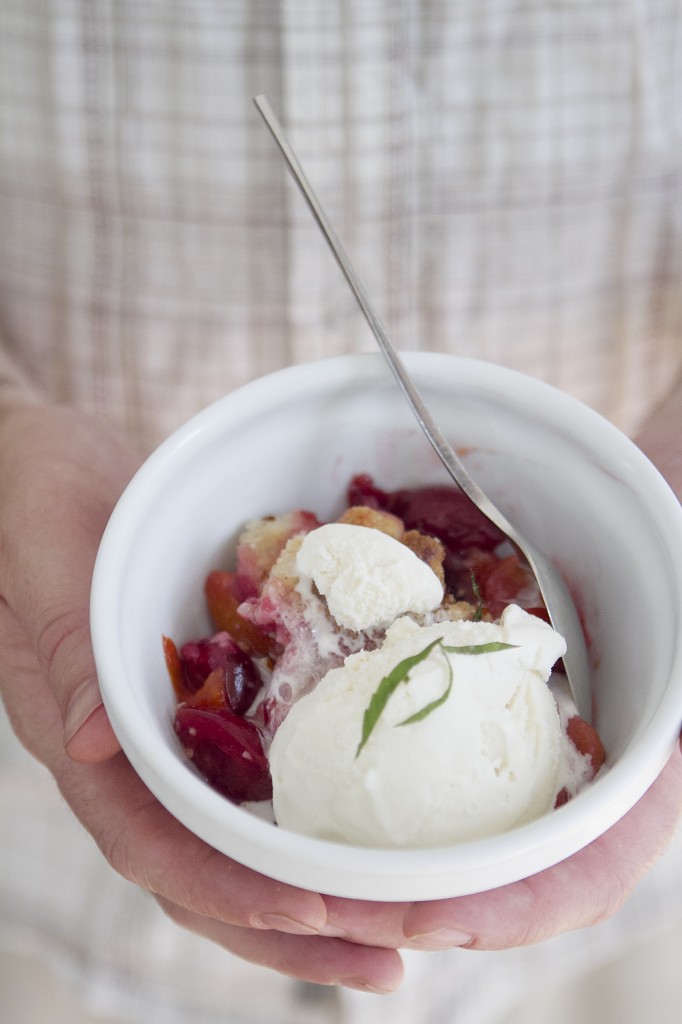
Apricot and Cherry Crumble

Servings 6-8

Ingredients

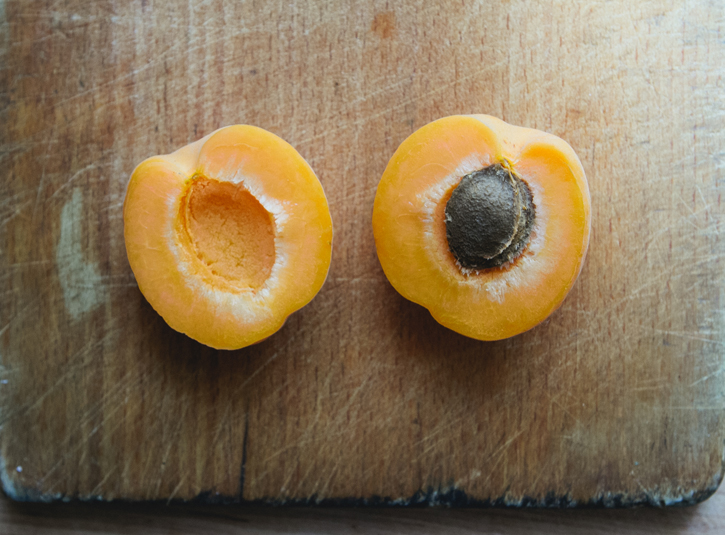
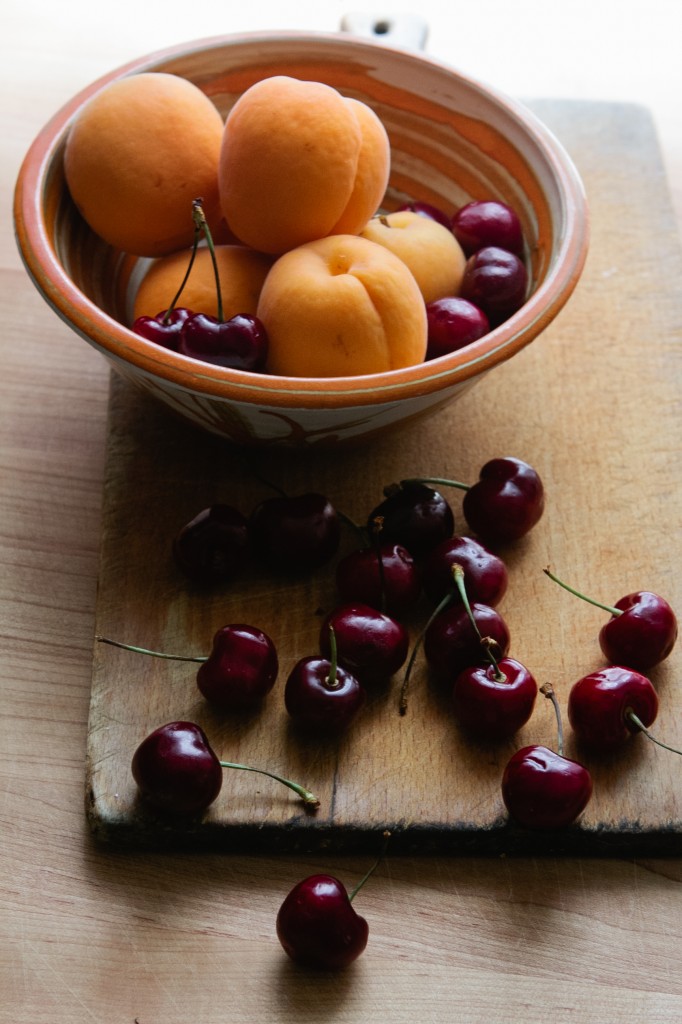
For the filling 2 pounds apricots, pits removed 1 cup pitted cherries, sliced in half 1/4 cup sugar 2 tablespoons all-purpose flour 1/2 teaspoon nutmeg Juice of 1/2 a lemon

For the topping 1 cup all-purpose flour 1 cup sugar 1/4 cup sliced almonds 1/2 teaspoon salt 1 1/2 teaspoon cinnamon 1 stick unsalted butter, melted and slightly cooled

Vanilla ice cream Lemon verbena, optional

Instructions

1. Preheat the oven to 375 degrees.

2. Using 1 tablespoon of butter or cooking spray, grease a 9 inch glass pie plate.

3. Place the apricot and cherries into a large bowl, toss with sugar, flour and nutmeg and spread across the pie plate.  Drizzle the lemon juice over fruit.

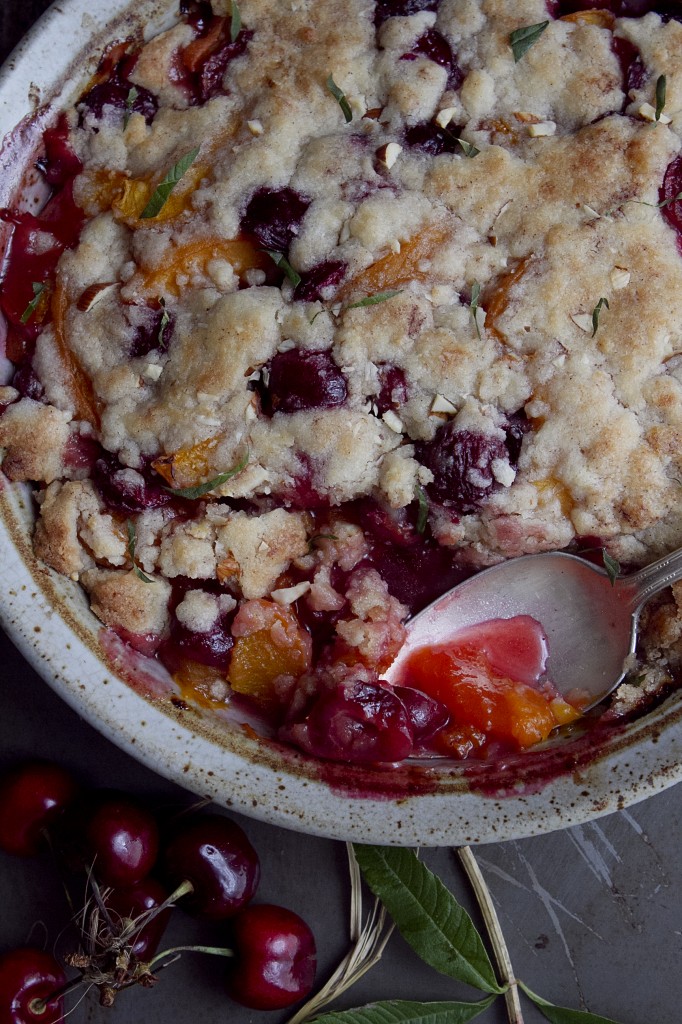
4. In another bowl, add the dry ingredients for the topping.  Using a fork, mix the topping ingredients while drizzling the butter in, until it begins to come together. Sprinkle the topping over the fruit and pat it down until it has completely covers the pan.

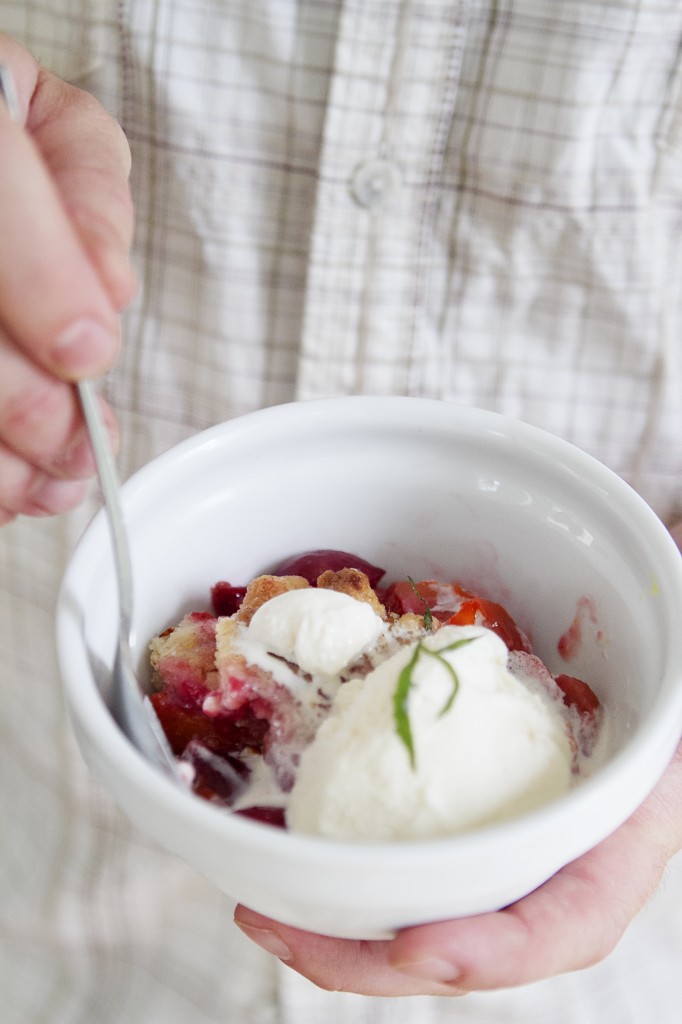
5. Bake for 25-30 minutes, or until the top has turned a slightly golden-brown.  Serve warm with vanilla ice cream topped with fresh lemon verbena.