Personal

Why I Love Taking Pictures With My Phone (+ Some Tips/Tricks)

The first time I brought a camera into a restaurant was over two years ago.  This was before I'd purchased my first smart phone, and I lugged around my hefty camera and lenses wherever I went.  Despite the challenges of carrying a camera everywhere, this was my creative outlet and I loved capturing my favorite restaurants and landmarks.

Ever since I started working professionally as a food photographer, I do like to take a break from my camera from time to time.  Sometimes you just need a little space.  I rarely bring it along when we go out to eat or are traveling anymore.  On a recent trip to Vegas, I only took my camera out once, opting to use my phone to take all my pictures.

As a photographer, there's something very liberating about shooting with a smart phone.  First off, you can be discrete about taking pictures.  It's easier to capture the environment of a restaurant when you're not whipping out a massive lens.  Both patrons and servers get weird when they see a camera pointed at them (and I don't blame them for that... it's a bit intrusive).  A phone, however, can be used to take a picture without anyone noticing.

I also feel like I've grown tremendously as a photographer because of the amount I shoot with my phone.  I'm constantly finding ways to get creative in an environment when the light may not be ideal.  Or I see a dish and think, "Ok, what are all the ways I can shoot this?" and, to my husband's dismay, I play with every option.   It gets me thinking outside the box and that may be the most important thing for us as artists.

Over the last few months, I've started teaching classes on iPhoneography for folks who are interested in amping up their food photos.  I wanted to share a few points from that class with you today:

1. Remember that taking pictures with your phone is the same as using a DSLR... consider the key elements of photography: subject, composition, and lighting. Some dishes or ingredients aren’t always going to be bright and colorful, but there should be something about what you’re photographing that’s going to be interesting to the viewer.  Use the other elements (composition and lighting) to elevate the subject or create a mood.

2. Action can be the subject.

3. Texture does a lot to make a smart phone image interesting.  This can be as simple as shooting the dish on a rustic table (think aged wood) or textured background.  I've gone as far as to put my food on the sidewalk, using the bricks as my surface.

4. Use natural light... and never use the flash! I see it all the time. I'm at a restaurant and someone takes a picture and they light up the room with their phone's flash.  My suggestion, and this goes for all restaurant photography (even with a DSLR), is to only shoot during the day (or during day light).  It's incredibly difficult to take a shot of food with your phone in a dimly lit room.  Even if the dish is beautiful and the composition of the shot is perfect, the picture is going to come out super grainy.

5. Shoot from above.  Because the iPhone doesn't have the same depth of field capabilities as a DSLR, shooting from the side doesn't always work as well as one would like.  The best way to capture a dish (or a whole table of plates) is to get the shot from above.  If you do shoot from the side, keep your shot simple and with minimal props, because everything in the shot will remain in focus.

6. Taking pictures is fun!  If your friends are joining you at a restaurant, let them in on the experience.  You can even let them be your model.  They'll like that. And then let them eat.  They'll like that more.

To see some more of my iPhone shots, head on over to Instagram.  And to see my husband's pictures of me taking pictures of food, check out his Tumblr page, Waiting For It: Married to a Food Photographer.

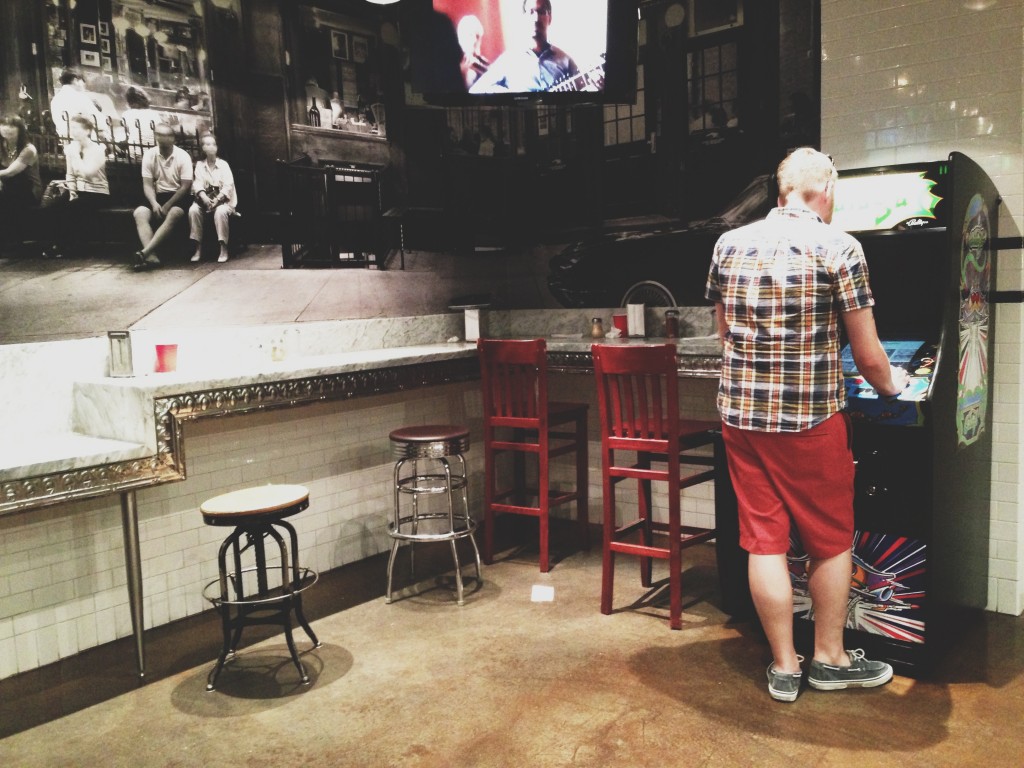
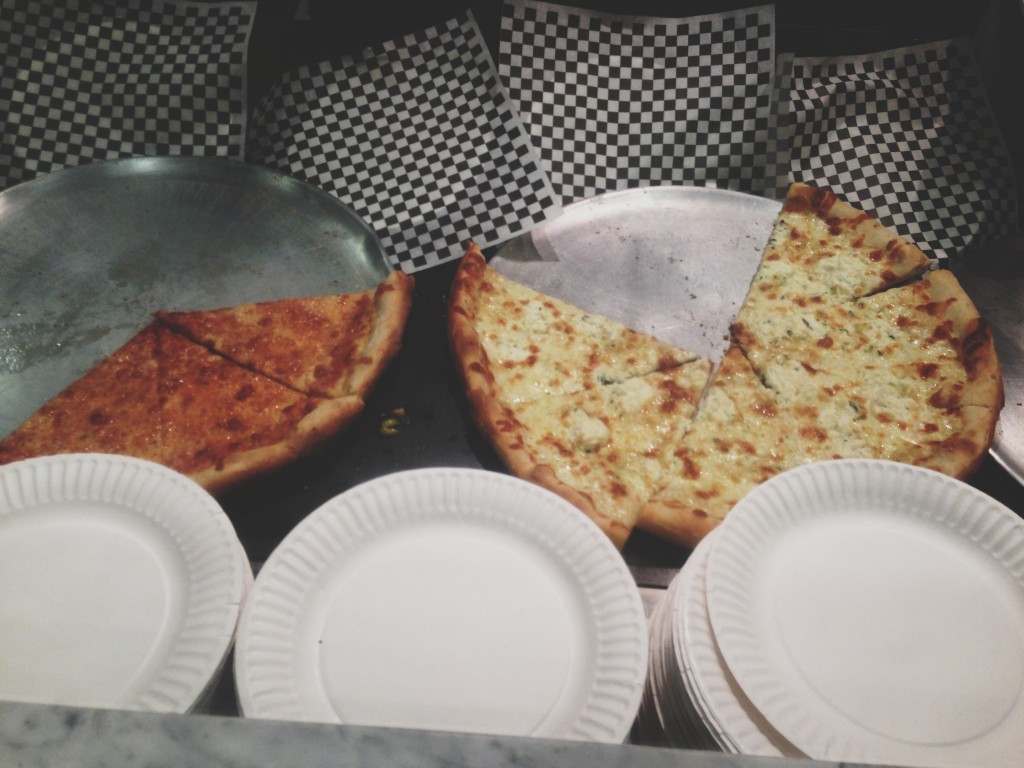
The above pictures were taken at the following places (listed in order of appearance):

Whole Foods (Andover, MA) Barbuto (New York, NY) West Bridge (Cambridge, MA) Four Seas Ice Cream (Centerville, MA) Mei Mei Street Kitchen (Boston, MA) Lyric (Yarmouth Port, Cape Cod, MA) Island Creek Oyster Bar (Boston, MA)


Silent Sunday: Las Vegas and Saveur Food Blog Awards (in iPhonography)
For more shots, follow me on Instagram

Featured in this post:

Resorts/Casinos

Bellagio Cosmopolitan Aria Planet Hollywood

Restaurants/Bars/Clubs

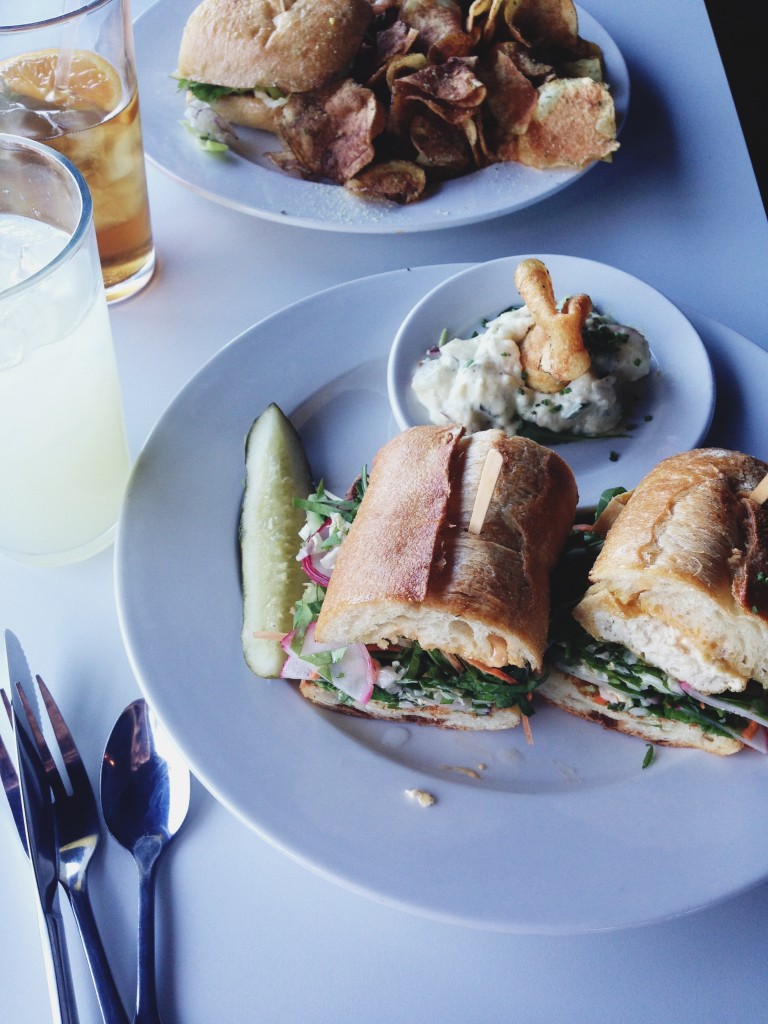
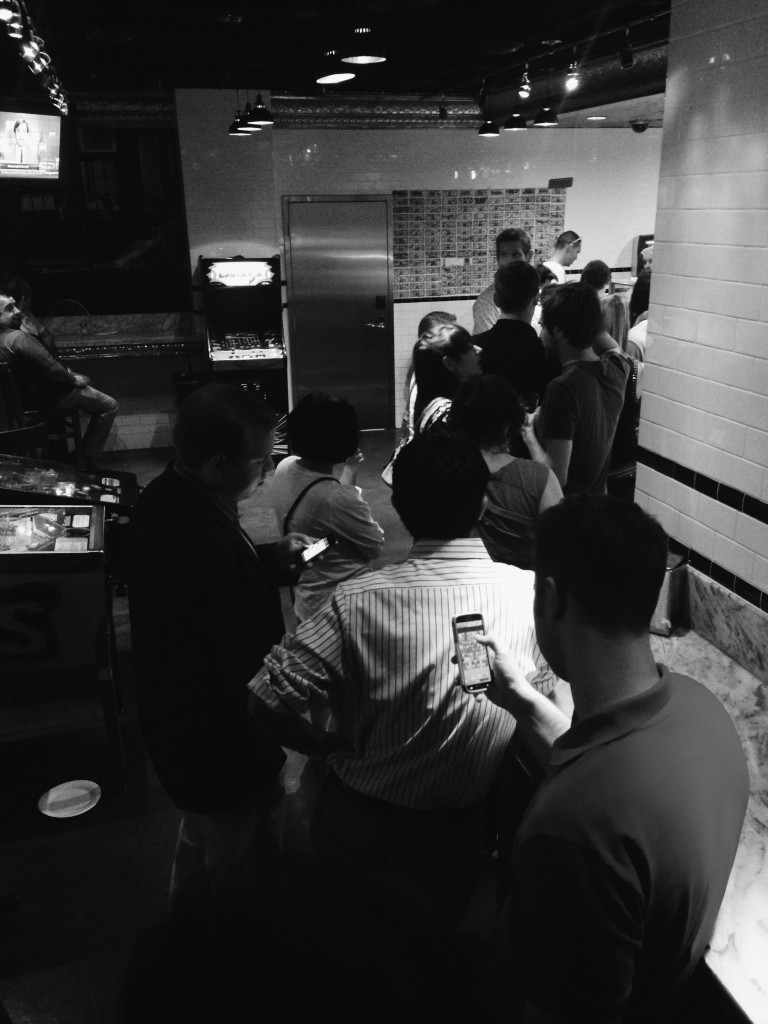
Eat. Lotus of Siam Secret Pizza (Cosmopolitan) Hyde (Bellagio) Blue Ribbon Bar and Grill (Cosmopolitan) The Chandelier (Cosmopolitan) Sensi (Bellagio)

People

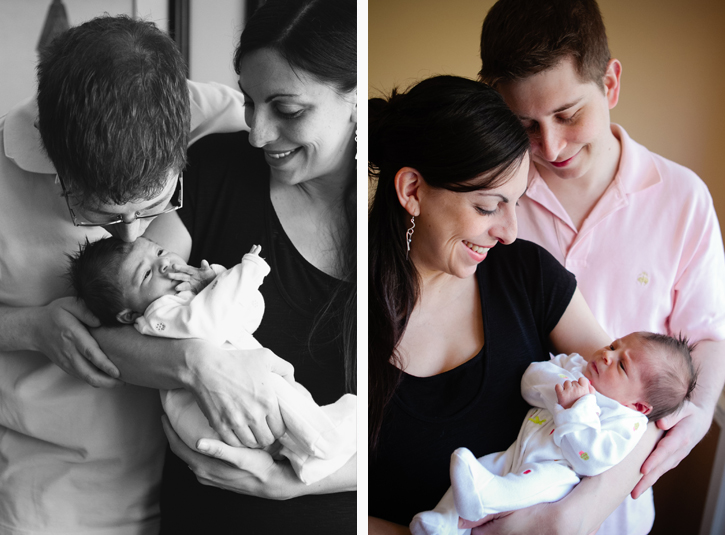
Joy Wilson - Joy the Baker Aimee Wimbush-Bourque - Simple Bites Tsh Oxenreider - Simple Mom Teri Lyn Fisher - Spoon Fork Bacon Jenny Park - Spoon Fork Bacon Sara and Hugh Forte - Sprouted Kitchen Eric Frishman (the man giving me a smooch)

Sit Down By The Fire

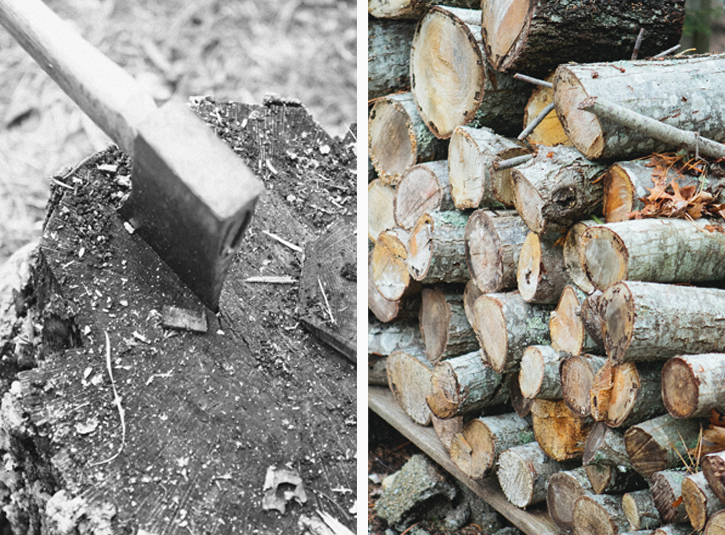
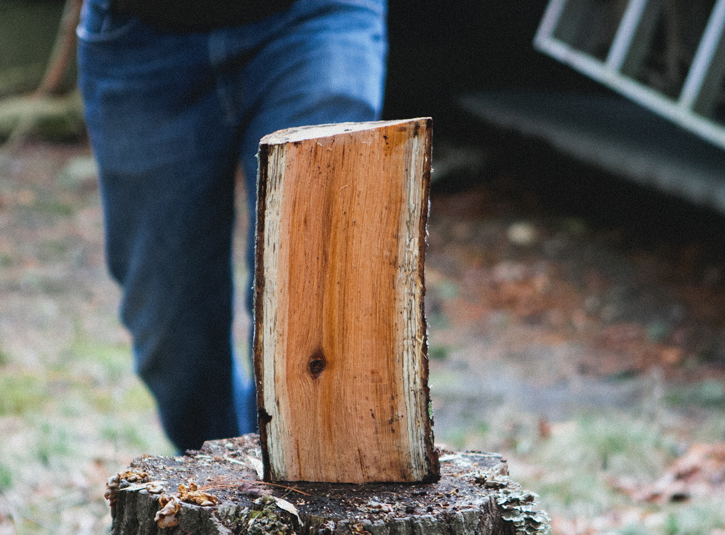
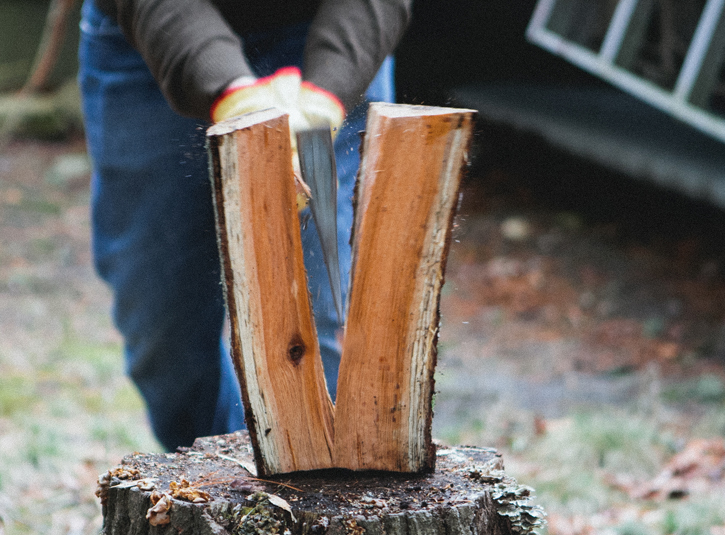
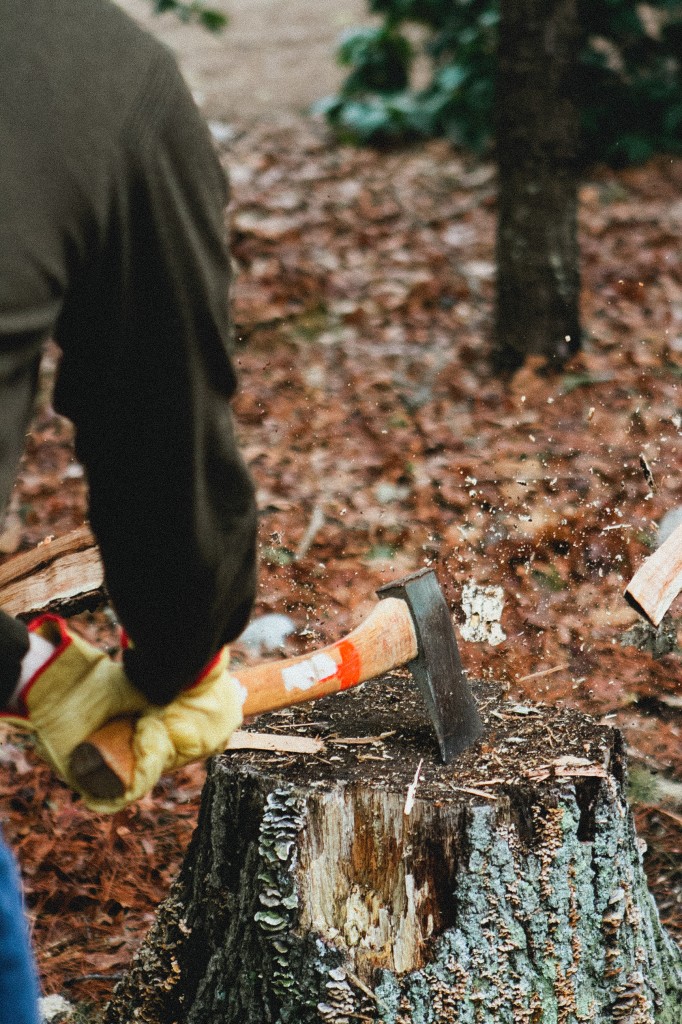
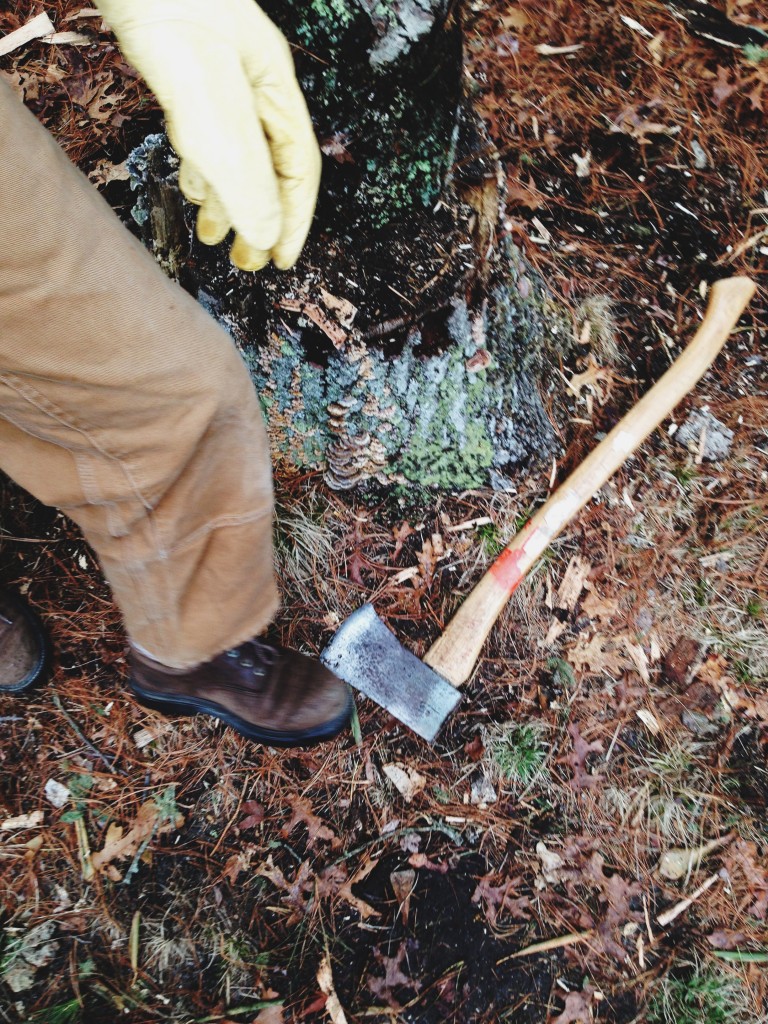
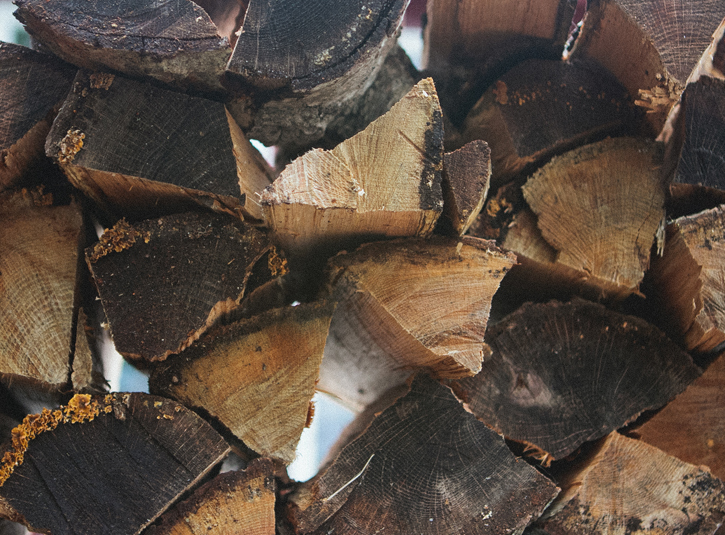
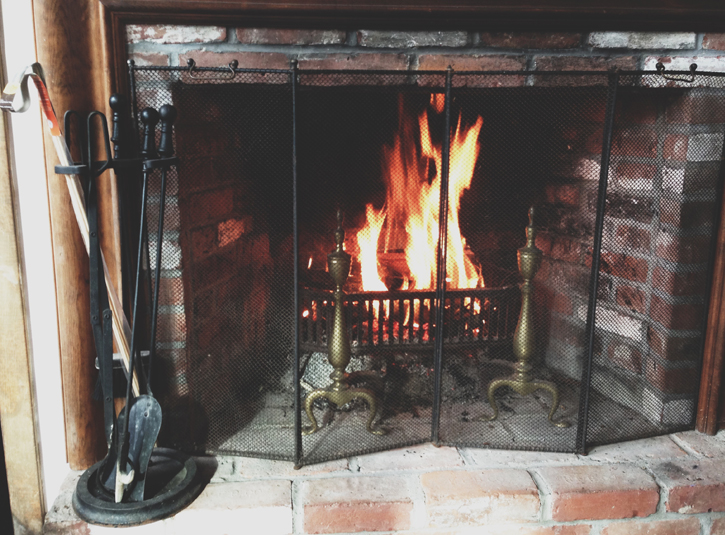
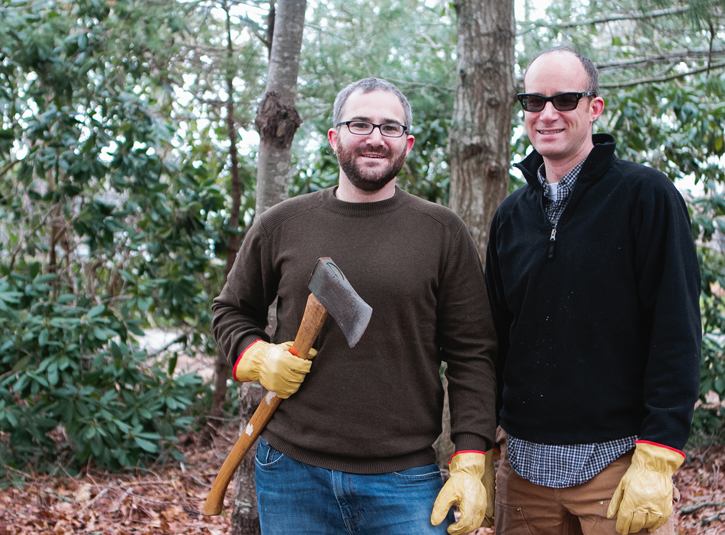
Opening the Cape house involves very little work.  We take the furniture outside, we wipe away some cobwebs and air out the rooms, which can get a bit musty during the six months we're away.  Since the house isn't insulated very well, we utilize the fireplace as much as possible. Eric and his brother Andy went out to chop some firewood. They were so proud of themselves and had a nice bonding moment.

Moroccan Carrot Dip + Hurricane Sandy Relief Efforts

This has been an odd week. Each day seems to have merged into one big blob. Maybe it's due to the way it started off... with a storm that ravaged the state where I grew up and a city for which I hold much affection for.   My parents and sister and her family are safe, though they're stuck without electricity until next week (not to mention a very large tree that is leaning precariously towards their house).  But there are others who weren't as lucky... so many people lost their homes and possessions.  And there are neighborhoods that will need to be completely rebuilt.  It's devastating to watch.

One thing I realized I can do is reach out to you, my dear readers, and ask you to donate some money (even $5) to one of the amazing organizations out there who have been helping during this crisis.  The largest is the Red Cross and here is the direct link to donate to them, but there are plenty of other groups who need the money as well.  Again, even a small donation helps.  I also recommend reading this article from the Huffington Post on Tips for Donating Smartly as well as this page on the FEMA website.

Lastly, my friend Jenn Oliver at Jenn Cuisine is hosting a food blogger event to get the word out about donating.  Check out her post: Food Bloggers Support for Sandy

So... yeah, I haven't even talked about this Moroccan Carrot Dip.  My darling friend Mandy (who is also a fabulous cook) brought it to our Friendsgiving dinner last year and I was blown away by its brilliant flavors.  I felt like this was a good dish to make... the color alone will lift your spirits a bit.

Moroccan Carrot Dip

(adapted very slightly from the recipe by America's Test Kitchen via The New York Times)

Note: For the dip to have a brilliant orange color and clean flavor, it is important to avoid browning the carrots when cooking them in Step 1.

Ingredients

3 tablespoons extra-virgin olive oil 2 pounds carrots (about 12), peeled and sliced ¼ inch thick Salt Pepper 2 garlic cloves, minced 3/4 teaspoon ground coriander 3/4 teaspoon ground cumin 3/4 teaspoon ground ginger 1/8 teaspoon chili powder 1/8 teaspoon ground cinnamon 1/3 cup water 1 tablespoon white wine vinegar 1 tablespoon minced fresh parsley or cilantro

Directions

1. Heat 1 tablespoon of the oil in a large saucepan over medium-high heat until shimmering. Add the carrots and 1/2 teaspoon salt and cook until they begin to soften, 5 to 7 minutes. Stir in the garlic, coriander, cumin, ginger, chili powder and cinnamon and cook until fragrant, about 30 seconds. Add the water and bring to a simmer. Cover, reduce the heat to low, and cook, stirring occasionally, until the carrots are tender, 15 to 20 minutes.

2. Off the heat, mash the carrots with a potato masher, leaving a few coarse pieces for texture. Stir in the remaining 2 tablespoons oil and vinegar. Transfer to a bowl, cover, and refrigerate until the dip is chilled, about 30 minutes. Season with salt and pepper to taste, and sprinkle with the cilantro before serving. The dip can be refrigerated in an airtight container for up to 2 days. Season with additional vinegar, salt and pepper to taste and sprinkle with the cilantro before serving.

Yield: Makes about 2 1/2 cups.