Bloody Mary

Typically, when I'm drinking a Bloody Mary I'm not in the best physical or mental state. Therefore, how it tastes is less important than how it's going to make me feel.  But, when it comes down to it, there is a huge difference between a Bloody Mary that's shown some love and one that's been thrown together without any thought.  As I discuss in this post over at The Boys Club, everyone has their own spin, but one that's well made, like any libation, is going to be balanced.  A little kick, a bit of acidity, and some garnishes to nibble on at the end.

Get the recipe and read more about the Bloody Mary over at The Boys Club.

Irish Whiskey Smash

Eric and I have lived in South Boston (known as "Southie" in these parts) for a number of years and have grown to love the character of the neighborhood.  Take, for instance, the local St. Patrick's Day celebrations.  It's not classy by any means... but it's a heck of a lot of fun.  People are cheerful (ok, they're tipsy) and everyone hangs out on the street.  It's one giant party.  We typically start the day with a big brunch (mimosas and sometimes stronger concoctions are consumed) and then we make our way through apartments (this is where we stumble into a party thrown at our friend's cousin's coworker's brother's place).  By around five, we've had it and the group scrounges up a bit of food for an early dinner.  Bed soon follows.

As I said, it's not classy.  But we have a great time.  This year, though, we'll actually be heading up north to celebrate my mother-in-law's 70th birthday, but we'll be thinking of our friends and neighbors in Southie, who I am sure will be having a blast.  Maybe they'll mix up this Irish Whiskey Smash in honor of the holiday.

Get the Irish Whiskey Smash recipe over at The Boys Club. 


Leek Salad with Grilled Haloumi and Triticale Berries

Triticale Berries 14

The conversation started so many months ago.  I can't even remember exactly when.  September maybe?  Maria and I met for coffee (ok, it was cocktails) after having connected through Twitter. We chatted about our various projects and backgrounds, but, really, we connected over our mutual love for food.  At the time of our meeting, I had yet to get my hands on her book Ancient Grains for Modern Meals, but the word around town was that the book was amazing.  When I told her I hadn't checked it out, she generously offered to send two copies (one for me and one for a giveaway).  When the books came in the mail, I plopped down on the couch and began flipping through.  Every single recipe looked right up my alley.  Loads of healthy, vegetarian dishes.  But some of the ingredients, well, I was a little nervous I'd get my hands on them.

And then, magically, in my CSA box, we received a bag of locally harvested triticale berries (a hybrid of wheat and rye).  I had NO idea what I was supposed to do with them, so I sent Maria a message and asked her if there was a way to include them in one of her dishes.  She directed me to her leek salad ("This recipe combines both of the cultures I was raised in, Germany and Greece: rye is widely used in Northern Europe while all the flavors of the salad are Mediterranean, orange, fennel, sun-dried tomatoes, herbs, and haloumi.") and I was sold.  I'd make it that week.

But then I didn't... not that week nor the next week or month (well, four months) after.  Until I got around to it last week... finally. Better late than never, right?

I've adapted the recipe slightly, removing the capers and adding in some marinated artichokes and I decided a little chopped up orange peel would add some brightness (I've come to terms with my obsession with citrus zest), but, really, the credit goes to Maria for building such a satisfying vegetarian dish.

Oh, and I do have a copy of Ancient Grains to giveaway.  You won't be disappointed.  It's chock-full of information about grains... where they come from, how to cook them, and what to do with them.

TO ENTER THE GIVEAWAY: Leave a comment on this post

For additional entries: Share this post on Pinterest, Twitter, and/or Facebook and leave a comment telling us you’ve done each one.

Official Rules: This is open to US/Canadian residents only.  No purchase necessary.   Giveaway will end on March 18th 2013 at 12:00 pm EST. One winner with a valid entry will be selected at random using random.org. The winner will be notified by email and will have 48 hours to claim their prize or another winner will be selected.


Leek Salad with Sun-Dried Tomatoes, Artichokes

and Triticale Berries

(Slightly adapted from Maria Speck's Ancient Grains for Modern Meals)

Ingredients

1 1/2 cups water

3/4 cup triticale berries or rye berries, soaked overnight and drained

---

2 medium leks, cleaned and cut into 3/4 inch segments (about 4 cups

1/2 cup vegetable broth

1 (2- by 1-inch) strip orange zest, white pith removed

1/4 cup chopped oil-packed sun-dried tomatoes, drained, 2 teaspoons oil reserved

1/2 cup marinated artichoke hearts, quartered

1/4 cup chopped fresh mint, plus 2 tablespoons for garnish

3/4 teaspoon fennel seeds

1/4 teaspoon fine sea salt

1/4 teaspoon freshly ground black pepper

---

1/4 pound haloumi cheese

1 1/2 teaspoons dried crumbled oregano

1/4 teaspoon freshly ground black pepper

1/8 teaspoon dried red pepper flakes

Directions

1. Prepare the triticale berries by placing the water and berries in a saucepan and bringing it to a boil.  Reduce the heat to a simmer, cover, and cook for 50 minutes.  Remove from heat and let sit for 10 minutes.  Drain any leftover liquid and transfer to a serving bowl to let cool.

2. To prepare the salad, bring the leeks, veggie broth and orange zest to a boil in a saucepan.  Reduce heat to a simmer, cover the pot, and cook until the leeks are soft 5 to 7 minutes.  Remove the orange peel and set aside.  Drain the leeks and add them to the bowl with the triticale berries.  Chop the orange peel into thin strips and add it to the bowl, along with the sun-dried tomatoes, marinated artichoke hearts, 1/4 cup mint, fennel seeds, sea salt, and black pepper.

3. Position an oven rack about 6 inches below the heat source and preheat the broiler.  Cut the haloumi cheese into thin slices, about 1/4 inch thick.  Rub each piece with the sun-dried tomato oil and sprinkle with the oregano, black pepper, and red pepper flakes.  Make sure both sides are coated with the oil and spices.

4. Transfer the cheese to a broiler pan and broil the haloumi until the slices begin to brown at the edges, approximately 5 minutes, turning once half way through with a spatula.  Keep an eye on the cheese as you do not want it to dry out.

5. Transfer the triticale salad to a platter and top with haloumi.  Sprinkle the remaining 2 tablespoons of mint on top and serve.

Reprinted with permission from Ancient Grains for Modern Meals by Maria Speck, copyright © 2011. Published by Ten Speed Press, a division of Random House, Inc.

Edible Boston - Spring 2013

Over the last year, I've had the honor of writing and photographing for Edible Boston.  The spring issue has just hit stands and is available in a number of stores and restaurants throughout the city.  Flip through and you'll find an article that I did on local chefs who, in their spare time, enjoy tapping into their creative side.  Chef Erwin Ramos, the owner of Ole, is a photographer and takes his camera on all of his travels to Mexico.  Dave Becker of Sweet Basil spends hours in front of a potter's wheel creating plates and bowls for the restaurant.  And Jeffrey Fournier, Chef/Owner of 51 Lincoln, has been painting and displaying his work since he was a teenager.

Click Here To Read The Full Article


Marinated Eggplant with Mint and Capers

MarinatedEggplant2MarinatedEggplantDuo

At the beginning of the year, when I sat down to think about the direction I wanted to take this site, I decided on a few things.  One, I didn't want to stress about it anymore. I've cut back on the number of posts.  I think this will allow me to focus on creating quality content rather than trying to bang out material for the sake of putting it up here.  And I think it will allow me to focus on the other things in my life, like relationships and exercise (still working on that one) and getting out a bit more to enjoy all the culture this city has to offer.

The second thing I decided was that I wanted to get back to the roots of why I started A Thought For Food.  As a home cook, I created this site as a way to share recipes that I have come to love... and to hopefully inspire a few people along the way to try dishes they wouldn't have normally made.  I always want these recipes, whether my own creations or from the vast collection coming from my always growing magazine collection, to be accessible to the masses. For me, there's nothing better than a meal that's not only flavorful, but uncomplicated.

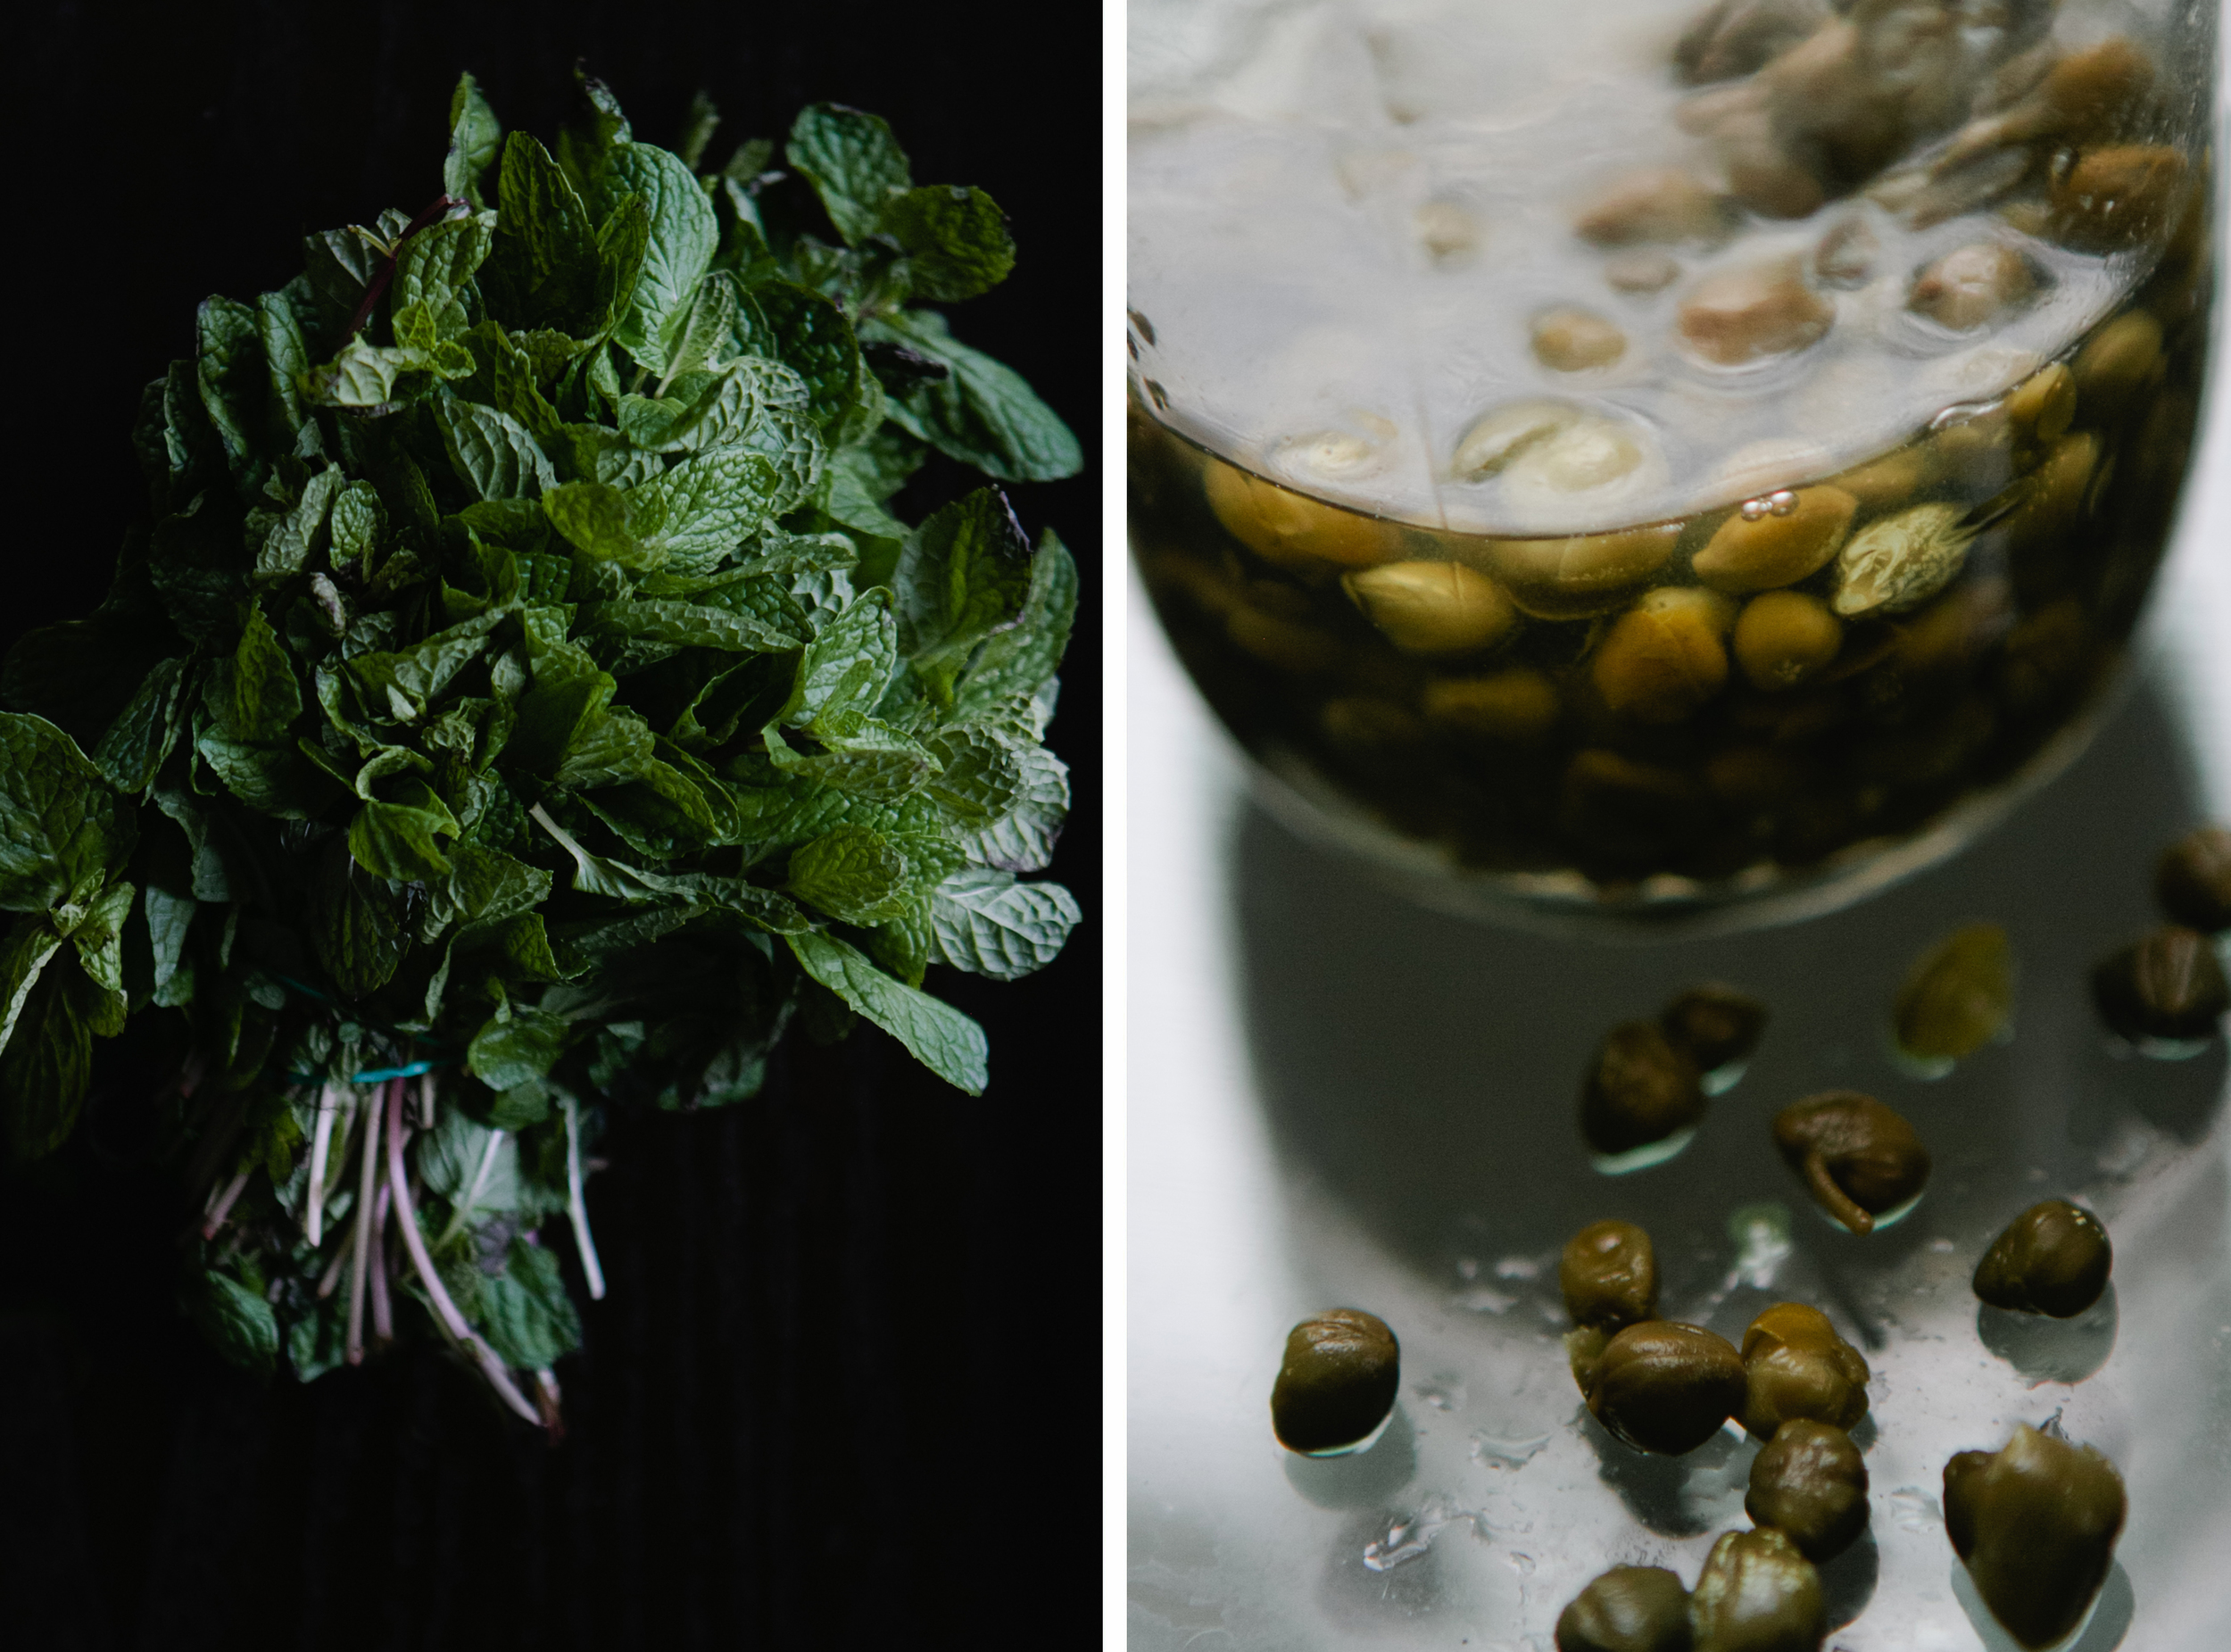
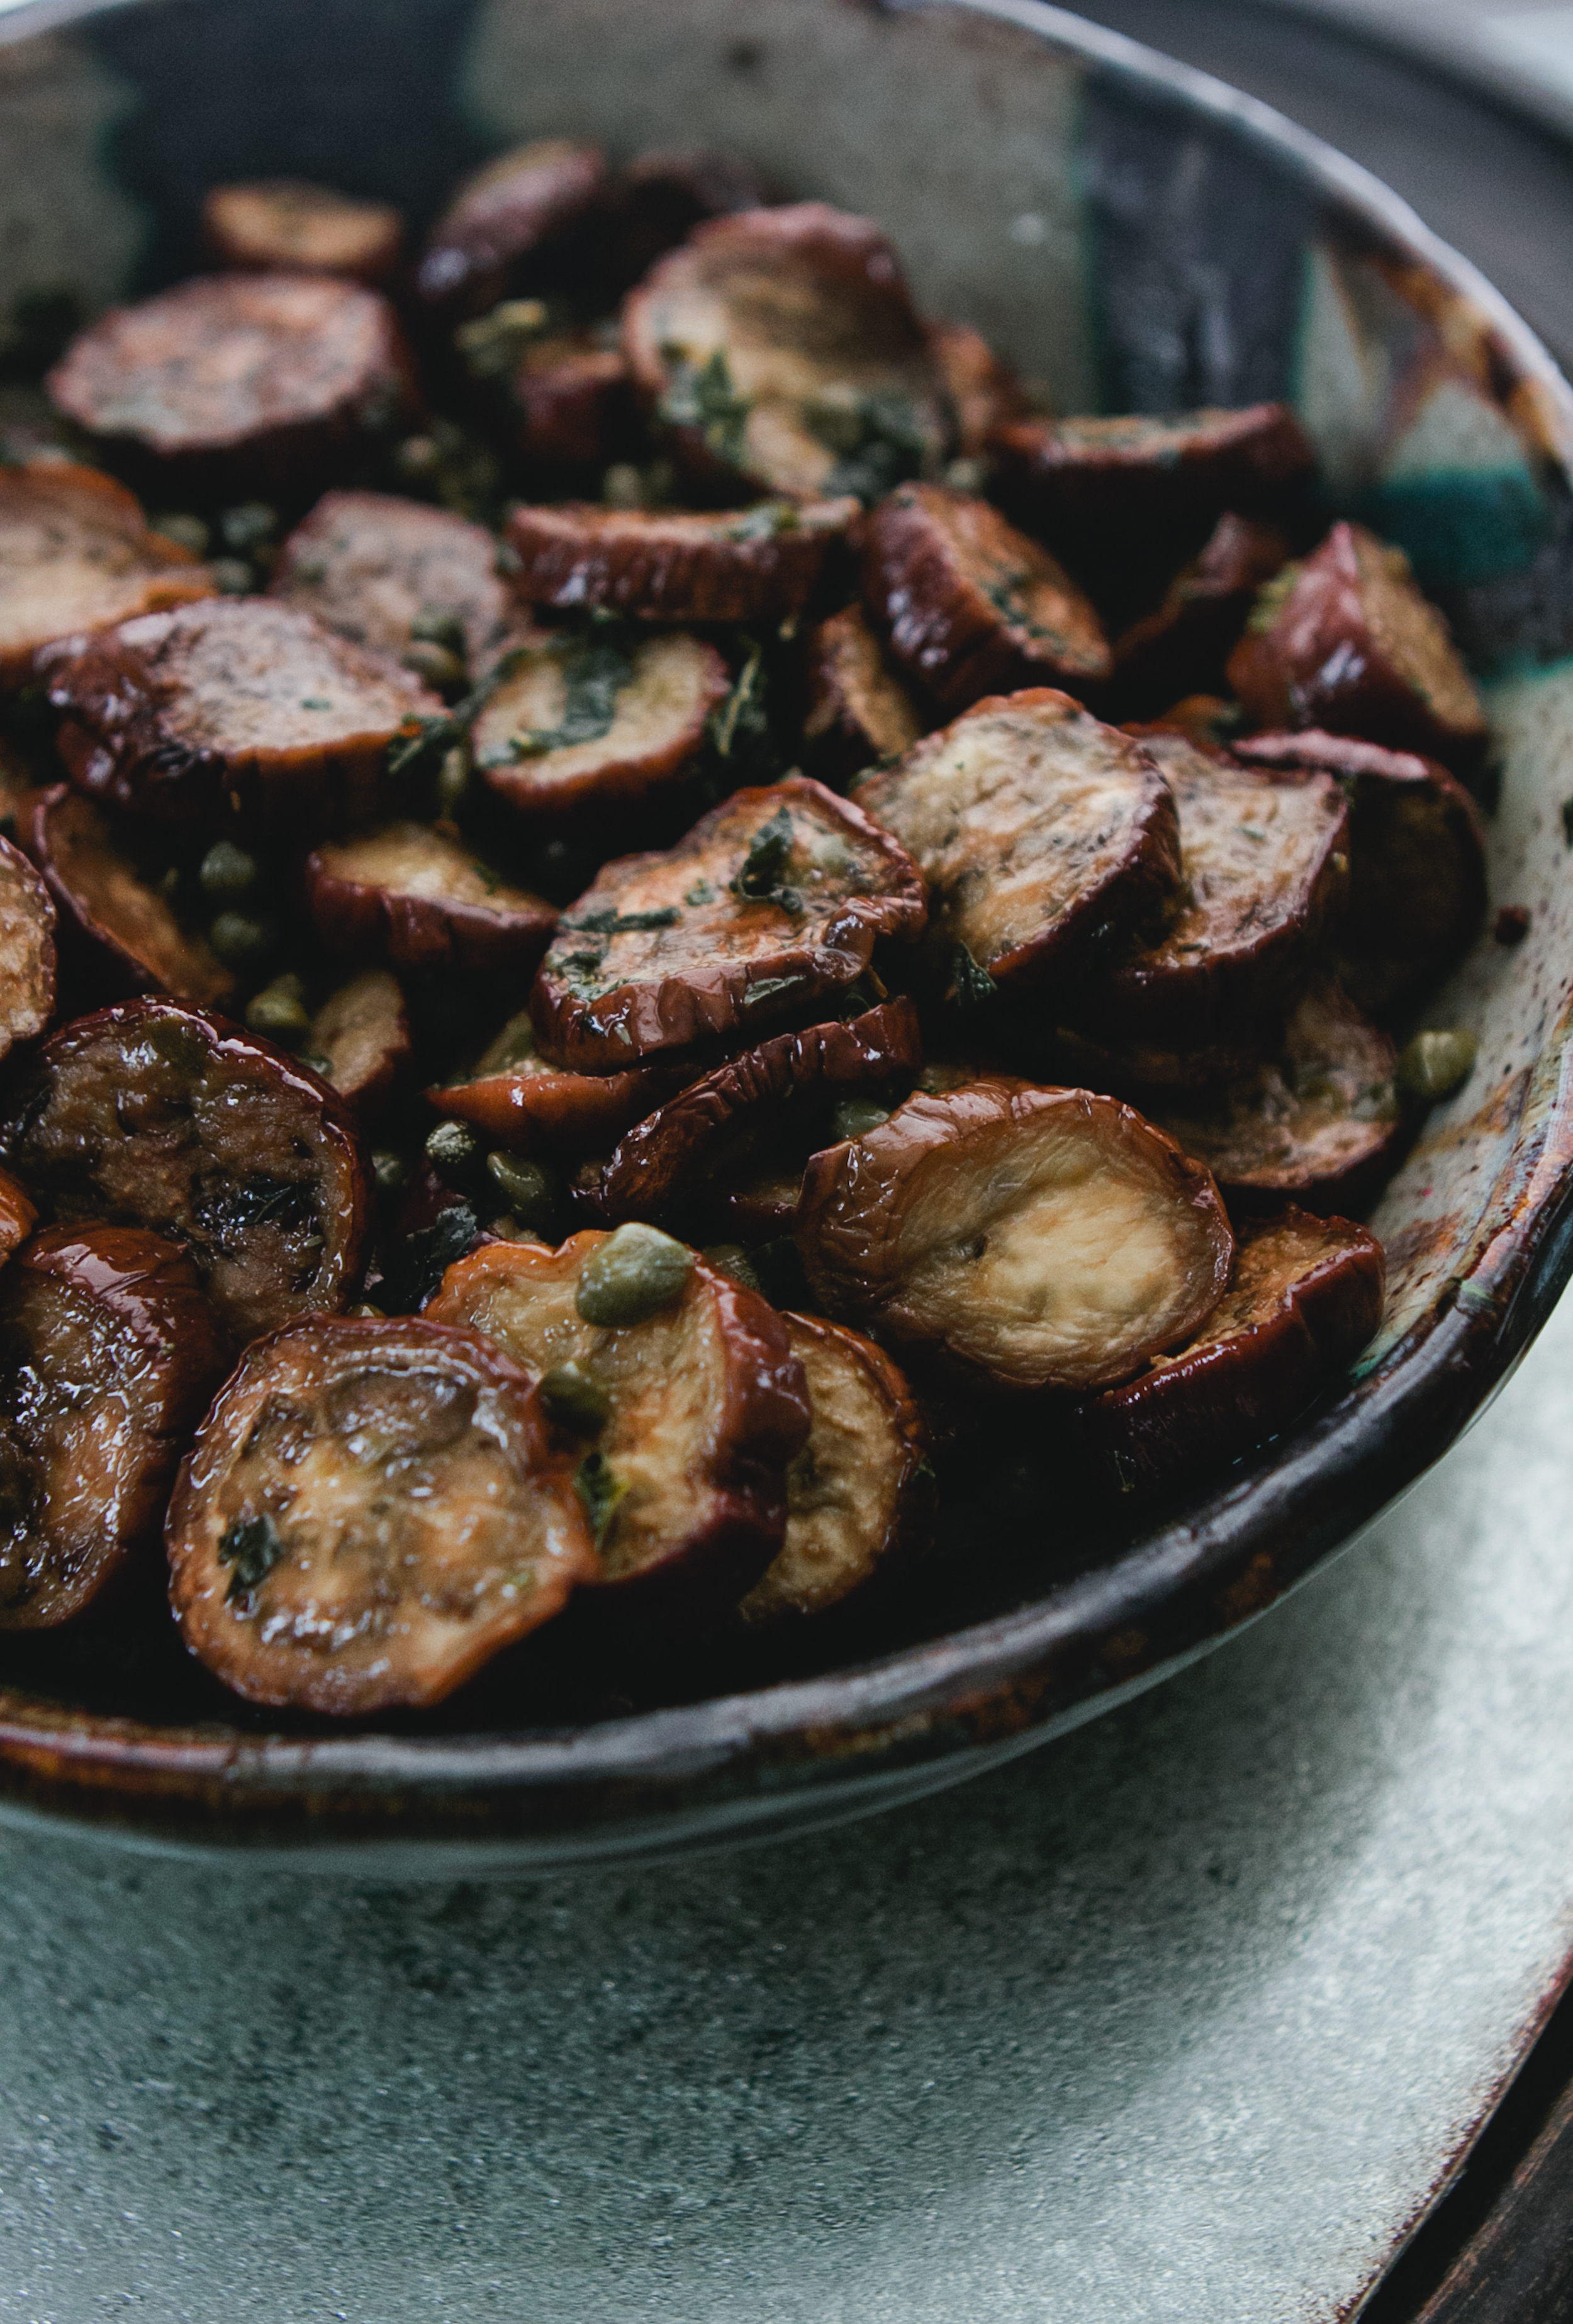
This marinated eggplant is one of those dishes that I can't get enough of.  I've been making it for years, which is why I'm kind of surprised it's taken me this long to put it up.  I recently prepared it for our annual winter BBQ, where we served up lamb kabobs and falafel, along with an assortment of middle-eastern inspired sides. The briny capers help to balance the richness of the eggplant, and the mint adds a brightness that almost makes you forget about the snow laden streets.

IMG_3880

Marinated Eggplant with Mint and Capers

Slightly adapted from Gourmet Magazine via Epicurious

Yields: 8 appetizer portions

Ingredients

2 pounds thin Italian or Asian eggplants, cut into 1/4-inch-thick rounds

10 tablespoons extra-virgin olive oil, divided

4 tablespoons red-wine vinegar

1/2 cup chopped mint

4 tablespoons small capers, rinsed

Directions

1. Preheat broiler.

2. Line a baking sheet with parchment paper.  Arrange eggplant in a single layer.

3. Brush both sides of the eggplant slices with 4 tablespoons of the olive oil.  Broil about 4 inches from the heat, turning once, until golden, 8 to 12 minutes total.

4. Stir together vinegar, mint, capers, 1/2 teaspoon salt, 1 teaspoon pepper, and remaining oil and toss with warm eggplant. Marinate at least 20 minutes.

*Can be made 1 day ahead and refrigerated. Bring to room temperature before serving.


Rosemary, Lemon and Greek Yogurt Scones

Snow falls outside as I type.  As much as I dread this weather, I'm also grateful for it.  We're forced to take a break from running around and slow things down a bit.  On these days, Eric and I sit in front of our coffee table, reading the paper and nibbling on scones.  I like to use this time to get some cleaning done, but after a few hours, we hunker down for a midday nap.  These last few months (that is, since November) have been a bit hectic.  Any open days have been packed with trips, parties, and family visits (which I love, but---you know---once in a while it's nice to have a little alone time).  As miserable as it may be to trudge through three feet of snow, it's some much needed relaxation.

As you may have noticed, I'm a scone fan.  Some folks are into brownies.  Some are pie fanatics.  Some folks deep-fry everything they see. Me? I'm into scones. Kind of strange, I know.  So, if you're getting tired of seeing scone recipes on here... well, I'm sorry to disappoint you, but I'm not even close to being done with playing around with different kinds.  You're going to have to put up with them for a while longer.

This is the first time I've branched outside of my typical butter/milk/heavy cream combo and have included Greek yogurt (we had a few large tubs of plain Chobani in the fridge).  The tang it provides is something I should have expected, but for whatever reason it never occurred to me and I was pleasantly surprised when I bit into them.  They're a little less flakey than my previous incarnations (most likely due to the moisture for the yogurt), but, nevertheless, I'm sold on these and I've already made them a number of times.

[print_this]

Rosemary, Lemon and Greek Yogurt Scones

makes 8-10 scones

Ingredients

2 cups whole wheat flour

1/2 cup sugar

1 1/4 tsp baking powder

1/4 tsp baking soda

1/4 tsp salt

1/2 cup (1 stick) unsalted butter, cold and cut into small chunks

1/2 cup Greek yogurt

1/2 cup milk

5 tbsps chopped fresh rosemary leaves

Zest of 1 lemon

Juice of 1 lemon

2 tbsps honey

All-purpose flour, for the work surface

Directions

1. Place rack in middle of the oven and preheat to 400 degrees.

2. In a large bowl, mix together the first five ingredients.  Add the butter to the bowl and, using two knives or a pastry blender (you can even just give it a couple pulses in the food processor), cut into the dry ingredients until the butter has mixed in, but there should still be a few pea-sized pieces of butter still in there.

3. Stir in the yogurt and mix until it is fully incorporated.

4. Slowly add the milk to the mixture, stirring to make sure it is fully incorporated.  If the dough looks like it is moist enough, you can leave out a little of the liquid.

5. Stir in the rosemary and lemon zest.

6. Transfer the dough to a lightly floured work surface and knead a couple of times.  Flatten the dough out until it is about 1 1/2 inches thick (should be about 8 or so inches wide).  Cut into 8 to 10 triangles and transfer the wedges to a baking sheet that has been lined with parchment paper.

7. In a bowl, whisk together the honey and lemon juice.  Brush the top of each scone with the lemon-honey mixture.

8. Bake for 18-20 minutes, or until the tops are golden brown.  If they don't brown, you can place them under the broiler for a minute, but be sure to keep an eye on them to make sure they don't burn.

9. Let cool on wire rack and enjoy!

Tags: Bake, Breakfast

[/print_this]

Raspberry Crumb Bars

I used to be really big into Valentine's Day.  Giving gifts, chocolates, flowers, cards (yeah... not just one but two, maybe three).  I'd make dinner reservations at expensive restaurants and plan out a night of activities. Over the years, though, I've toned it down a bit.  Eric and I don't exchange cards.  We don't buy each other presents or flowers.  There are no chocolate-covered strawberries.  Instead we stay at home, eat lobster and drink champagne, followed by a decadent dessert (like these raspberry bars that we're obsessed with... which contain three sticks of butter).  We spend the rest of the evening curled up on the couch with Maki, the three of us wrapped up in blankets.  It may seem boring to some, but I want nothing more than a little quiet time with the man that I love.

[print_this]

Raspberry Crumb Bars

(very minimally adapted from Joanne Chang's Flour)

makes 9 large bars, or 16 small bars

Ingredients

1 1/2 cups (3 sticks) unsalted butter, softened

1 cup granulated sugar

3 tablespoons confectioners' sugar

2 3/4 cups all-purpose flour

3/4 tsp baking powder

3/4 teaspoon salt

2 egg yolks

1 tsp vanilla extract

---

1 1/2 cups raspberry jam (with seeds)

1/4 cup confectioners' sugar

Directions

1. Add the butter and sugar to the bowl of a stand mixer fitted with the paddle attachment.  Beat on high for 5 minutes, scraping down the sides of the bowl periodically.

2. Meanwhile, in a separate bowl, sift together the flour, baking powder, and salt.

3. Add the egg yolks and vanilla extract to the butter mixture and beat at medium speed for another 2 minutes.

4. Add the dry ingredients to the butter mixture.  Beat to incorporate.

5. Wrap 1/4 of the dough in parchment paper and the remaining dough in a separate piece of parchment paper.  With the larger piece of dough, gently press it into an 8-inch round disk.  Place the smaller piece of dough in the freezer for 2 hours (or until hard) and the larger one in the refrigerator for at least 30 minutes.

6. Once the dough is ready, set a rack in the center of the oven.  Preheat the oven to 350 degrees F.

7. Remove the dough from the refrigerator.  Cut two large pieces of parchment paper and lightly flour each side of the disk.  Using a rolling pin, roll out the dough between the two sheets of parchment paper until it is 13 by 9 inches.

8. Transfer the dough to a 13 by 9 inch baking dish.  Even out the dough across the pan by pressing down gently with your fingers.

9. Bake in the oven for 20 minutes or until the shortbread is light brown.  At this point, remove from the oven and let cool.

10. Once it has cooled, spread the raspberry jam evenly over the shortbread.

11. Remove the dough from the freezer and shred the dough using a grater.  Sprinkle the grated dough over the raspberry jam.  Bake in the oven for 20 to 25 minutes, or until the top is lightly browned.

12. Remove the baking pan and let cool completely.

13. Once they have cooled, sift the confectioners' sugar over the top.  Cut into 9 bars (or smaller if preferred).

Tags: BakeDessert

[/print_this]

Meringue-Topped Baked Grapefruit

We need a bigger bed! That's the first thought that pops into my head almost every morning; the first thought after a restless night of little to no sleep.  I don't have many regrets in life... but not getting a king-size mattress is one of them.  Because here's the thing: two good-sized guys fit on a queen comfortably. Throw a 52 pound boxer pup into the mix, though, and it's really tight.  Maki also has a tendency to spread herself out, positioning her body in a way that's perpendicular to ours, making it so her head and butt are pressed right up against our backs or legs.  In many instances, this results in one of us (usually me) getting pushed off the bed.  And I can't forget to mention the many times I've awoken to her moans, groans, ear scratching, and butt licking (her butt... though, once in a while she'll find an exposed foot or knee to go to town on).

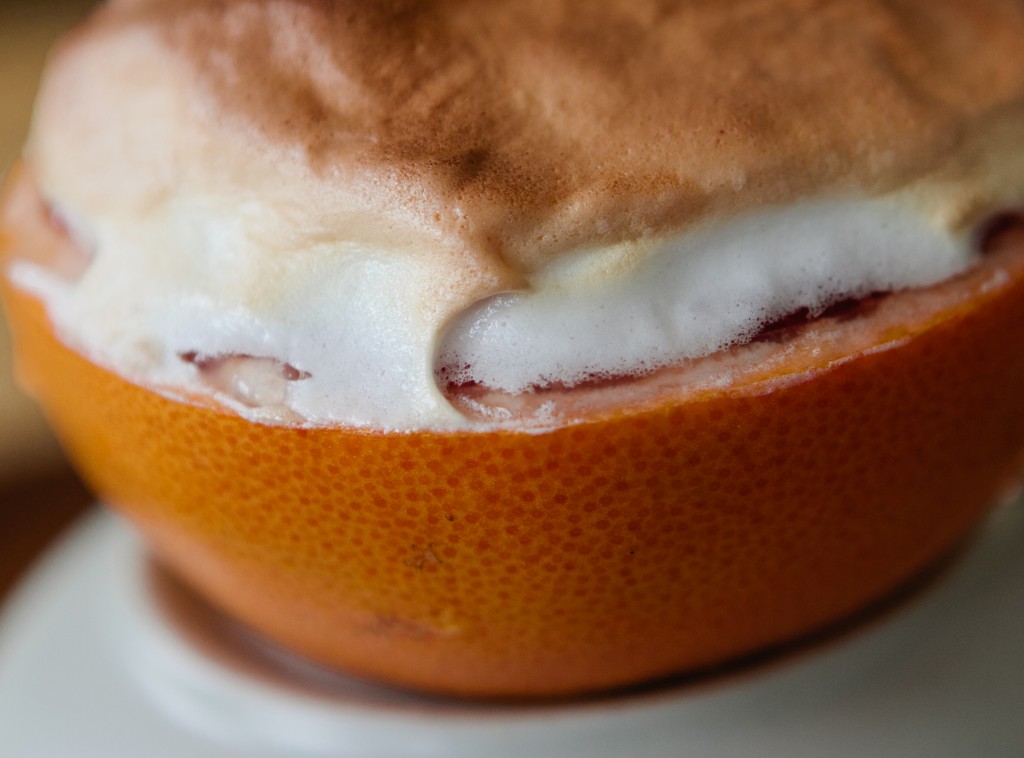
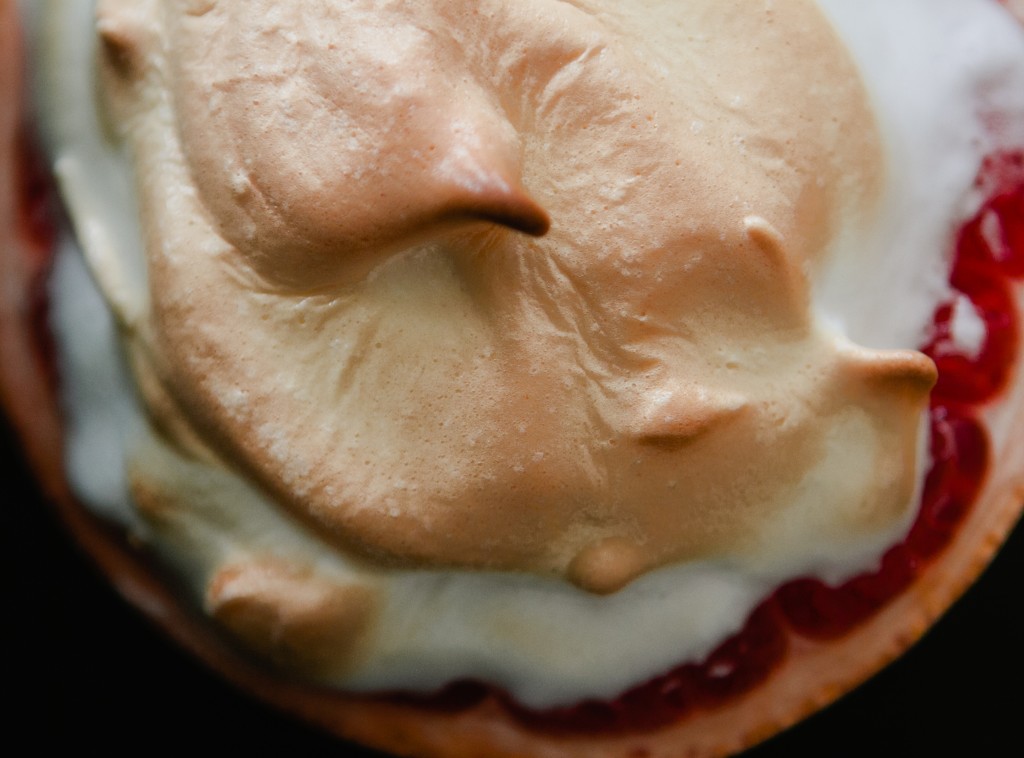
Mornings can be a bit rough.  Coffee is always brewed and, depending on the amount of rest I got the night before, I'll go for one to three mugs.  When I'm in need of a special treat, I bake up some grapefruit topped with meringue and smear pats of butter on toast.  It's the fastest way to bring a smile to this face... and with the limited quantity of sleep I've been getting, I need it.

Baked Grapefruit with Meringue

serves 4

Ingredients

2 red grapefruits, cut in half

2 large egg whites

1/4 cup superfine granulated sugar

Tools

Grapefruit knife

4 Ramekins, large enough to hold grapefruit halves (see notes below)*

Stand mixer or hand mixer

Directions

1. Preheat the oven to 425 degrees.

2. Using the grapefruit knife or sharp paring knife, cut the segments away from the membrane, but keep them held within their sections.  Place grapefruit halves in the ramekins and then transfer ramekins to a baking pan.  *The ramekins will hold any liquid in and will make it easy for serving.  If you do not have ramekins, you can place the grapefruit directly on a baking pan lined with aluminum foil.

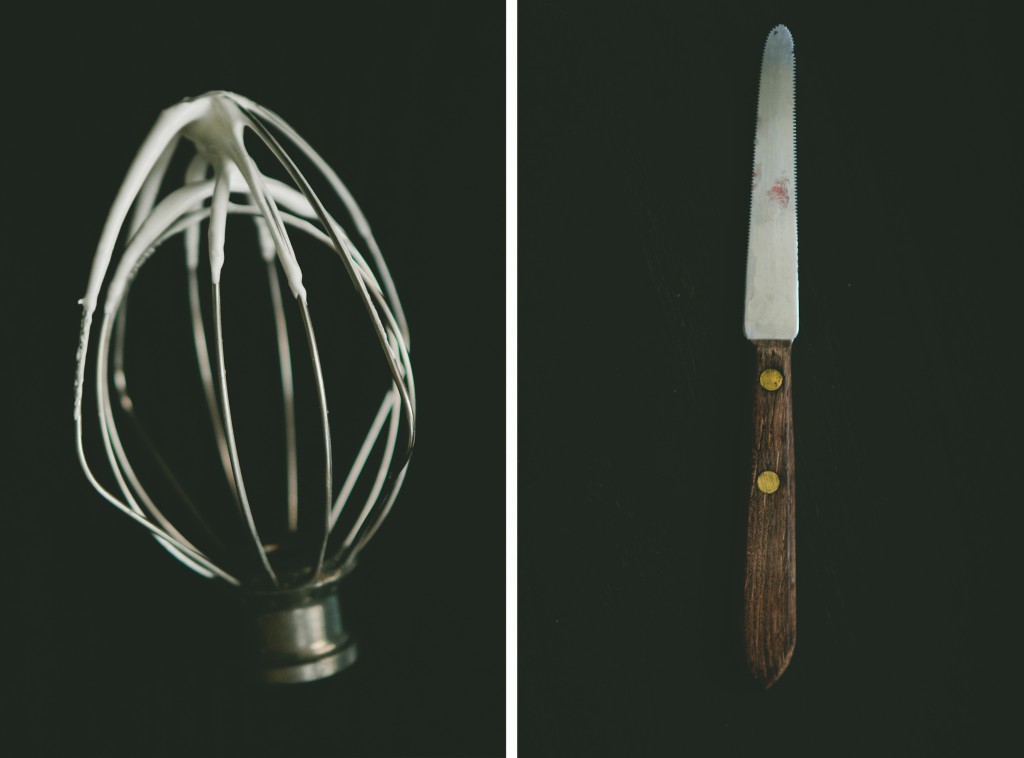
3. Place the eggs in the bowl of a stand mixer fitted with the whisk attachment (alternatively, a hand mixer can be used).  Whip the eggs at high speed.  Once they become foamy, gradually sprinkle the sugar in (maybe a few tablespoons at a time).  Whip the mixture until it forms stiff peaks.

4. Top each grapefruit halves with heaping spoonfuls of the meringue.

5. Bake for 8-10 minutes, or until the meringue is golden brown.  If you want a bit more color on top, broil the grapefruit for an additional minute, being careful not to burn it.

6. Remove and let sit until they are cool enough to handle.  Serve.


Bean Salad with Lemon-Anchovy Dressing

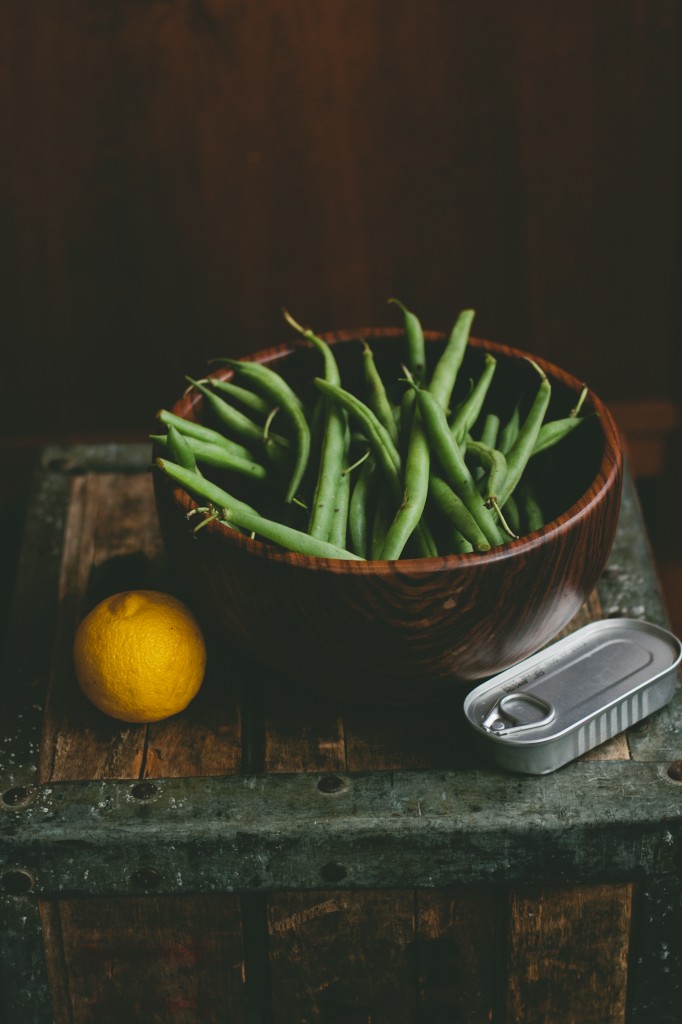
I know I'm strange. I like weird things like fish sauce and smoked salmon and whitefish salad and pickled herring and gefilte fish and all those things that make the majority of the population go Ewwww.  Oh and I can't forget anchovies.  I'm pretty much sold if a dish has anchovies in it.  Salad Nicoise remains one of my favorite dishes to order.  It stems from my childhood, on nights when my father had to work late and my mom and I created large platters with stacks of seared tuna, green beans, hard boiled egg, olives and anchovies (the latter two are on my dad's list of despised foods, hence why we made it when he wasn't around).  If I had a last meal... you know, if we were playing that game where we said what we'd want our last meal to be if we were on death row... that salad would be on the list (along with sushi, cheesecake, linguini with clam sauce, and a warm, freshly baked baguette served with a wedge of triple creme cheese).  I just can't get enough of the textures, the bright flavors, and the depth that the anchovies bring to the salad.

On the day that I made this dish, I did my very best to save some for dinner.  However, my will power failed me and half the bowl quickly disappeared, which is often the case in these situations.  As wonderful as this is on its own, or would be paired with roasted salmon, I can attest that it works when tossed with pasta, served hot or cold.  No matter what you do with it, though, you can't go wrong.

Bean Salad with Lemon-Anchovy Dressing

serves 4 as side dish

Ingredients

1 1/2 lbs green beans, rinsed and ends trimmed

1 - 16 0z can of cannellini beans, drained and rinsed

2 tablespoons fresh parsley, chopped

1 lemon, zested and juiced

1 garlic clove, minced

3 anchovy fillets, from can, drained of oil

1.5 tablespoons extra virgin olive oil

1 teaspoon crushed red pepper flakes

Salt and black pepper, to taste

Directions

1.Bring a pot of salted water to a boil.

2. Cut the green beans into 2 inch pieces.  Add the green beans to the boiling water and cook for 2 minutes.  Drain green beans and rinse under cold water. In a serving bowl, mix together the green beans and cannelli beans.

3. Using a mortar and pestle (or with a bowl and metal spoon), blend together the anchovy fillets, 1 teaspoon lemon juice, garlic clove, and parsley.

4. In a separate bowl, whisk together the smashed anchovy mixture, the remaining lemon juice, olive oil, and red pepper flakes.  Season dressing with salt and pepper.

5. Pour the dressing over the beans and toss to coat.  Season with additional salt and pepper if necessary.


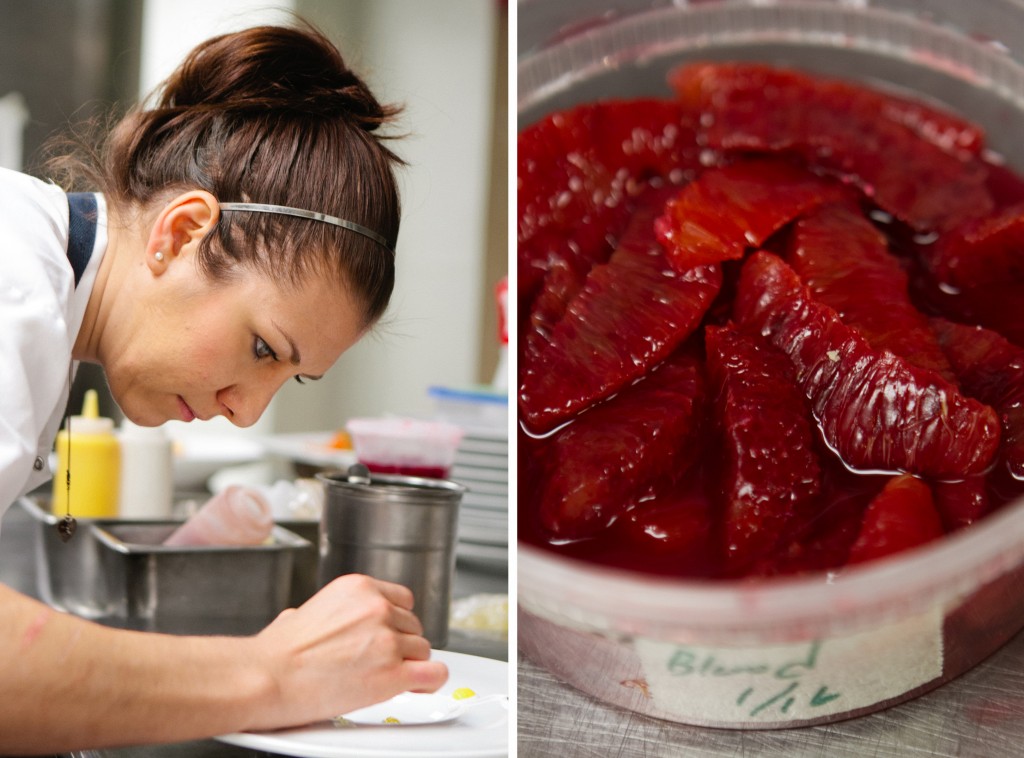
Profile: Pastry Chef Monica Glass - Clio (Boston)

Chef Monica Glass (Pastry Chef at Clio and Uni, Boston)

Home townWest Chester, Pennsylvania

Past Restaurant ExperienceGotham Bar and Grill (NYC), Le Bernardin (NYC), 10 Arts Bistro & Lounge (Philadelphia), Fish (Philadelphia)

Follow Chef Moni on Twitter: @chefmoni


Dishes, In order of appearance:

Citrus Creamsicle (Clio)

Kaffir Lime Parfait (mousse) sprayed in white chocolate cocoa butter

White Chocolate Citrus Biscuit (cake)

Candied Citrus – pommelo, buddha’s hand, kumquats

Fresh Citrus – Satsuma, pommelo, blood orange, cara cara, finger limes, etc.

Finger Limes

Jasmine Ice Cream “Pearls” – ice cream dropped in liquid nitrogen like dip n dots

Jasmine Meringue

Satsuma Tangerine Sherbet

Blood Orange Soup – cilantro, mint, Thai basil, ginger, fish sauce, grenadine

*nut free

---

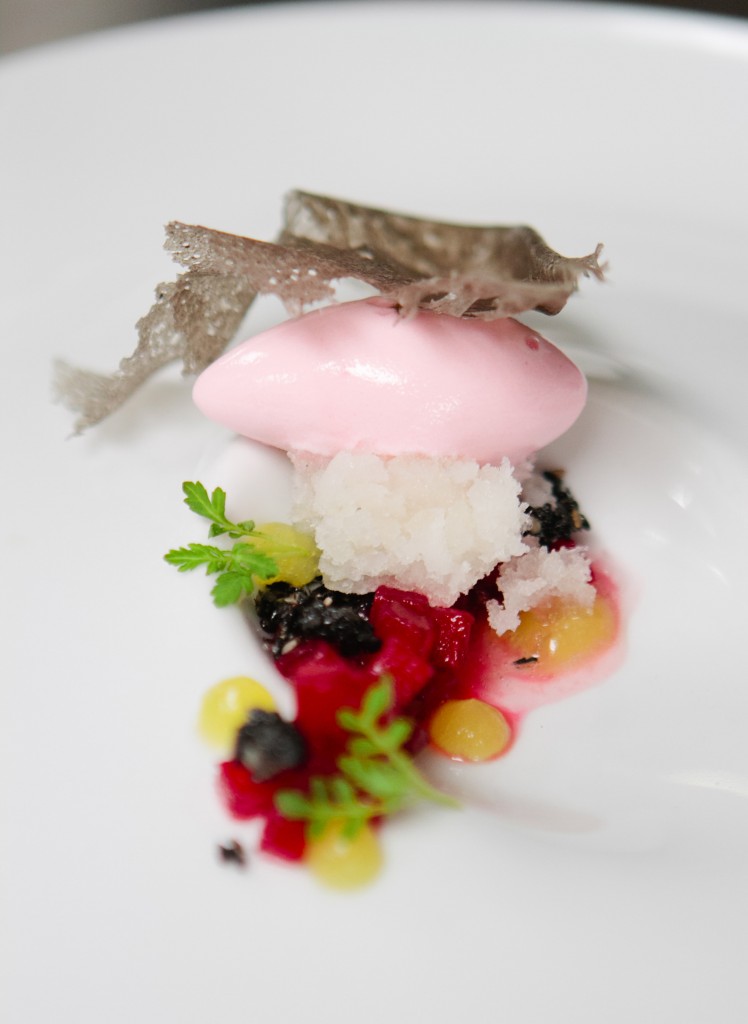
Pre-Dessert (Uni)

Hibiscus Poached Pineapple

Candied Sesame

Pineapple Sauce

Vanilla Aloe Granita

Umeboshi Sorbet

Black Sesame Tuile

*nut free

*gluten free

---

Pre-Dessert (Clio)

Juniper Crème Fraiche Panna Cotta

Grapefruit Rose Sorbet

Sorghum Sponge Candy

Candied Grapefruit

Tarragon

Sorghum Juniper Tuile

*nut free

---

Olive Donuts

Olive Donuts rolled in Olive Sugar

Meyer Lemon Cream (filled)

Black Currant Caramel

White Chocolate Meyer Lemon Pinenut Crumble

Honey Fried Pinenuts

Burnt Honey Ice Cream (infused with Licorice Mint)

Licorice Mint

*nut free --- 

Coconut Rice Pudding

Salted Coconut Sauce

Cilantro Gel

Mango Passion Fruit Curd

Coconut Rice Pudding

Compressed Mango (simple syrup, lime, salt)

Candied Black Sesame

Fizzy Mango (baking soda, malic acid, freeze dried mango)

Coconut and Passion Fruit Swirled Sorbet

*gluten free

*nut free

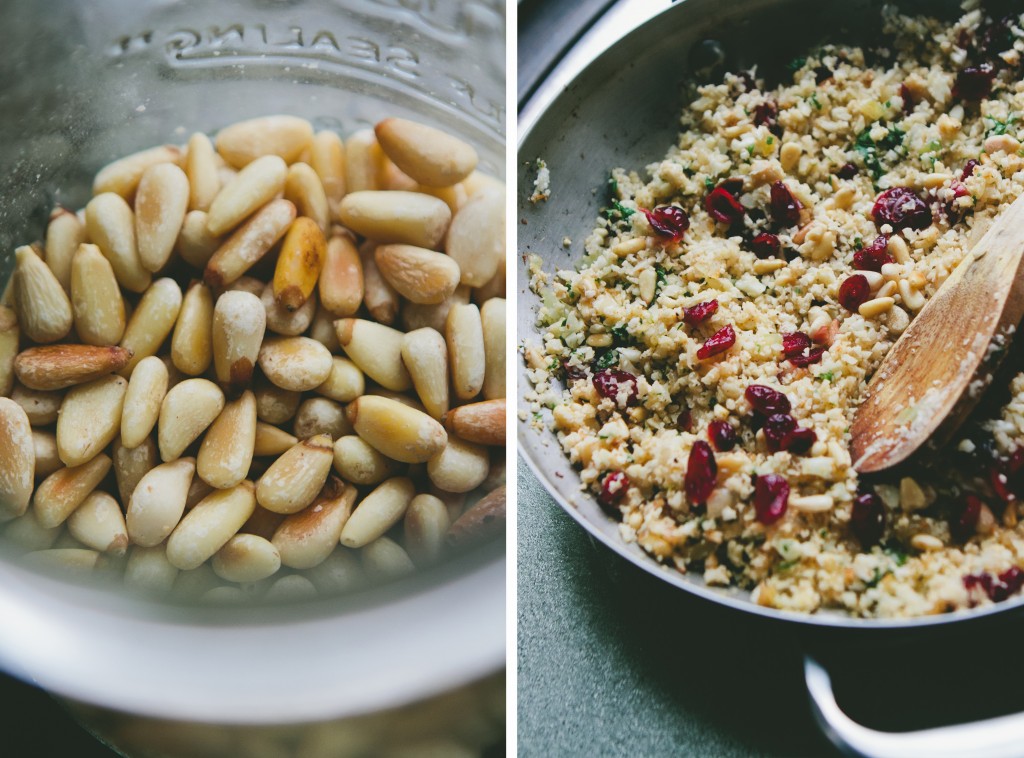
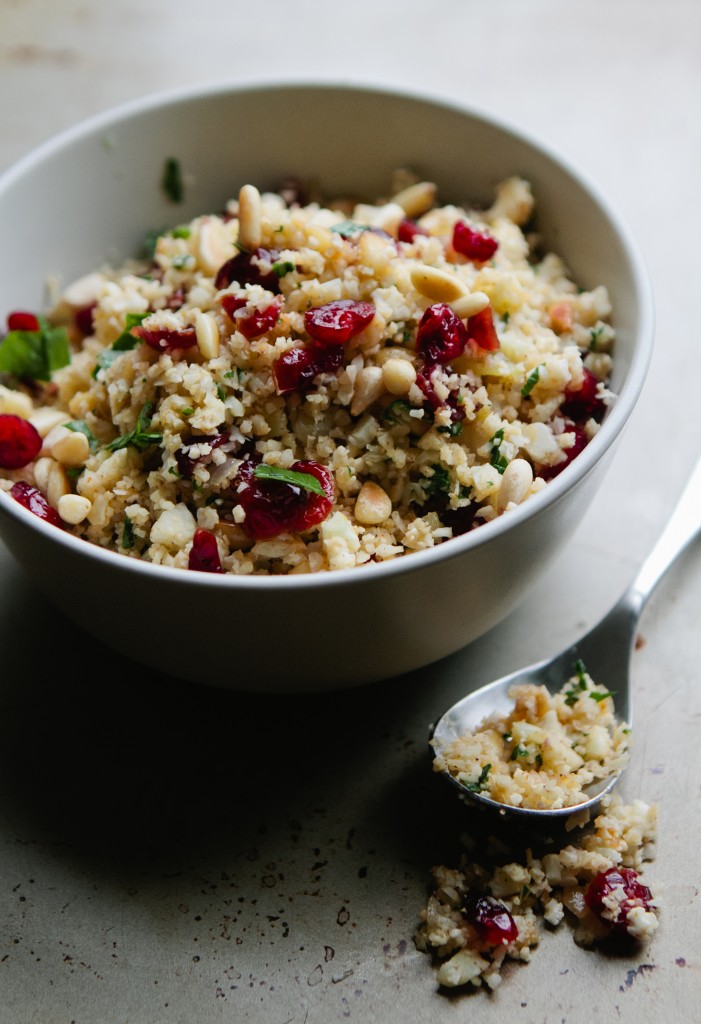
Cauliflower "Couscous"

Am I the only one who spends a lot of time thinking when they're in the shower?  Often I just stand there, singing along to songs on the radio, pondering the day's activities.  And when I'm gearing up to work on a recipe, it's during this time that my best ideas emerge.

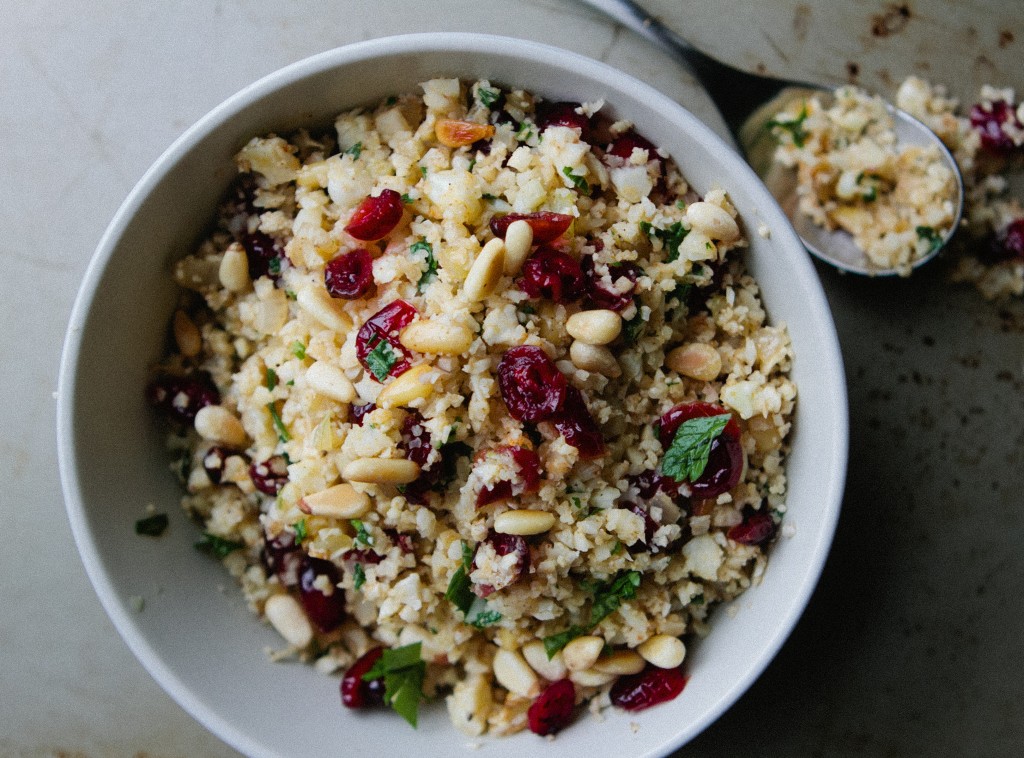
I'm probably not the first person to come up with cauliflower "couscous" but when it popped into my brain, well, I must admit that I gave myself a pat on the back.  I know... I know. Show a little modesty, Brian. But, hey, I was proud of myself.  It's not often that one of my crazy concepts actually works, so when it not only met my expectations, but exceeded them, I was beyond giddy.

Just to clarify, this is not actually couscous, but a gluten-free substitute made from cauliflower.  That's why I put the quotation marks in the title... in case you were wondering.

On a separate note, I realized that I completely forgot to share this post I did for the Kinfolk Magazine online journal on the Siena Farms South End store.  Head on over to the Kinfolk site to check it out.


Cauliflower "Couscous"

serves 4 as side dish

Ingredients

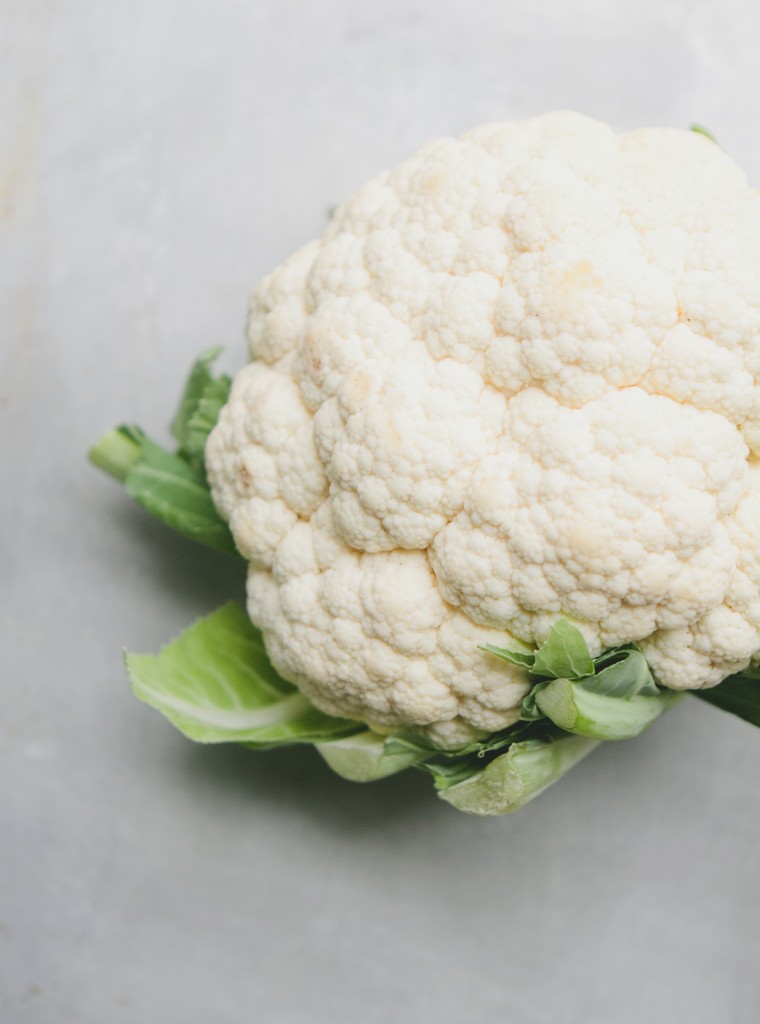
1 large head of cauliflower

2 tablespoons olive oil

1 yellow onion, chopped

2 garlic cloves, minced

2 tablespoons fresh parsley, chopped

1/2 cup dried cranberries

1/4 cup pine nuts

1 teaspoon cumin

1/2 teaspoon paprika

1/2 teaspoon cayenne pepper

Salt and black pepper, to taste

---

Special Tools

Food processor

Directions

1. Break the florets away from the rest of the head of cauliflower, making sure to leave behind as much of the stem as possible.  Chop the florets into smaller pieces and then transfer to a food processor and pulse until the pieces until they are finally chopped and resemble couscous.

2. Place the dried cranberries in a bowl and pour warm water over them to plump them up.  Let sit for 15 minutes.

3. In a small saute pan, heat the olive oil on medium heat.  Add the onion and cook for 3 minutes, or until onion is translucent.  Add garlic and season with salt and pepper, and, stirring often, cook for another minute.

4. Add the cauliflower couscous to the pan, season with cumin, paprika, cayenne pepper, and additional salt and black pepper.  Cook for another 3-4 minutes.

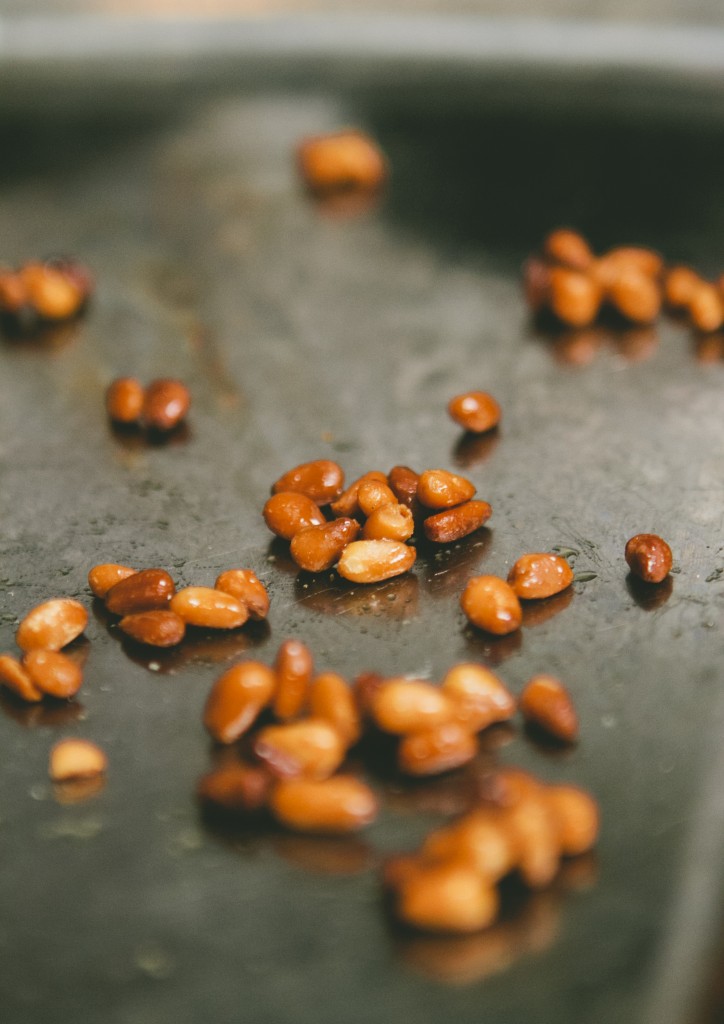
5. In a separate skillet, toast the pine nuts over medium-low heat.  Make sure to shake the pan frequently to ensure they toast evenly and don't burn (note: watch them carefully as they can quickly go from perfectly toasted to burnt).

6. Drain the bowl of cranberries and add them, along with the toasted pine nuts and chopped parsley, to the couscous mixture. Taste for seasoning and, if necessary, add salt and pepper.


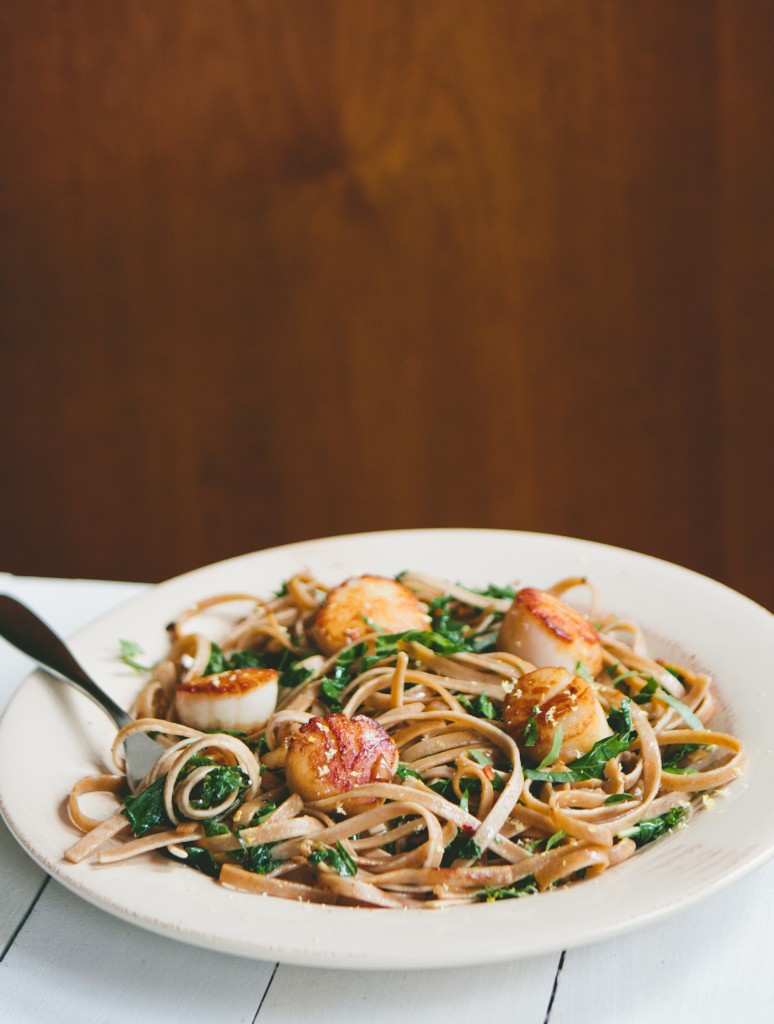
Seared Scallops with Fettuccine + Kale

Every day I learn a bit more about what makes me happy.  The list changes as I go.  Cooking an elaborate meal for Eric, cuddle time with Maki, a long hot shower on a winter morning.   A song, a book, a walk, a nap.  These are the things... the seemingly "little things" that bring me joy.  As messy as life can be, these are the things that create balance and I hold onto these moments with a tight grip.

Seared Scallops with Fettuccine + Kale

serves 4

Ingredients

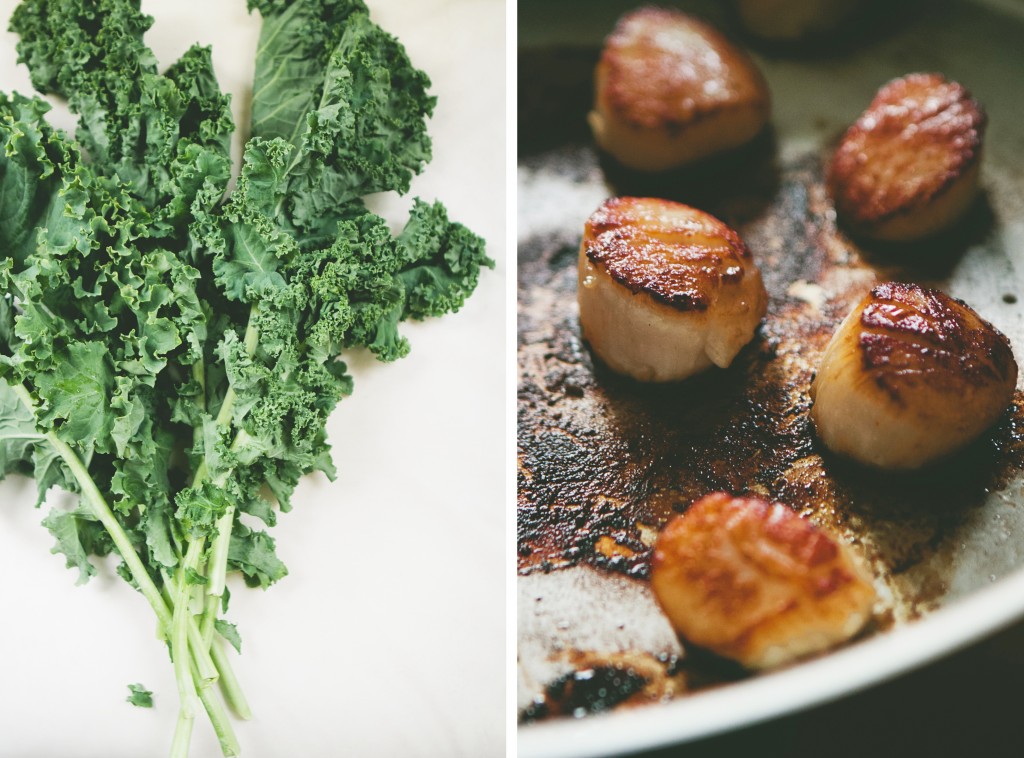
1 bunch of kale, washed and stems removed

1 pound whole wheat fettuccine or linguini

1 pound sea scallops, rinsed

2 tablespoons olive oil

2 tablespoons unsalted butter

1 yellow onion, chopped

4 garlic cloves, coarsely chopped

2 tablespoons flat leaf parsley, chopped

Zest of 1/2 a lemon

Red pepper flakes, to taste

Kosher salt

Freshly ground black pepper

Freshly grated Parmesan cheese

Directions

1. Slice the kale leaves thinly and set aside.

2. Put up a pot of salted water and bring to a boil.  Add pasta and cook based on the directions on the box.

3. Dry the sea scallops with paper towels.  Season with salt and pepper.

4. In a large skillet, heat the olive oil and butter on high heat.  Once it begins to smoke, add the scallops and cook for approximately 3 minutes, or until it has browned on one side.  Using tongs, flip the scallops and cook for an additional 1 to 2 minutes, depending on the size of the scallops.  Set them aside on a plate.

5. In the same skillet, cook the onions for 1 to 2 minutes.  Add the kale and garlic cloves, season with salt and ground black pepper and cook for another 4 minutes.  Toss the pasta with the kale mixture.  Mix in the parsley, lemon zest and season with salt, pepper and red pepper flakes.

6. Serve the pasta and kale with scallops on top.  Grate some Parmesan cheese on top.


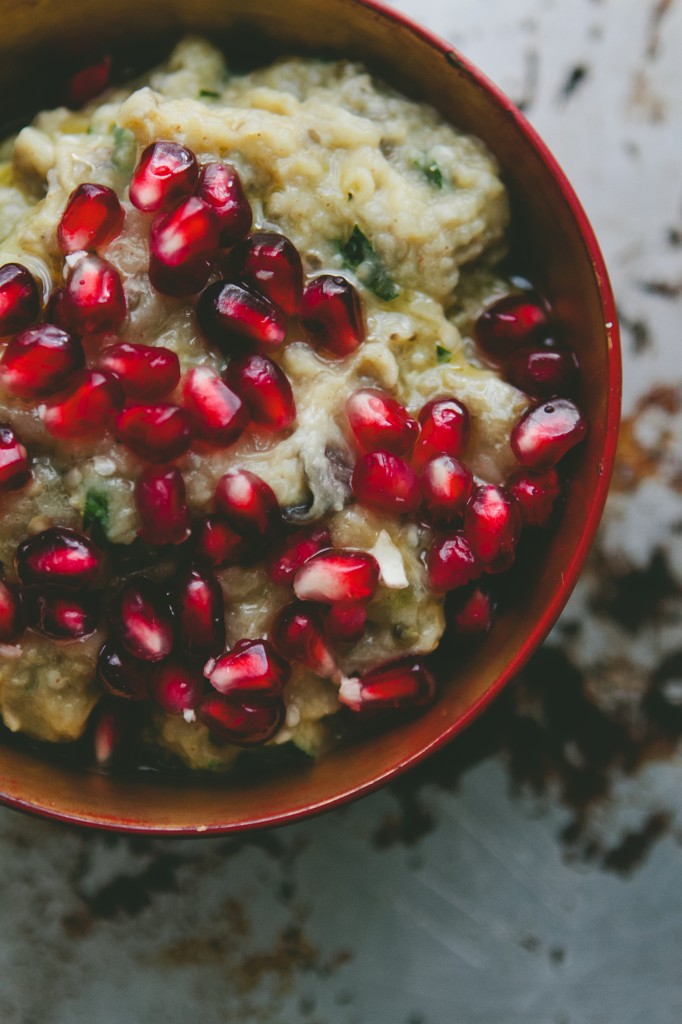
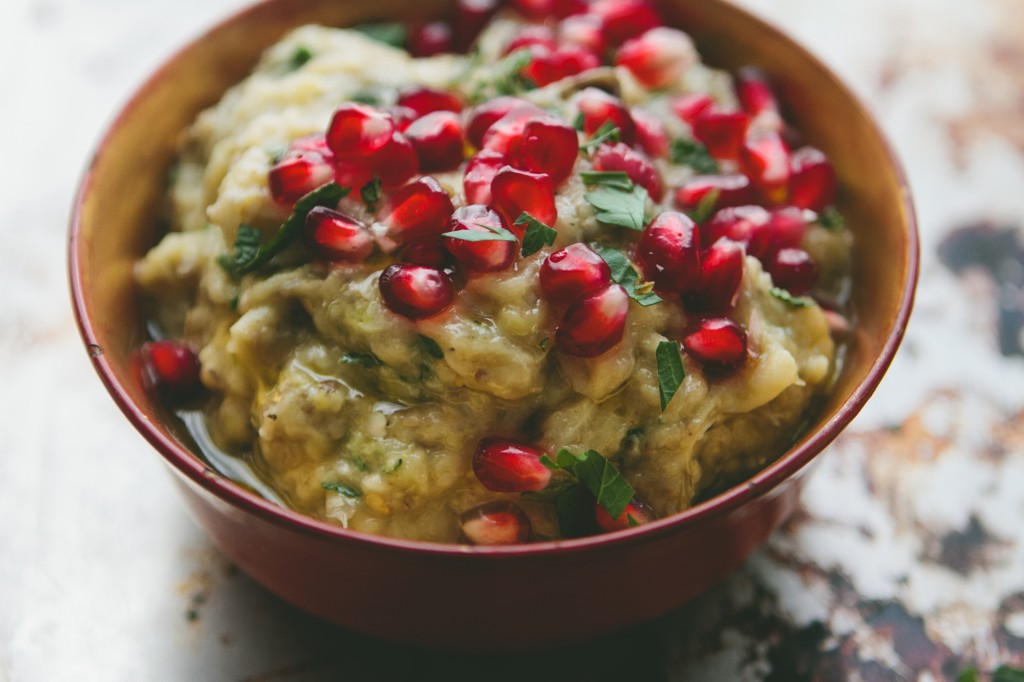
Burnt Eggplant with Lemon, Garlic and Pomegranate Seeds

Here's the truth: I don't like using cookbooks.  This doesn't mean that I don't enjoy reading them (I definitely do) or look at the pictures (I study each one for an inordinate amount of time) or that I'm not inspired by them.  I just don't like cooking from them.  The first problem is that I'm TERRIBLE at following directions.  I have the worst memory in the world when it comes to measurements, so I have to go back to read the ingredient list at least four times before I get it straight.  And then I have to follow the directions... yeah right. That's not going to happen.  By the point that I realize that maybe I should go peek at the instructions, I've already chopped and mixed everything... and sometimes it's already made it's way into the oven or onto the table.

So, when I decided that I was actually going to make something from my newly acquired copy of Jerusalem (which, I can not emphasize enough... you. must. buy. it. now. You won't regret it), I made my greatest effort to follow every direction carefully.  Between you and me, I failed at that... but it didn't matter, this is one of those recipes that's hard to screw up.

I must admit that I got some strange looks.  Pomegranate and eggplant?  Together?  Really?  That's... ummmm... unique.  But, believe me, it works.  Just be prepared for some surprised faces when they bite into their first seed.  It's priceless.


Burnt Eggplant with Garlic, Lemon and Pomegranate Seeds

(adapted from Jerusalem by Yotam Ottolenghi and Sami Tamimi)

serves 4 as an appetizer

Ingredients

4 large eggplants

3 cloves garlic, minced

grated zest of 1 lemon and 2 tbsp freshly squeezed lemon juice

4 tbsp olive oil

1 tbsp tahini

2 tbsp chopped flat-leaf parsley

2 tbsp chopped mint

seeds of 1/2 large pomegranate

1 tsp smoked paprika

salt and freshly ground black pepper, to taste

Directions

1. Preheat the oven to 500 degrees.  Line a large baking pan (or two, if necessary) with aluminum foil.

2. Using a sharp pairing knife, make deep gashes throughout the eggplant.  Place the eggplants on the baking pans.

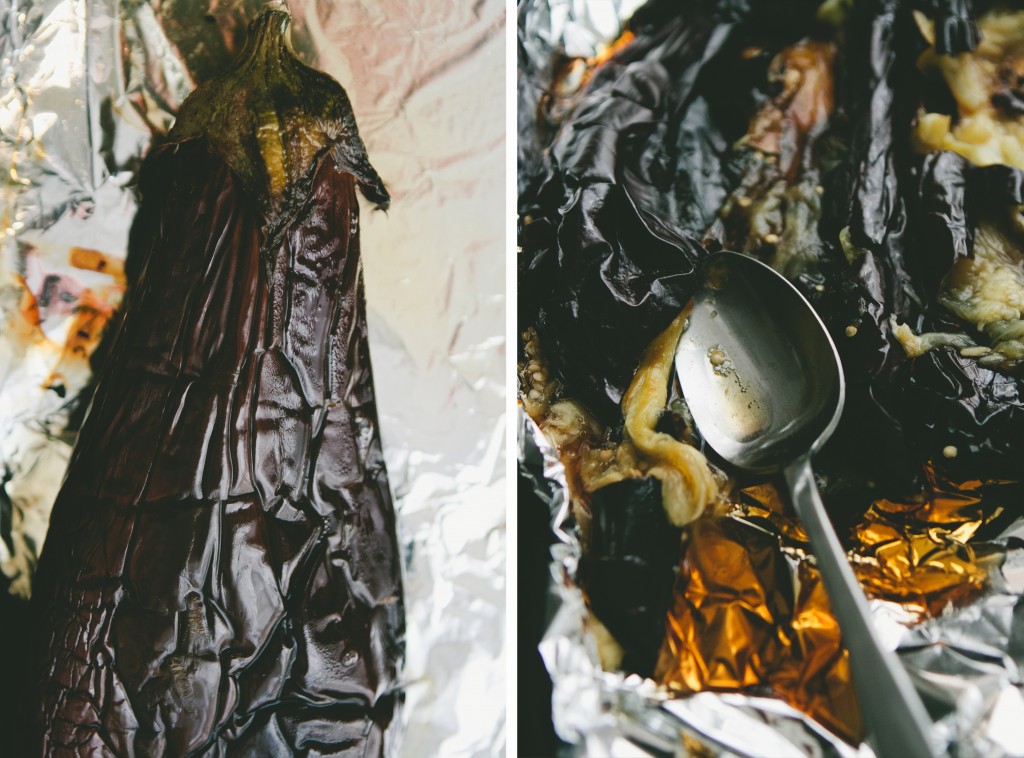
3. Roast in the oven for an hour (rotating every 20 minutes) or until the eggplant skin has burnt evenly throughout.

4. Remove the eggplant and let cool.  Once it is cool enough to handle, peel away the skin and, using a spoon, scoop out the flesh of the eggplant, transporting to a mixing bowl.

5. Place eggplant into a colander and let sit for at least an hour, or until it has drained most of its liquid.  Once this is done, transfer back to the mixing bowl.

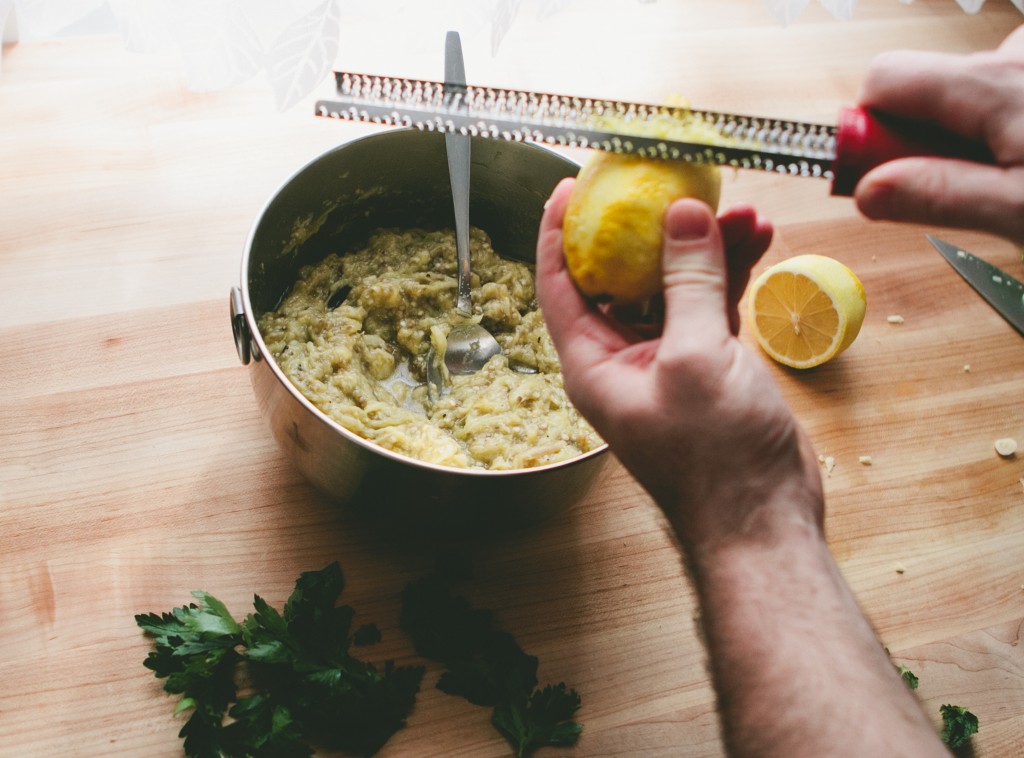
6. Mash the eggplant with a fork.  Mix in the garlic, lemon zest and juice.  Stir in the olive oil and tahini.  Refrigerate for 30-40 minutes to let it develop its flavor.

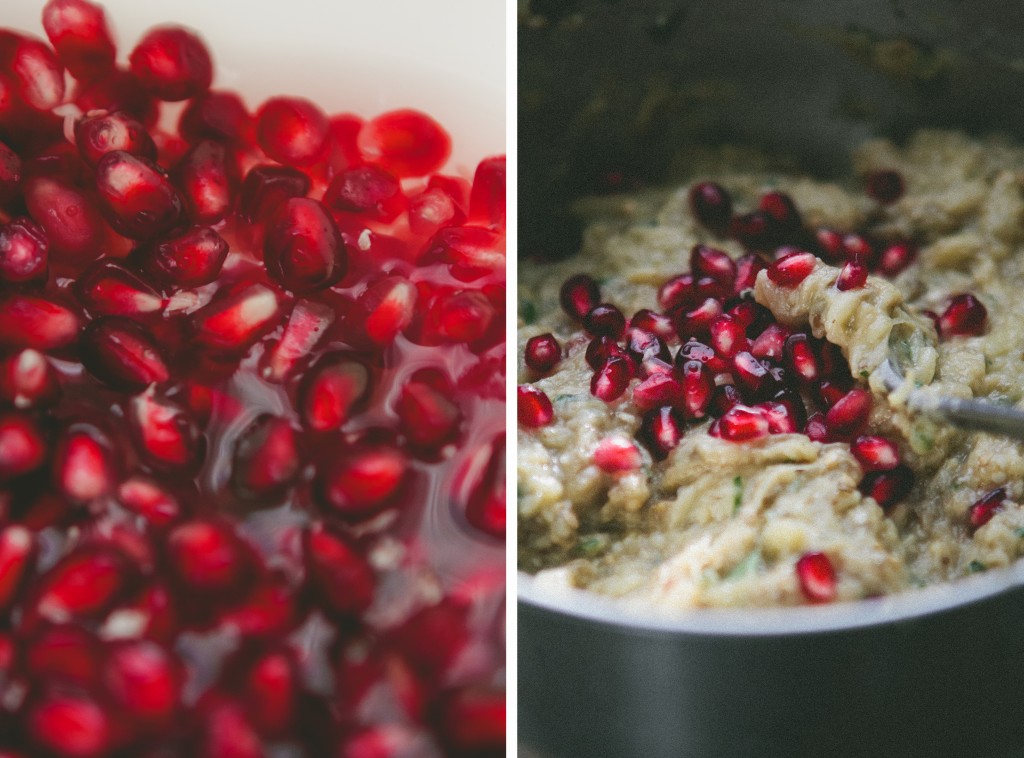
7. Remove from the refrigerator.  Mix in 3/4 of the parsley, 3/4 of the mint, and 3/4 of the pomegranate seeds.  Season with smoked paprika, salt and freshly ground pepper.

8. Garnish with remaining pomegranate seeds, mint, parsley, and a drizzle of olive oil.  Serve with pita bread.


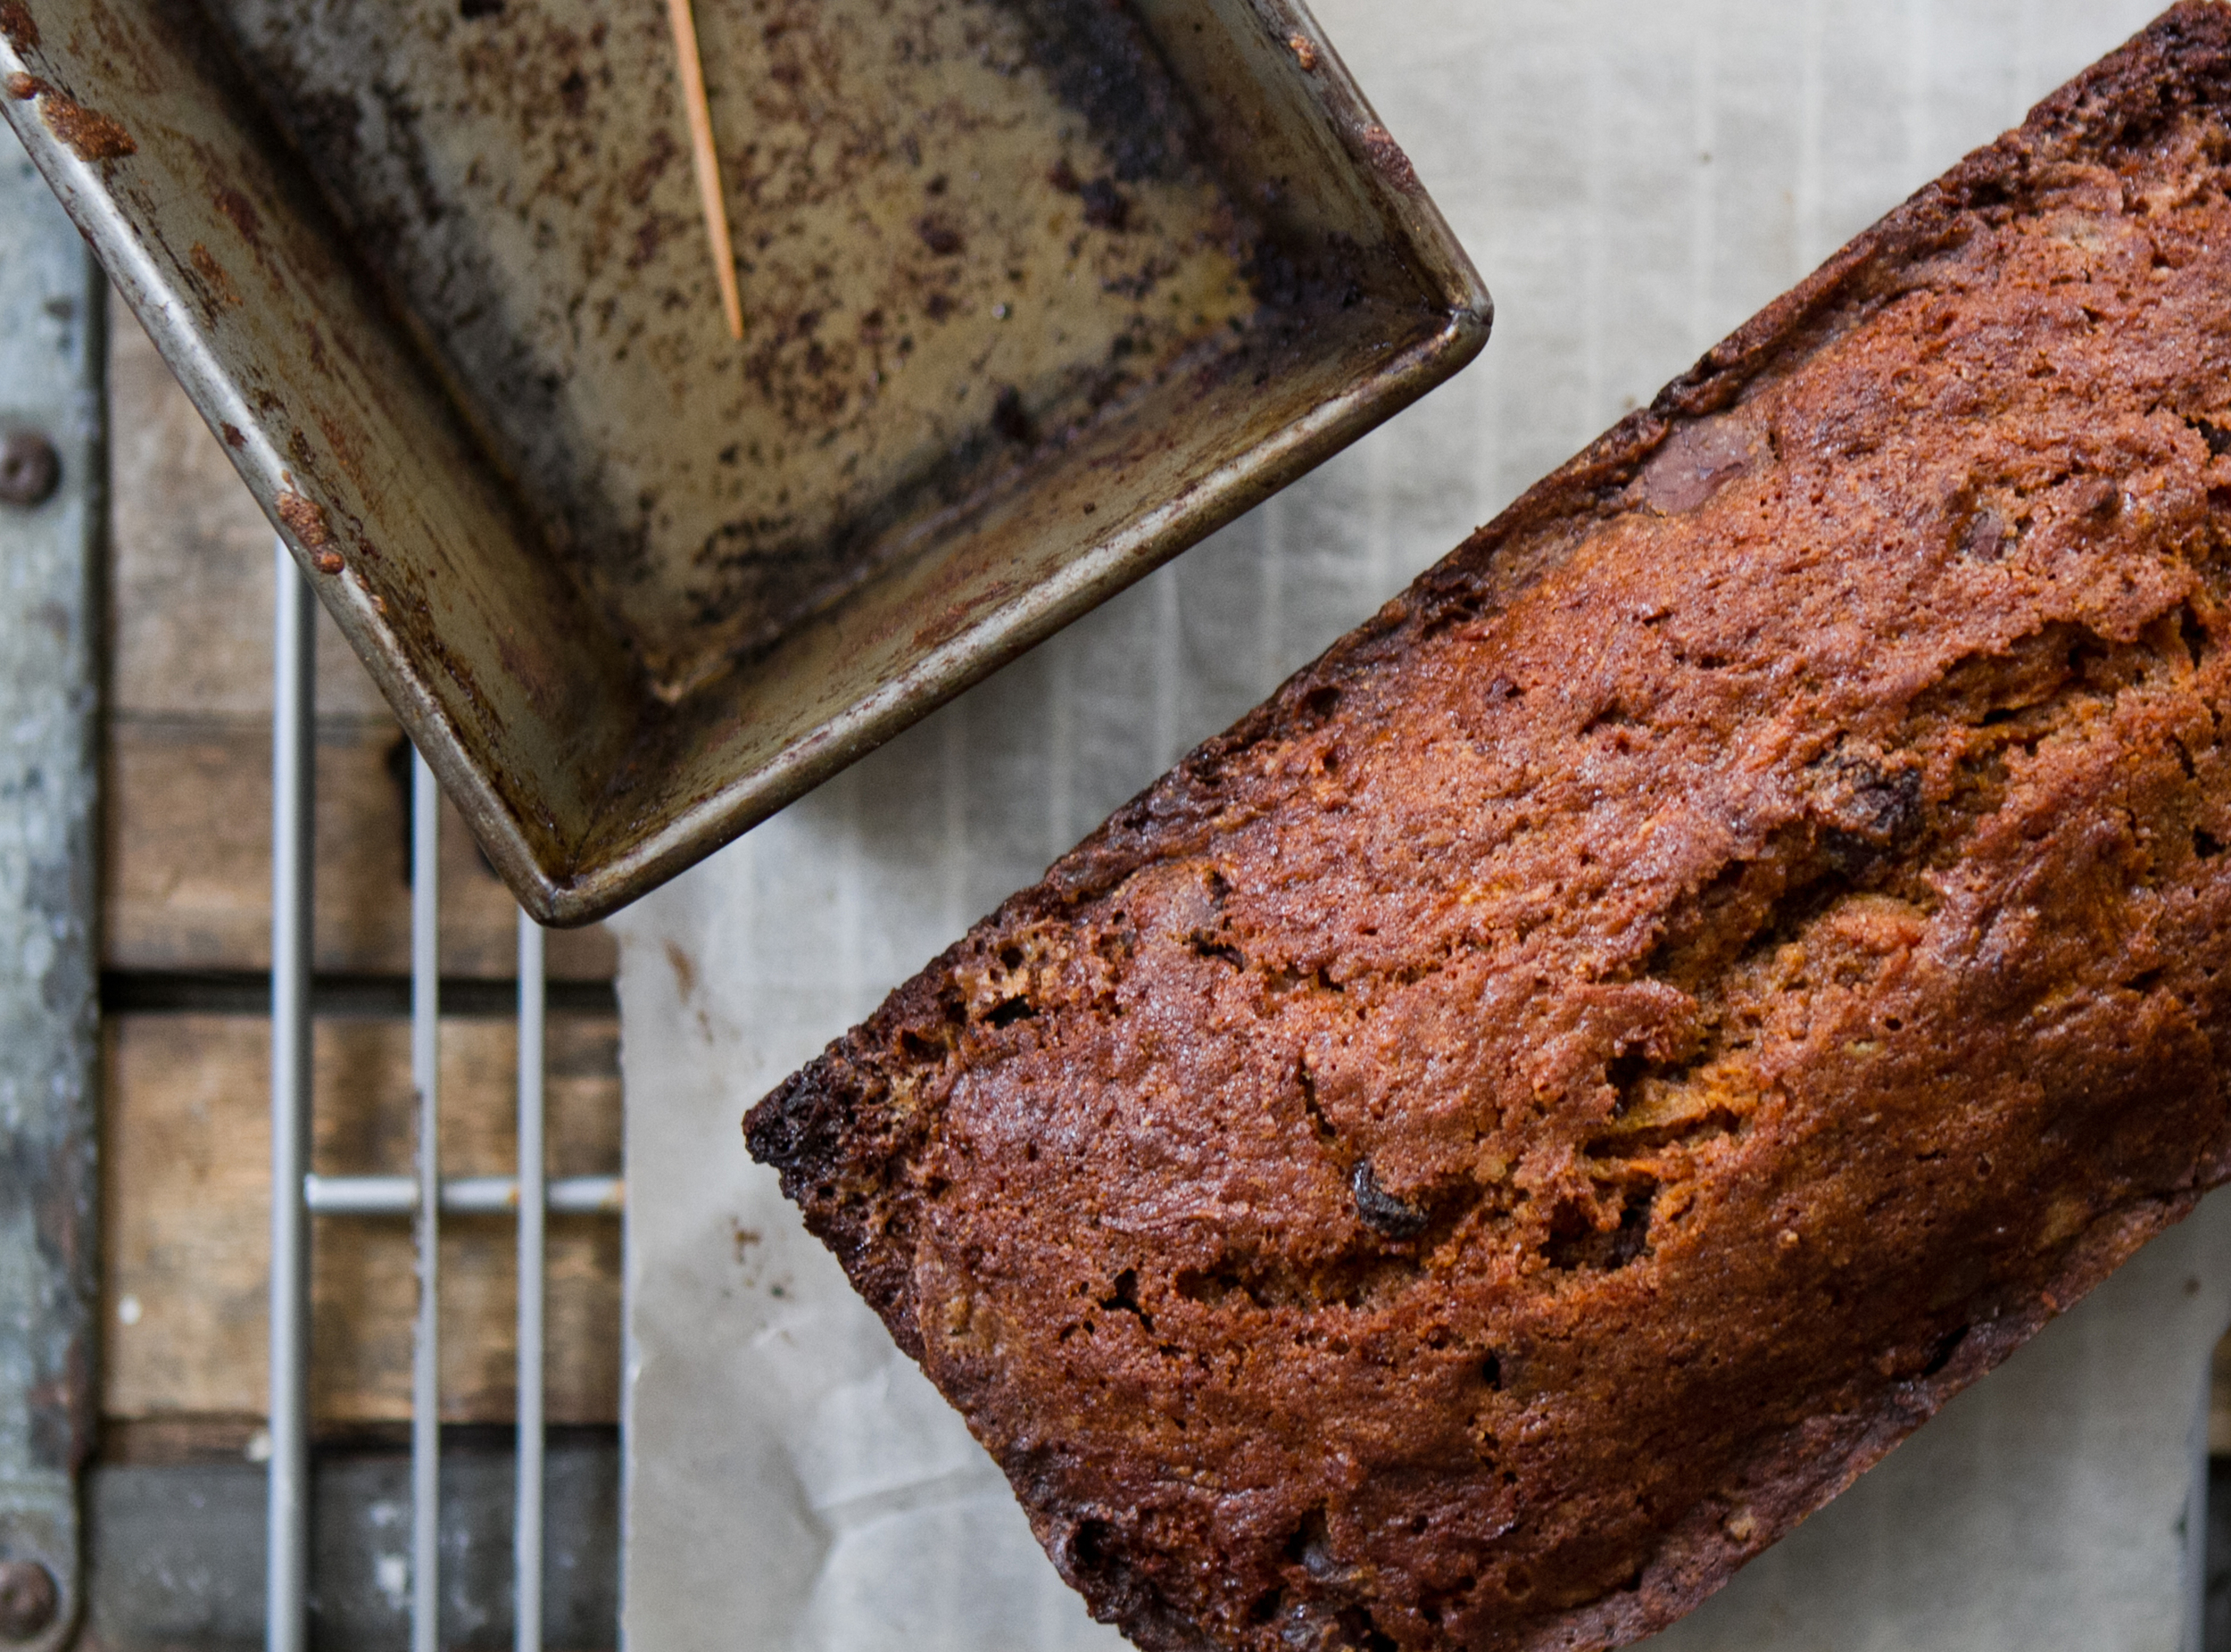
Whole Wheat Carrot Bread

Love is a shelter.

Love is a cause.

Love goes on forever.

Yeah, love will lead us all.

Love! It is our honor.

Love! It is our all.

Love goes on forever.

Yeah, love it is our home.

That's What's Up//Edward Sharpe + the Magnetic Zeros

Carrot Bread3.2

Whole Wheat Carrot Bread

makes 1 loaf

Ingredients

2/3 cup vegetable oil

2 eggs

1 cup sugar

1 1/2 cups whole wheat flour

3/4 teaspoon baking soda

1/2 teaspoon salt

1 teaspoon cinnamon

1/2 teaspoon nutmeg

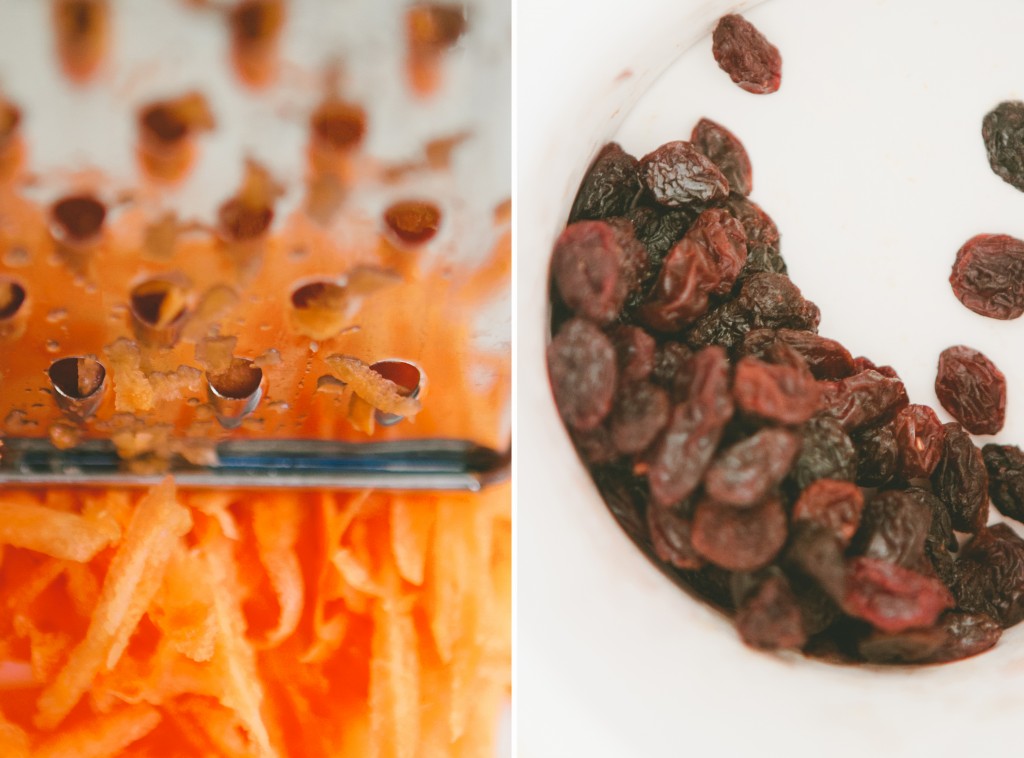
2 cups grated carrot

1/2 cup raisins

1/2 cup chocolate chips

Directions

1. Preheat oven to 350 degrees.

2. Grease a 9 x 5 inch loaf pan.

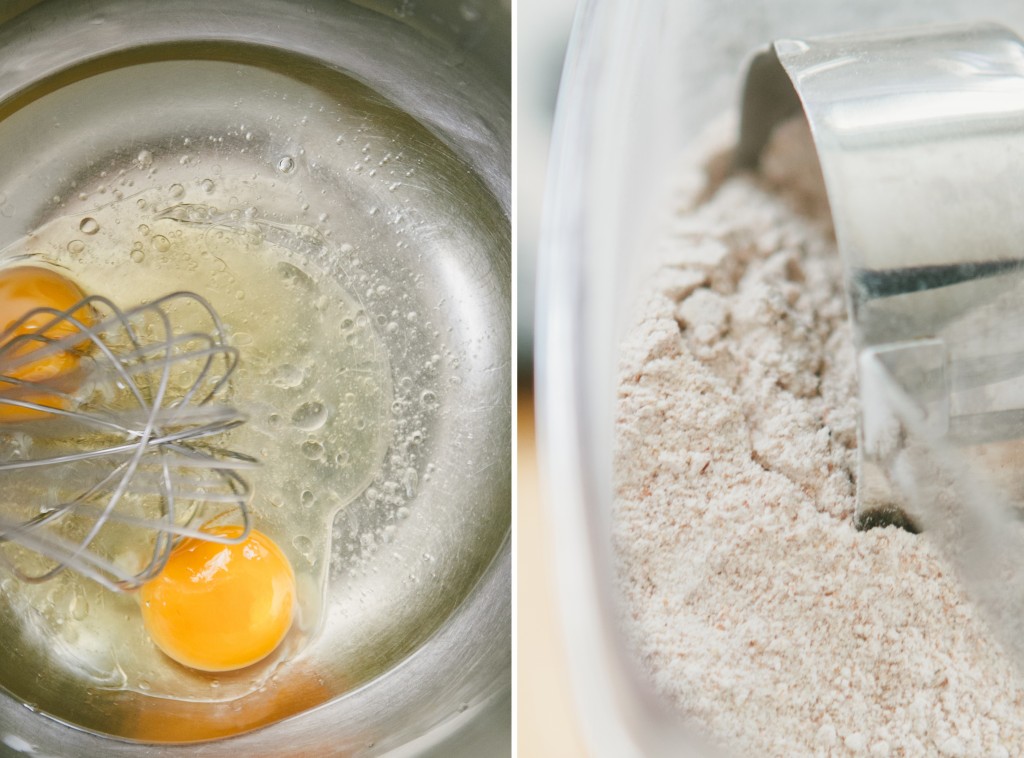
3. In a bowl, whisk together the oil and eggs.

4. In a separate bowl, sift together the sugar, flour, baking soda, salt, cinnamon and nutmeg.  Mix in the oil and eggs.

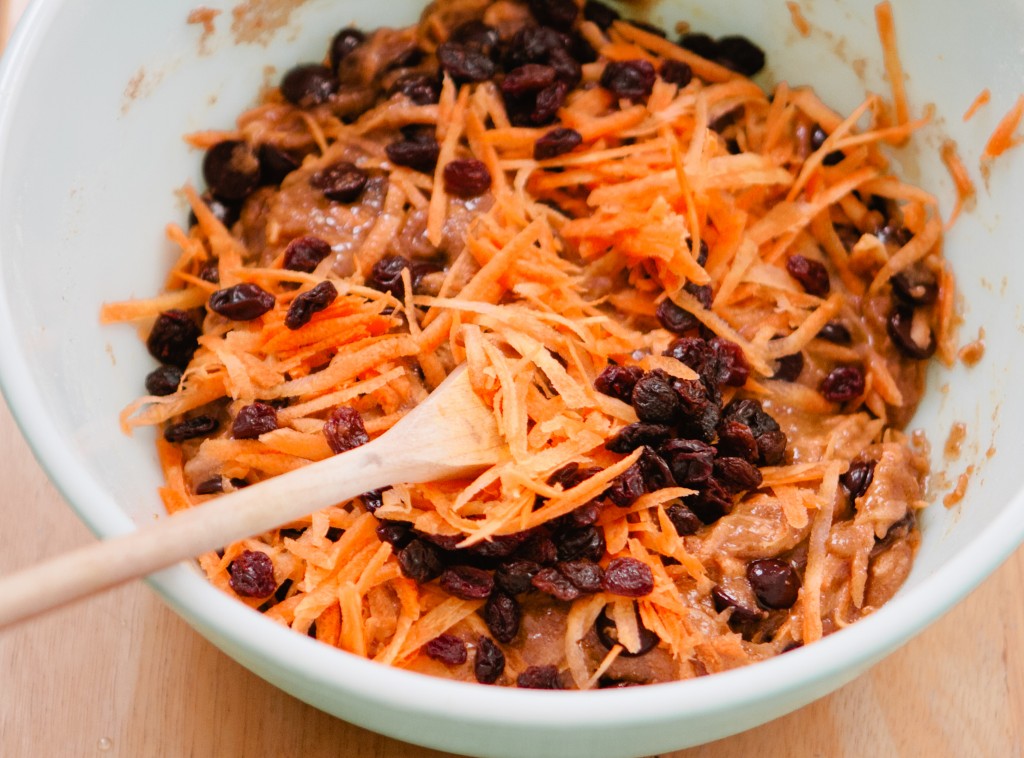
5. Fold in the grated carrot, raisins, and chocolate chips.

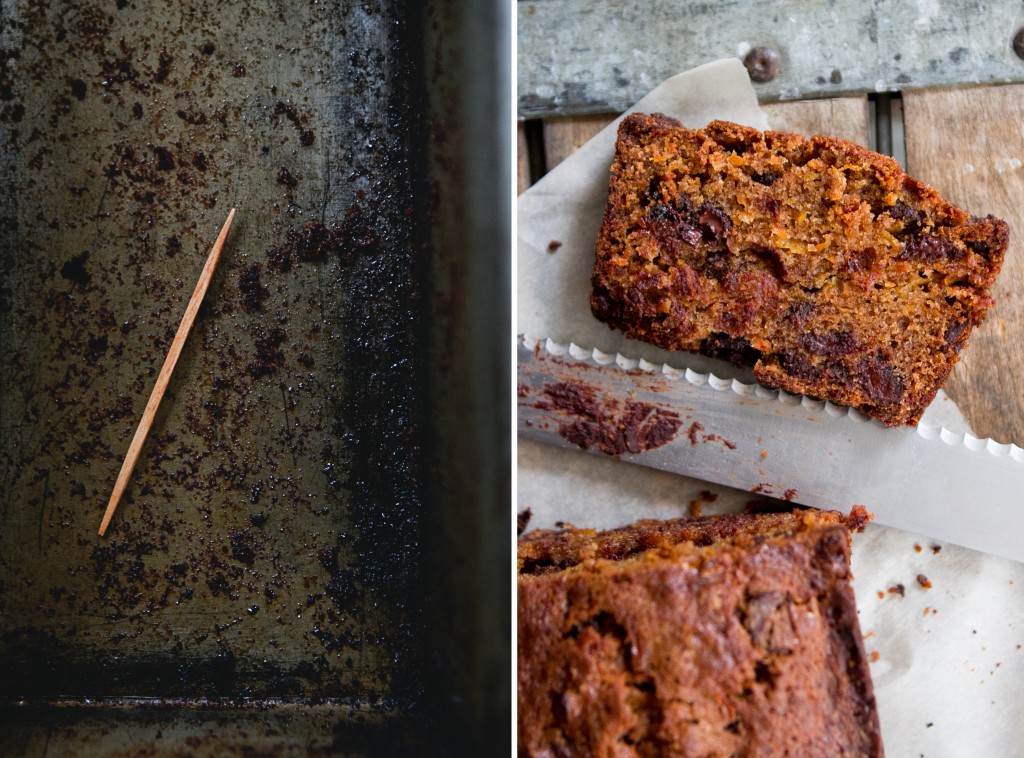
6. Pour mixture into loaf pan. Bake in the oven for 50 minutes, or until a toothpick is inserted and comes out clean.


Fennel, Avocado and Lobster Salad

I have to laugh when I think about where I was a year ago.  I won't say that things were bad... just lots of uncertainties. I started 2012 very scared.  I was terrified not knowing what each day would bring or when work would come in. Never did I imagine such a fruitful first year of freelancing.  Nor did I expect to travel as much as I did.  Italy, Kentucky, OhioOregonMaine.  Maybe that's why these last 12 months flew by the way they did.  Lots and lots of traveling.

2013 is looking to be an exciting year.  There are projects in the works, trips planned, and the arrival of a new family member (my sister is due in March).  I'm still getting used to the life of a freelance photographer, but I don't think I've ever been happier than I am now. And I can't wait to see what's in store.

I know that lobster isn't as cheap for everyone as it is for us in New England, but if you happen to splurge on some crustaceans to celebrate the arrival of the new year, I think there are two ways of preparing them:  1) with butter and lemon or 2) this bright and beautiful salad with fennel, avocado and citrus.  One is a lot healthier than the other (it's the salad), which means you won't feel guilty if you have a couple slices of chocolate cake after (or a bottle of champagne... because if you're going to eat lobster, you must have champagne.  It's a fact).

[print_this]

Fennel, Avocado and Lobster Salad

serves 4

(Slightly adapted from a recipe by Jeremy Sewall, chef at the Island Creek Oyster Bar)

Ingredients

2 1/2 pounds live lobsters 2 ripe avocados 1 head of fennel, shaved thin 2 oranges, segmented and juices saved 2 cara cara oranges, segment and juices saved 1 small red onion, diced 1 tablespoon cilantro, chopped 1 sprig thyme 1 tablespoon fresh squeezed lemon juice 1 handful baby arugula Kosher salt and black pepper to taste 4 tablespoons extra virgin olive oil

Directions

1. Make the dressing by putting the orange and lemon juice in a small saucepan. Add the thyme leaves. Reduce liquid in half. Once this happens, remove from heat and let cool. Whisk in olive oil and season with salt and pepper.

2. Cook the lobsters by steaming or boiling them. Once they are cooked, shock them in a bowl of ice water. Once they have cooled, remove the tail, claw, and knuckle meat and chop into thin pieces (but not diced).

3. In a separate bowl, mix together the orange segments, red onion, cilantro, and fennel.  Pour enough dressing on top to coat it.

4. Pit the avocado, cut it in half lengthwise and then slice thinly. 

5. On four separate plates or one larger platter, place a healthy handful of arugula on the bottom.  Top with avocado slices, then orange/fennel mixture, and, finally, the lobster meat.  Season with a sprinkle of salt and black pepper.  If necessary, sprinkle a little of the dressing on top of the salad.

Tags: Fish/Pescatarian

[/print_this]


Chewy Ginger Molasses Cookies

I know... these may not look chewy, but they are. I promise. If they weren't, I wouldn't put them up here. Cookies are meant to be served the way salmon or a steak should be prepared, a nice sear on the outside, but raw in the middle. I just don't mess around with cookies. If there's too much crunch, I can't eat them. But what's so great about these is how the rim is crispy, making for the most wonderful sound as you bite into them. Then, you get to the good stuff. The blend of sugar and spice; the festive flavors of ginger, cinnamon and clove. It brings to mind lazy weekends... curled up on the couch with a cup of tea and a book: the lead in for an afternoon nap.  I've been making these ginger molasses cookies for years, altering the recipe slightly as I prepare each batch.  I hate to use the P-word, but I can't help it... these are kind of perfect.

Chewy Ginger Molasses Cookies

(Note: This recipe will make 3 dozen smaller cookies, if the dough is rolled into 1 inch round balls, as directed below.  However, I also like them a bit larger. In which case, you will get fewer cookies, but they will be bigger (not that size matters or anything))
Ingredients
1/2 cup unsalted butter, softened
1/2 cup vegetable shortening
1 cup sugar 1/4 cup dark molasses
1 egg
2 1/4 cups flour
2 teaspoons baking soda
1/2 teaspoon ground cloves
1 1/2 teaspoon ground ginger
1 teaspoon cinnamon
1/2 teaspoon salt 4 ounces crystallized ginger, chopped coarsely
Granulated sugar, for rolling dough balls
Directions

1. Preheat oven to 375°F.2. Using an electric mixer, beat the butter, vegetable shortening, sugar, molasses and egg.3. In a separate bowl, whisk together all dry ingredients.  Add to wet mixture and beat until combined.  Stir in crystallized ginger.

4. Depending on the size you would like your cookies, form into 1 or 1.25 inch balls.  Roll dough balls in granulated sugar.

5. Place dough balls onto a non-stick cookie sheet (or a sheet lined with parchment paper) two inches apart.  Using a spatula, gently press down the tops of each cookie dough ball.

6. Bake for 8-10 minutes, or until outer rim is golden brown.

7. Let cool for a few minutes before transferring cookies to a cooling rack.


Silent Sunday: My Year in Restaurant Photography

For additional images not featured in this post, my portfolio can be viewed here: www.briansamuelsphotography.com

Featured Restaurants:

Basho/Douzo, Guchi's Midnight Ramen, Anna's Taqueria, Back Deck, Pain D'Avignon, Staff Meal, Bristol Lounge

Additional restaurants photographed in 2012 (previously posted)

Tatte Bakery, Area Four, Foumami

Red Wine Poached Pears

We got the most wonderful gift.  Following my trip to visit Harry and David in October, I received an e-mail from their marketing team informing me that I'd be getting 6 months of their Fruit of the Month club.  And here's the thing... I so rarely buy fruit at the store.  I like it enough, but I rarely cook with it. We'll pick up some lemons and limes and maybe an orange or two for cocktail-makings, but to actually eat, no.  It's not that we don't enjoy fruit, it's just never on our shopping list.

So these boxes we've been getting from H&D have been a treat.  This month, we were graced with their Riviera Pears.  Really, they're perfect. I mean, look at them in these pictures.  Have you seen finer pears?

You really don't have to do anything to them, but if you are going to cook them, I suggest poaching them. And if you're going to that, well, red wine makes for a fabulous poaching liquid.  While you're at it, you might as well top it with some lightly sweetened whipped cream or creme fraîche.  Does anything sound better?  I don't think so.

[print_this]

Red Wine Poached Pears

Ingredients

4 pears

750 ml bottle of red wine

3/4 cup sugar

1 vanilla bean, split in half lengthwise

1 cinnamon stick

1 clove

Orange rind

Water

Juice of 1/2 a lemon

Directions

1. Peel the pears and cut off a small portion of the bottoms, so that they sit flat.  Submerge pears in a bowl of water and lemon juice.

2. In a saucepan big enough to hold the pears, add a bottle of wine, the sugar, vanilla bean, cinnamon stick, clove, and orange rind.  Bring to a simmer and let the sugar dissolve.

3. Once this has occurred, place the pears into the pan so that the wine covers them.  To keep them submerged, take a piece of parchment paper and cut a circle big enough to fit on top of the sauce pan.  Place a plate over this to allow the parchment to touch the pears.

4. Simmer for 20-25 minutes, or until they are tender.  Remove with a slotted spoon, let cool to room temperature, and serve with a dollop of  lightly sweetened whipped cream or creme fraîche.

Tags: Dessert

[/print_this]

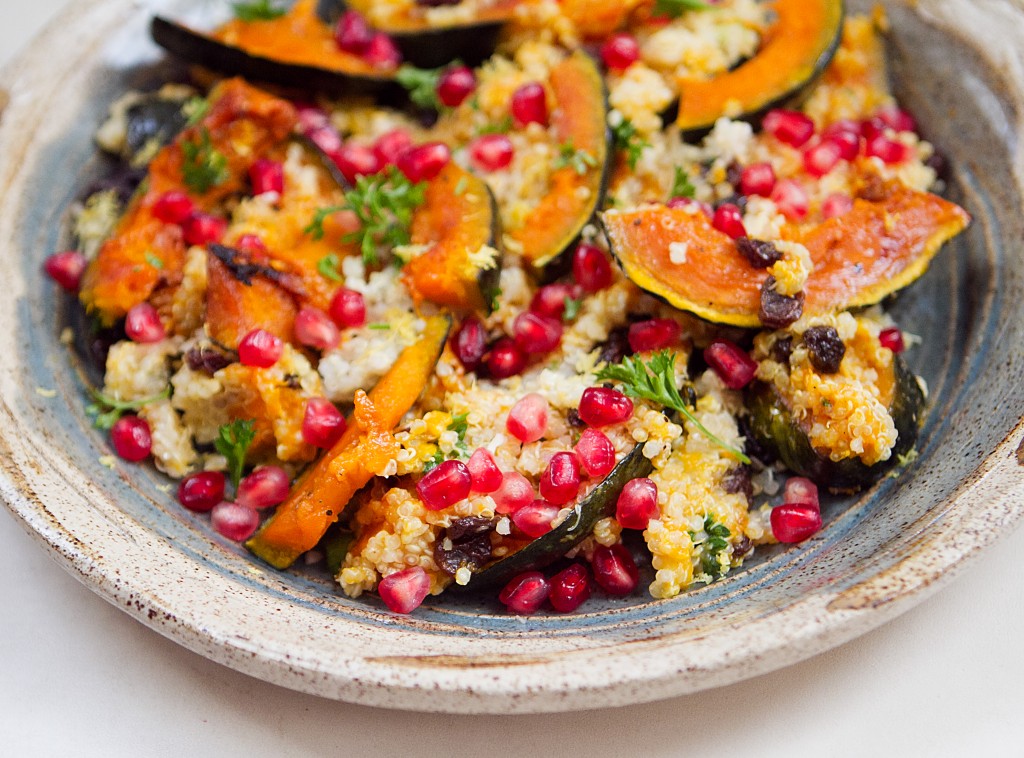
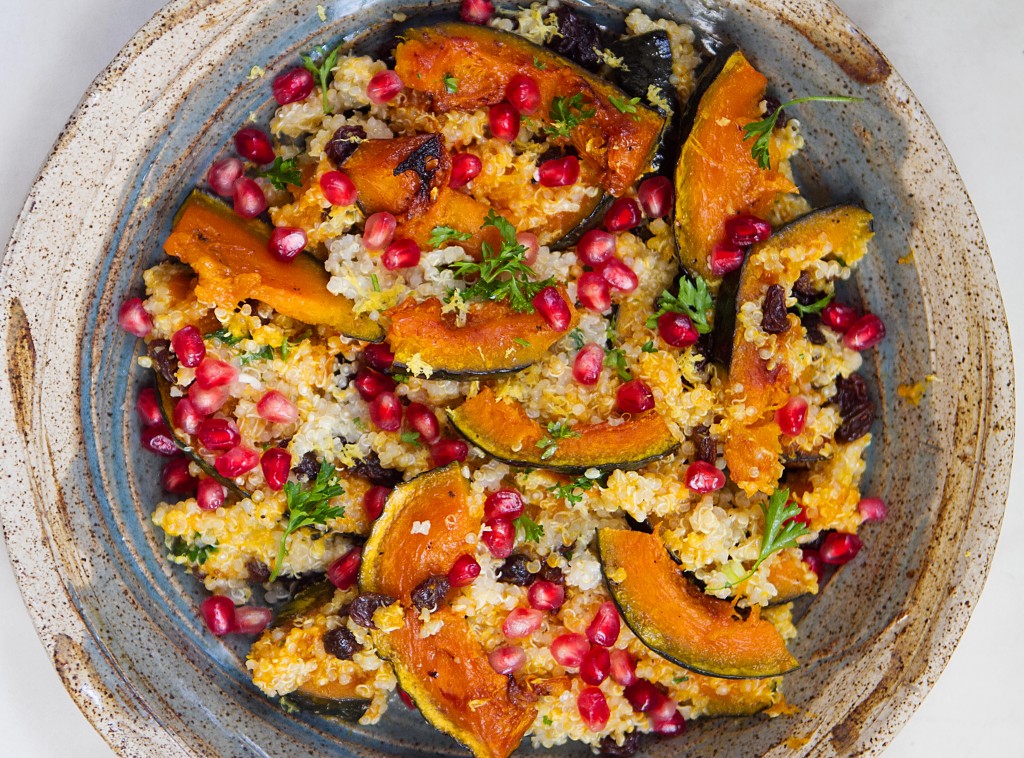
Quinoa with Acorn Squash and Pomegranate

I'd call this dish a happy accident.  Here's the short version of a long story.  There were plans to roast a whole eight pound fish at our Friendsgiving dinner a few weeks ago.  Why?  Well, I don't know.  I wanted to... it sounded like fun.  Do I need a reason?  I'm crazy!  We were very close to actually doing it and then someone (cough, cough --- Eric --- cough) decided they'd be practical and bring up that maybe we didn't have enough space in our oven to roast a whole fish.  Now, I was under a lot of stress at the time and I COULD have freaked out (I've been known to throw tantrums in the midst of party planning).  But I didn't.  I kept my cool and said, "Ok, darling husband, now I need to think of something to make for those that don't eat meat."  I took a deep breath, looked at the ingredients on hand, and came up with this quinoa dish.

So, I guess I have Eric to thank for this creation.... thanks for poopooing on on my dreams of roasting a whole fish.  Without you, I wouldn't have created this fabulous recipe.

Quinoa with Acorn Squash and Pomegranate

Serves 4 as an entree, 6 as a side

Ingredients

3/4 cup of quinoa, cooked

1 acorn or kabocha squash

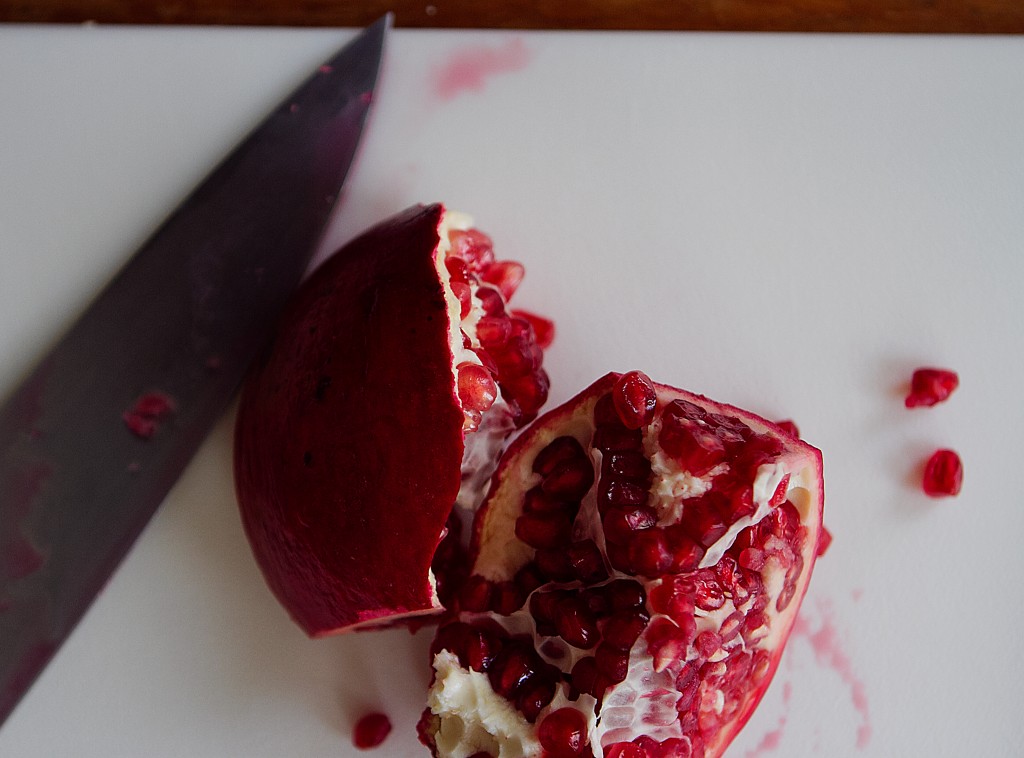
3/4 cup pomegranate seeds

1/4 cup raisins

2 teaspoons minced fresh parsley

2 scallions, green parts only, chopped

1/4 cup olive oil, plus more for roasting squash

2 tablespoons lemon juice

Zest of half a lemon

Salt and pepper

Directions

1. Preheat oven to 400 degrees.  Line a baking sheet with aluminum foil.

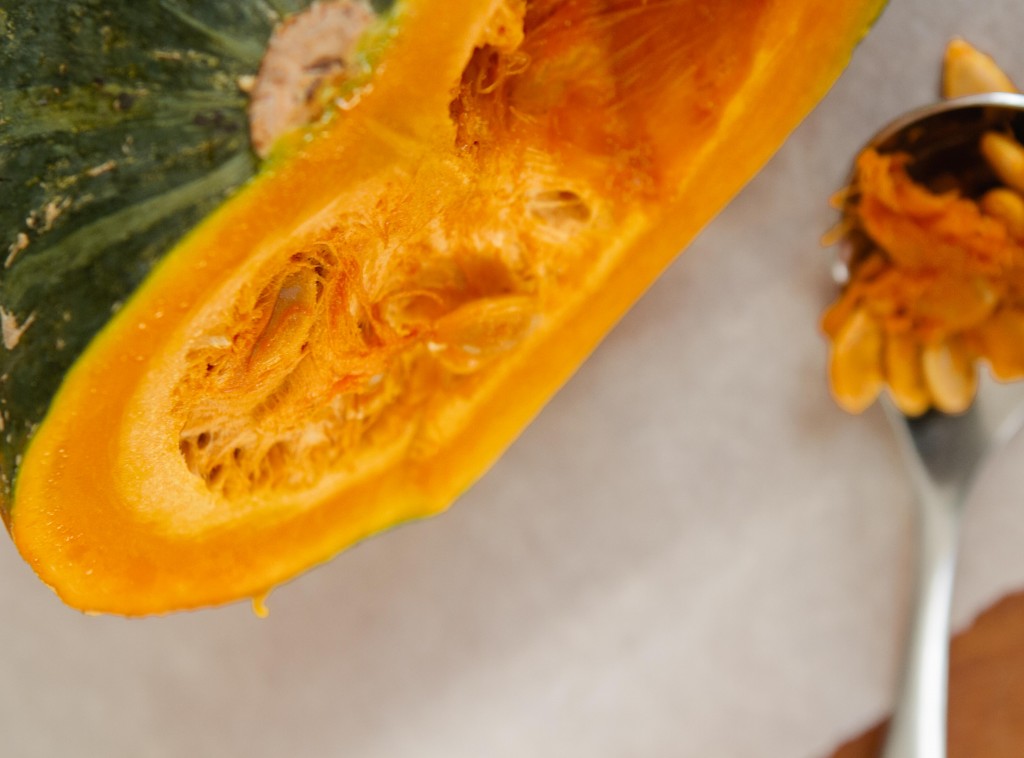
2. With a sharp knife, cut the top and bottom off the squash.  Cut the acorn squash in half lengthwise and, using a spoon, scoop out the seeds.  Cut each piece in half again lengthwise.  Then slice each quarter lengthwise, creating 1/2 inch slices.  Place squash slices into a bowl and drizzle with olive oil and a sprinkle of salt.  Spread across the pan and arrange so each piece sits flat. Roast in the oven for 25 minutes.

3. Meanwhile, make the dressing by whisking together the 1/4 cup of olive oil, the lemon juice, lemon zest, parsley, and scallions.  Season with salt and pepper, to taste.

4. Once the acorn squash is finished, remove from the oven and let cool for a few minutes.

5. Mix together the cooked quinoa, pomegranate seeds, raisins, and dressing in a big serving bowl.  Season with salt and pepper, to taste.

6. Top with roasted squash pieces and enjoy!